In order to send pictures and videos from a smartphone, one needs to have MMS as part of their cell phone plan. Also, one needs to have their MMS settings set up correctly on their phone! Following are the steps to set them up on an Android.
Step 1: Navigate to your smartphone’s home screen

Step 2: Access Your smartphone’s settings
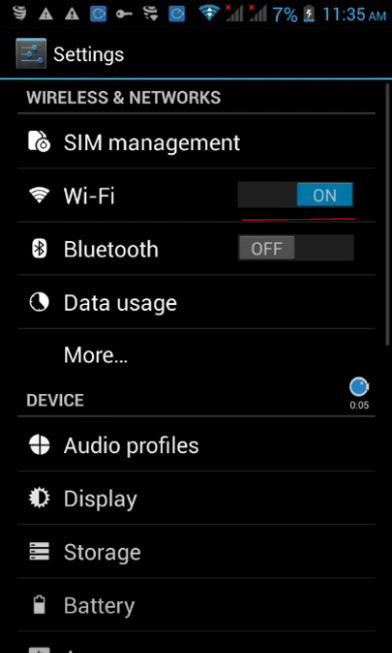
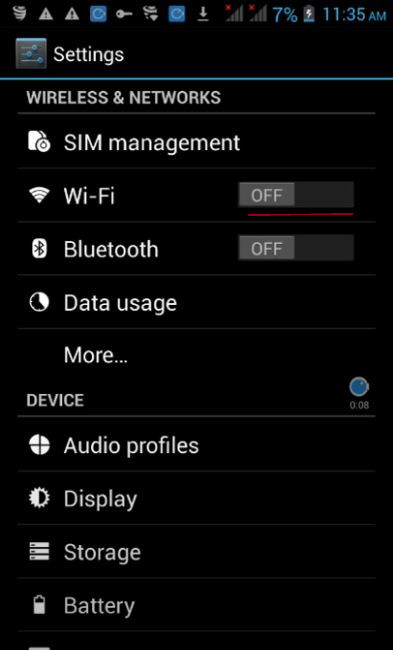
Step 3: Access Your WiFi settings and make sure it’s turned Off.
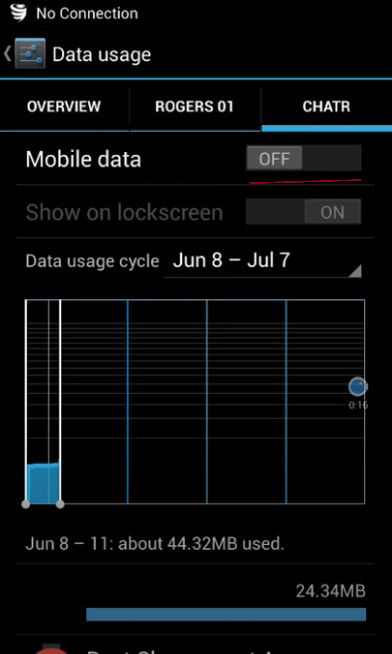
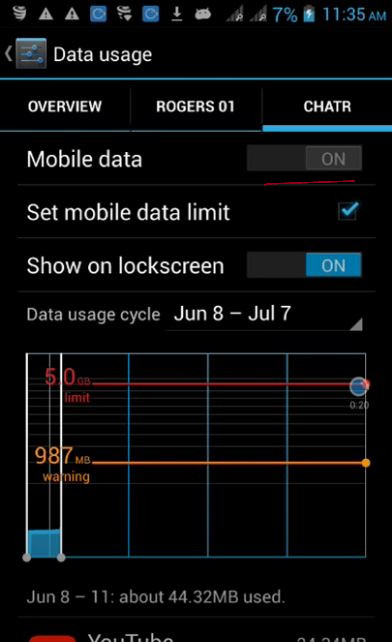
Step 4: Make Sure Your Cellular Data is turned on.
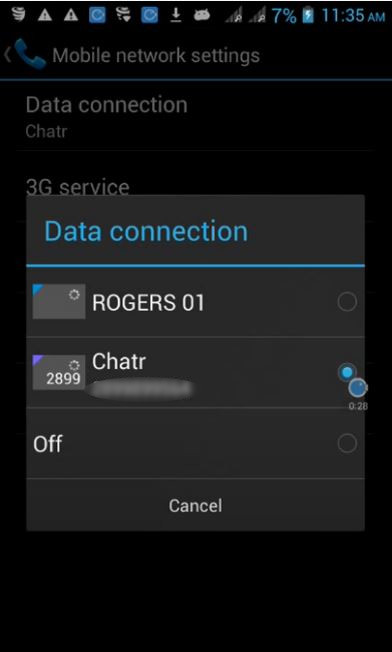
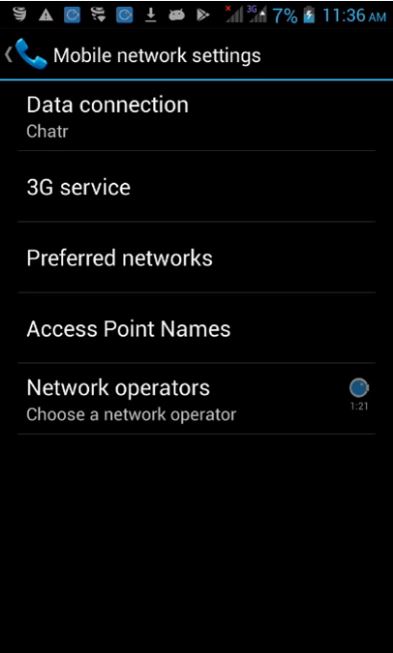
Step 5: Navigate back to your smartphone’s Wireless & Network Settings. Access Your Mobile Networks settings on this screen.

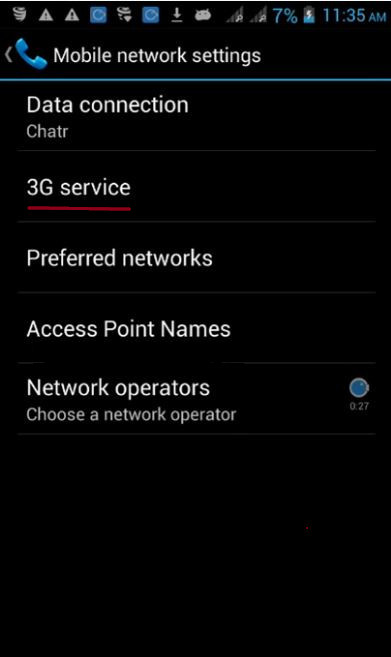
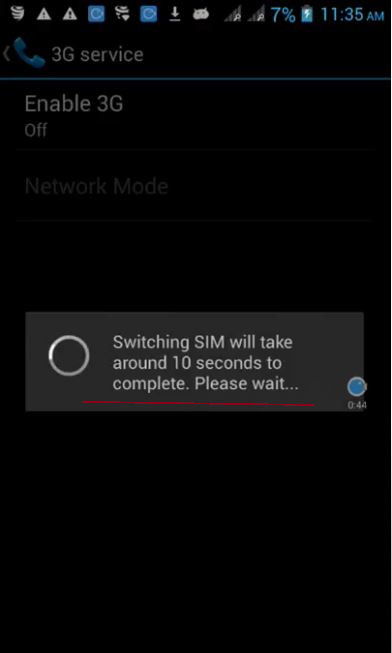
Step 6: If your Network service provider is a 3G Network, access 3G service option under your smartphone’s Mobile Network settings.
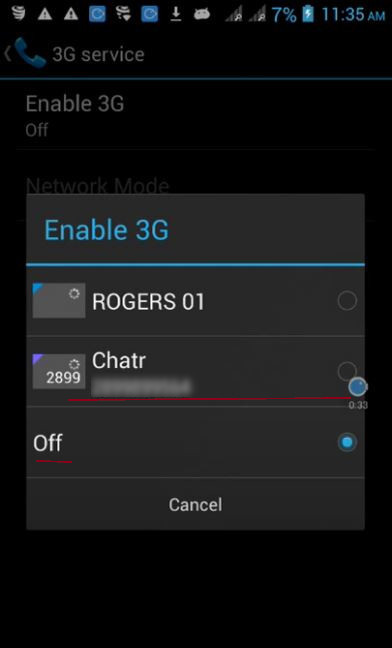
Step 7: Enable 3G service for the SIM card you would like to use to access data and send MMS.
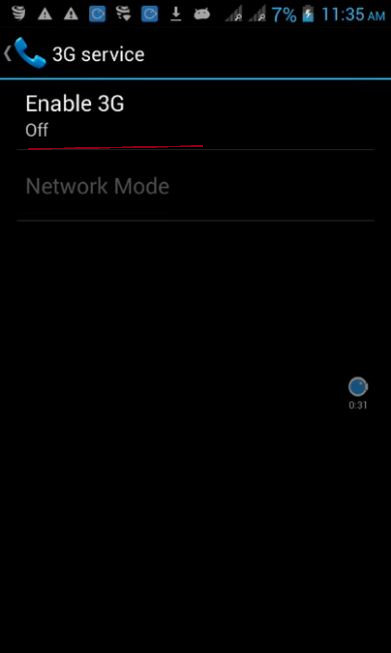
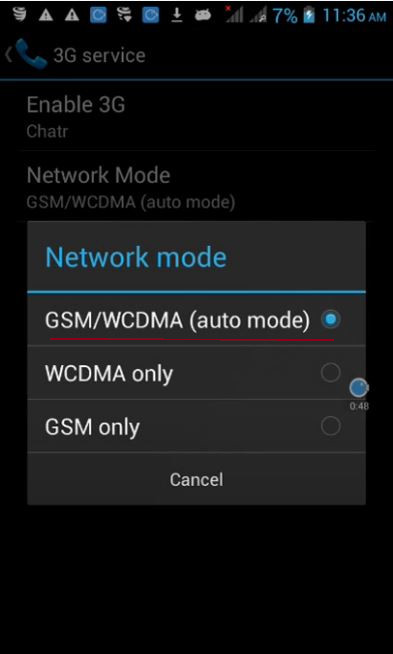
Step 8: Change your Network mode as prescribed by your Network Service Provider.
Step 9: Access Your Preferred Network Settings.
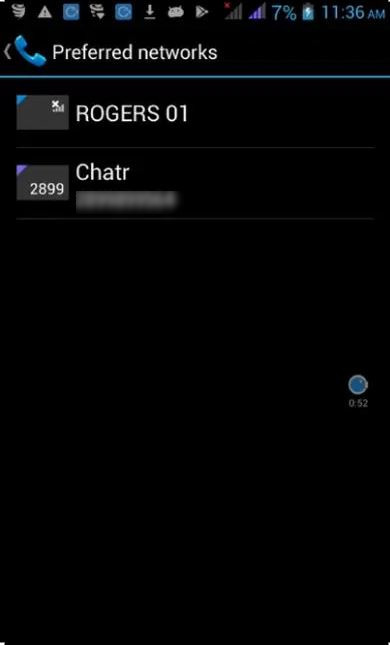
Step 10: Select your Preferred network. This setting is useful especially if one has a phone with dual SIM cards.
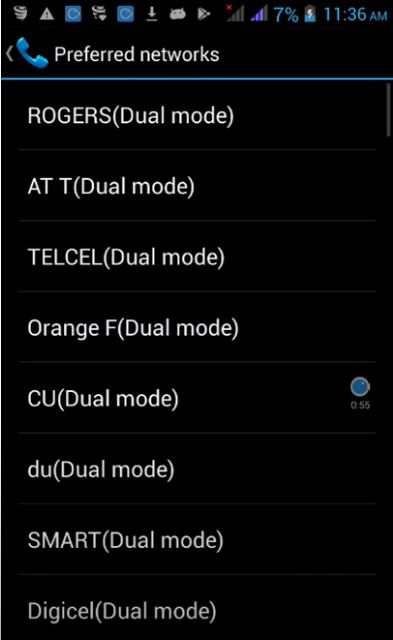
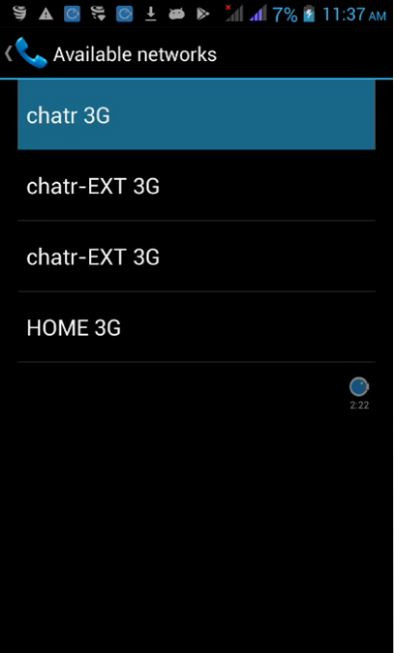
Step 10: Access your smartphone’s Mobile Network Settings and select Network Operators.
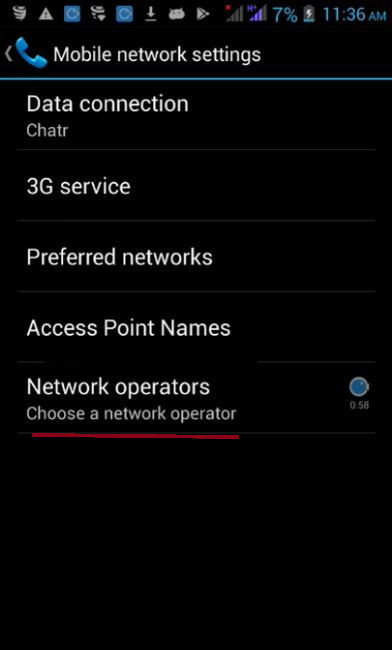
Step 11: Select your smartphone’s Network Operator.
Step 12: Navigate back to your Mobile Network Settings.
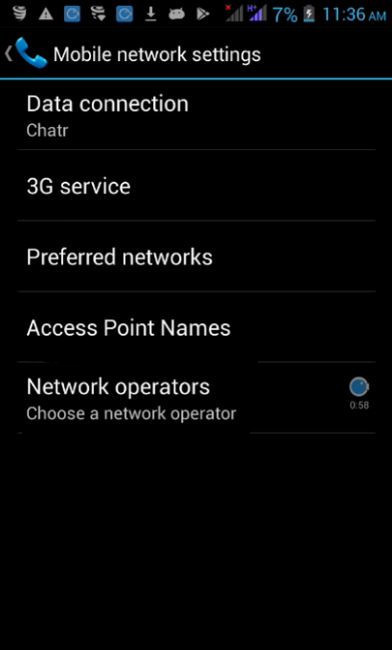
Step 12 : Access Your Access Point Names Settings under Mobile Network Settings.

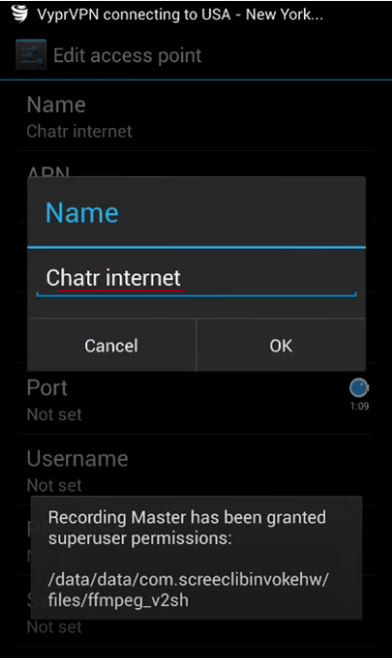
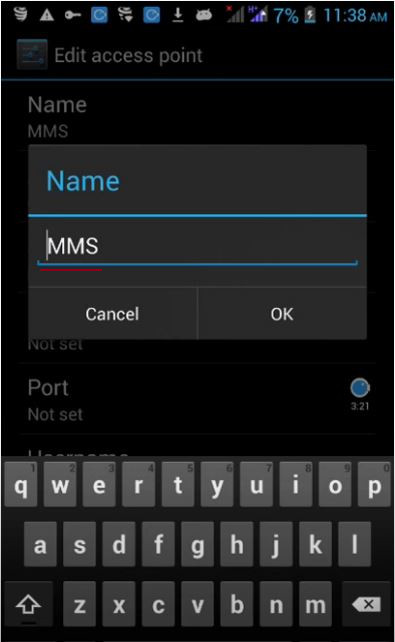
Step 13: Add or Change your Name for Your APN. This name may be anything you may remember in the future.
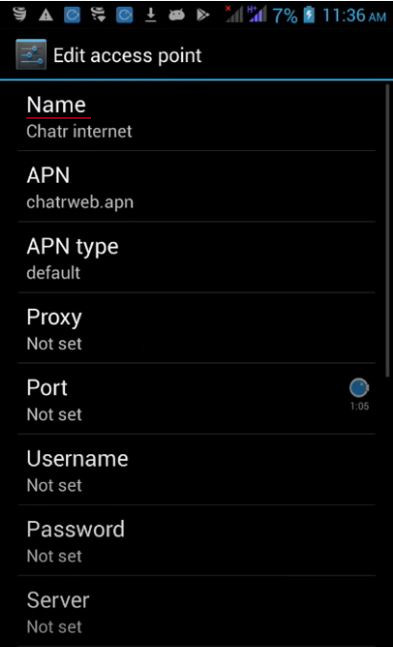
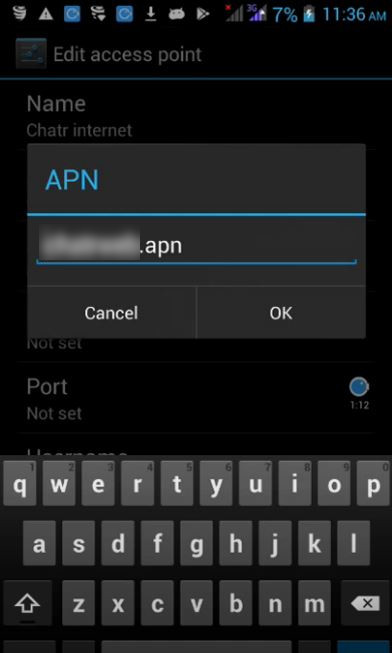
Step 14: Set up an APN for your Access Point Name. You may contact your service provider and request your network’s APN. Make sure you save your APN.
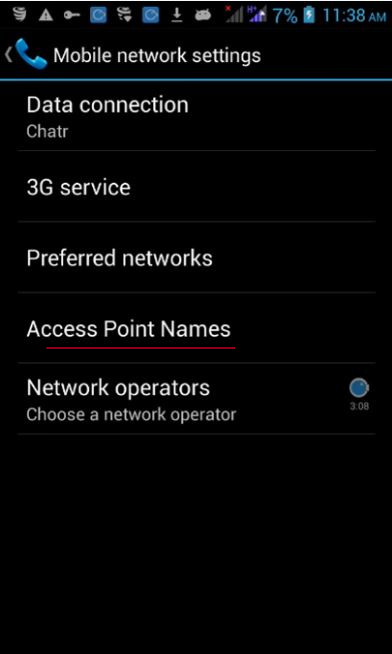
Step 15: Navigate back to your Mobile Network Settings.
Step 16: Access your Access point Names settings once more and add a new APN for your MMS settings.
Step 17: Set up an APN for your Access Point Name. You may contact your service provider and request your network’s APN. Make sure you save your APN.
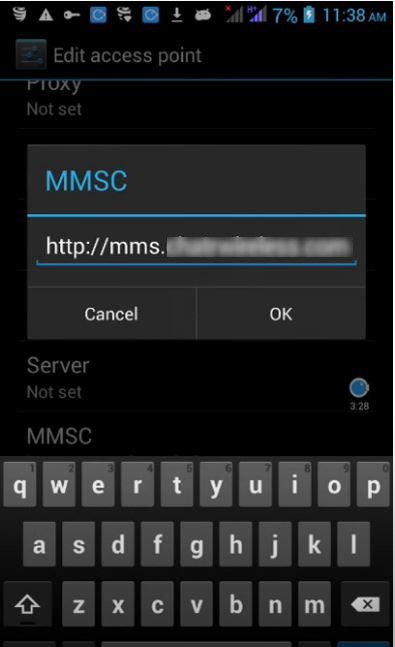
Step 18: Enter your MMSC address provided by your Network service provider.
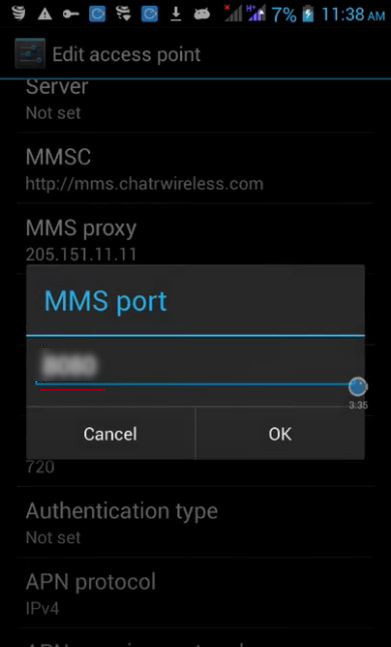
Step 19: Enter Your MMS Proxy as provided by your network service provider.

Step 20: Set up a MMS Port as provided by your Network service provider. At this point, you may set up your apn type as MMS. Save Your MMS settings.
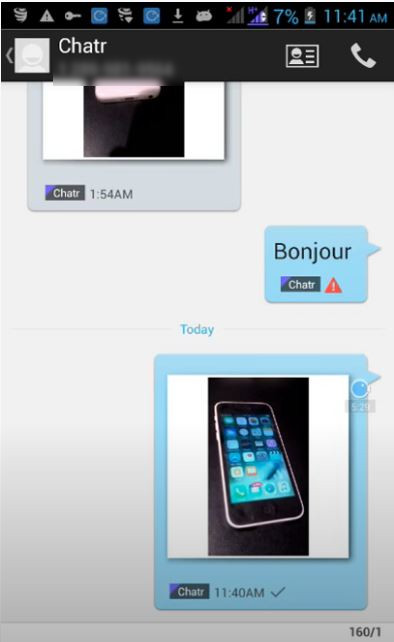
Step 21: Test Your MMS settings by sending a Picture/Photo message via SMS app. You may try sending this MMS to your own phone number.
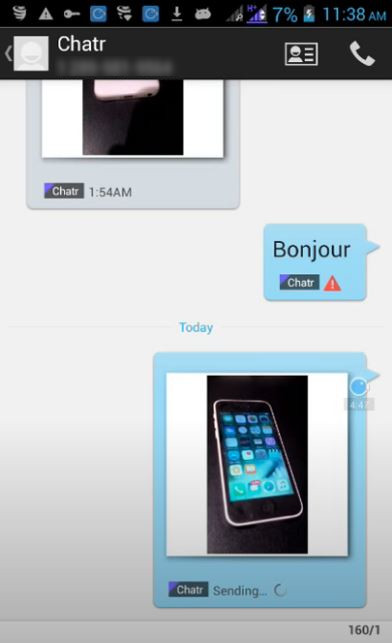
Step 22: Verify that the message has been sent.
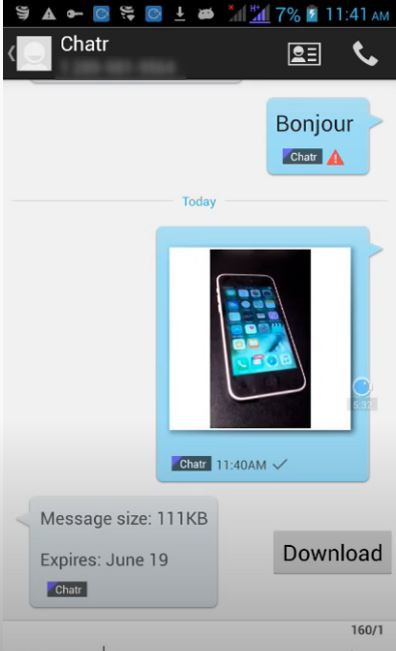
Step 23: If you sent this message to your own phone number, you’ll see an option to download this message. Click on the download option.
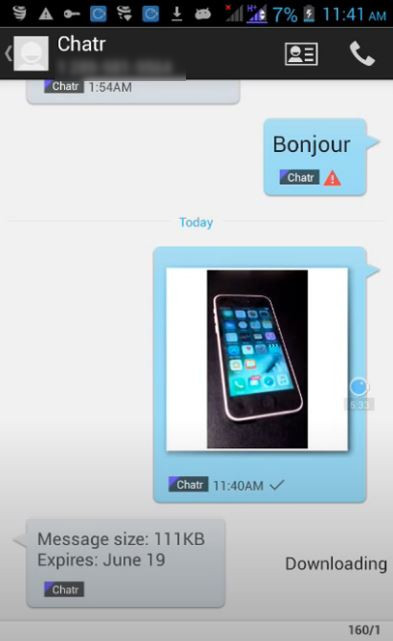
Step 24: Verify that message has been downloaded. And make sure, you are able to see this MMS.

