- Power the Dash cam On.

2. Navigate to settings on this dashcam.
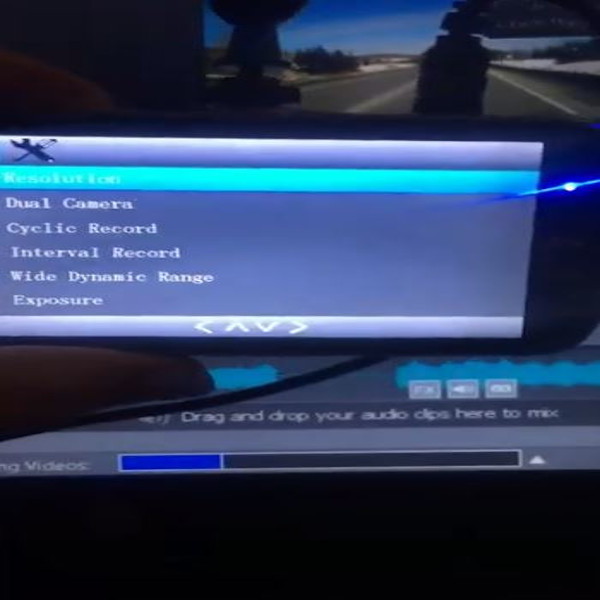
3. Access Resolution under settings.
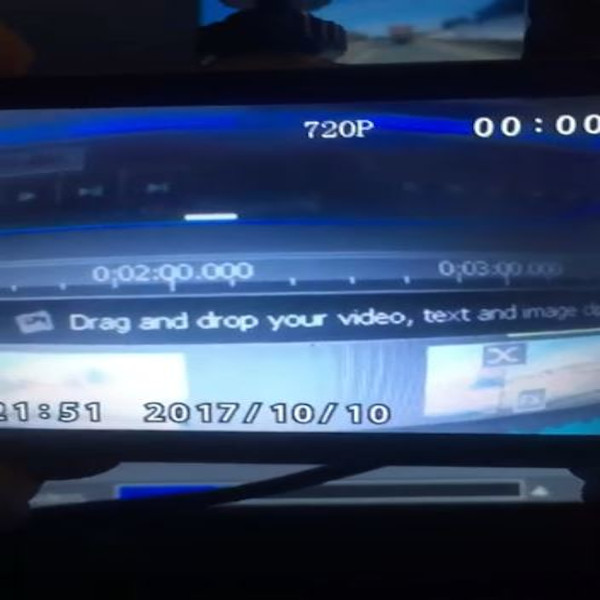
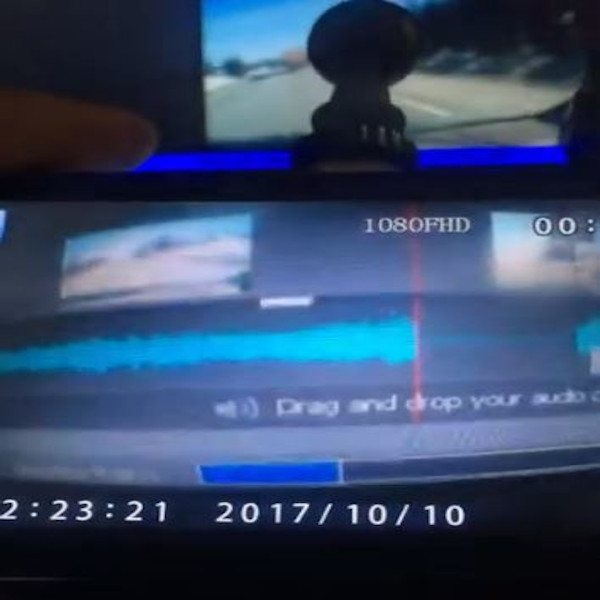
4. Toggle between different Resolution settings.


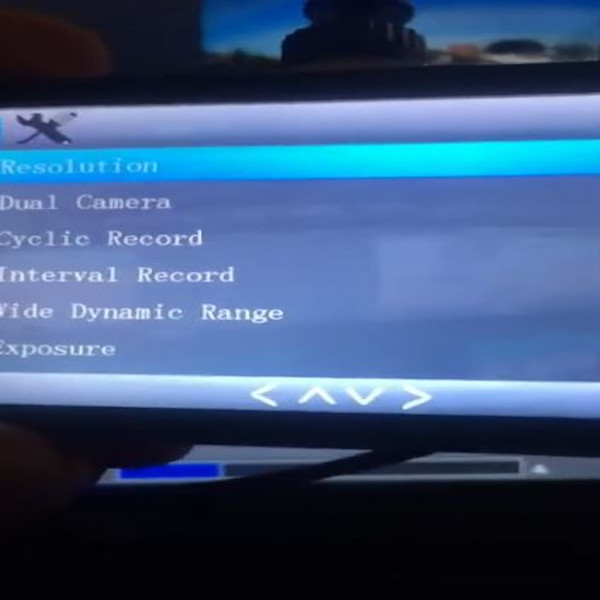
2. Navigate to settings on this dashcam.
3. Access Resolution under settings.
4. Toggle between different Resolution settings.
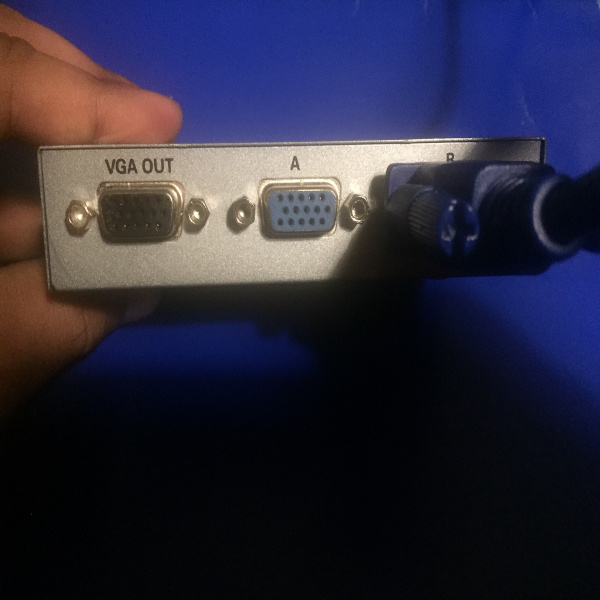
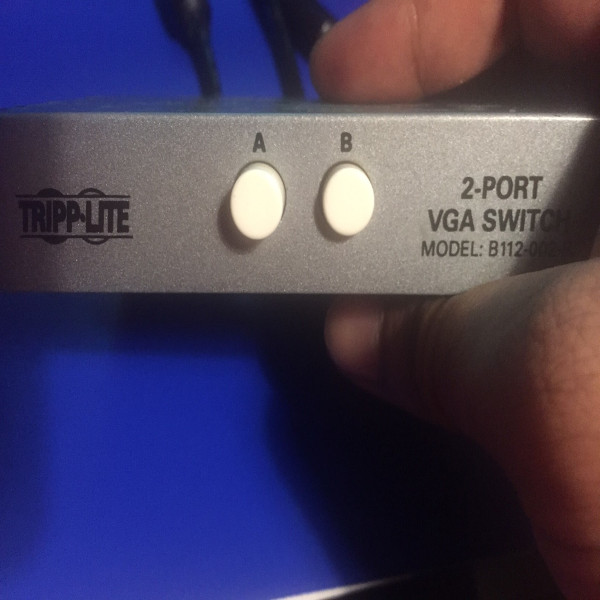
A 2 port VGA switch is used to display two different systems or towers on one screen or monitor. Though two screens are always preferable over one screen for gaming, one may need more than two screens if they are using more than two towers at the same time. To set up a 2 port VGA switch, follow the steps below:

2. Connect the second tower to another port on the VGA switch.
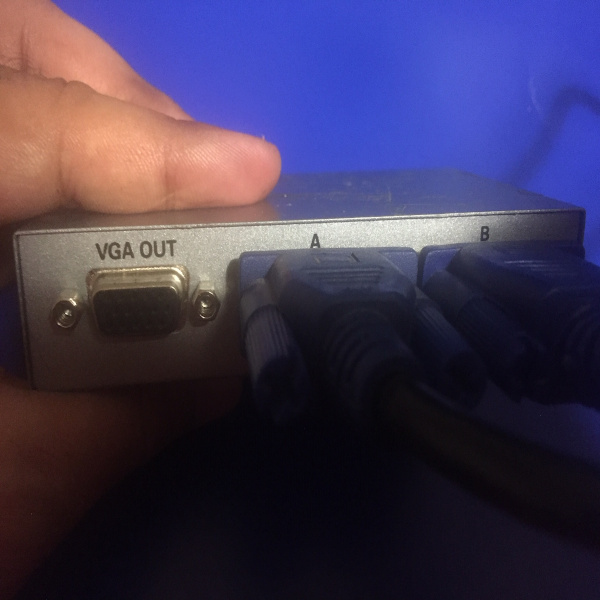
3. Connect a screen or monitor to the port labelled “VGA OUT” on the 2 port VGA switch.
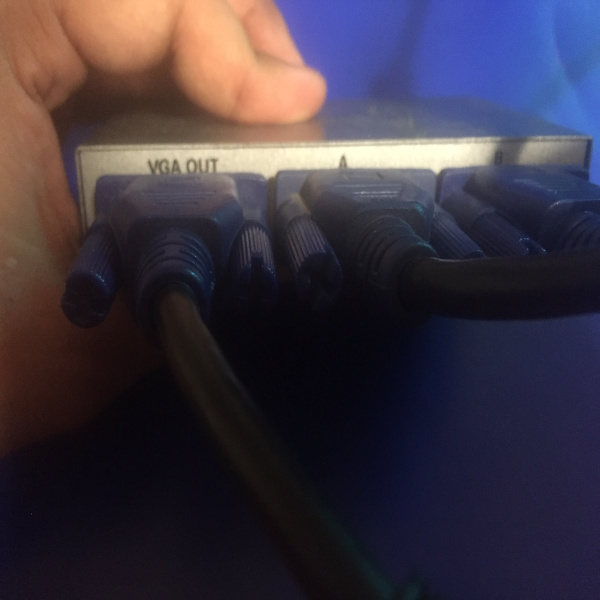
4. Switch between the two towers on the screen using the 2 port VGA switch.
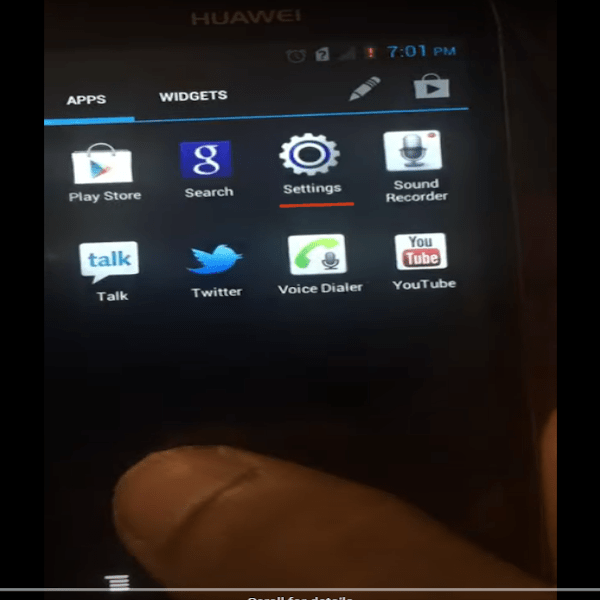
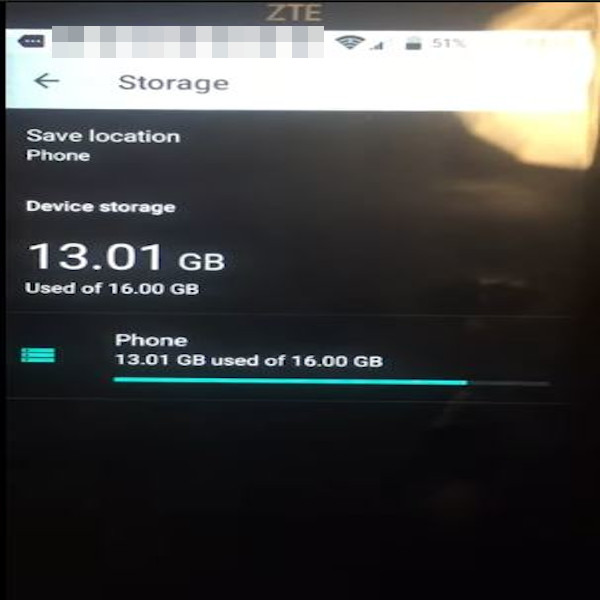
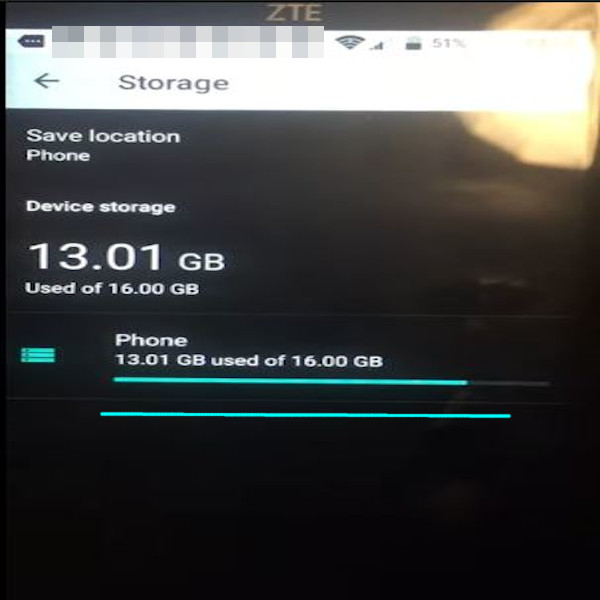
2. Access Storage option on this screen.
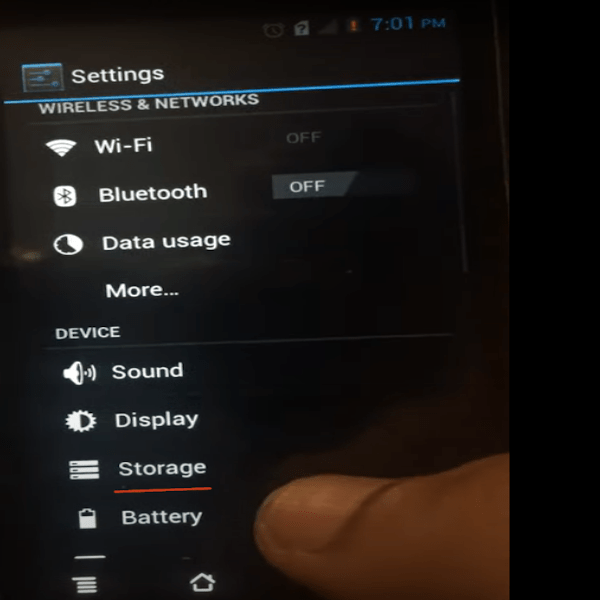
3. Access default storage location on this screen.
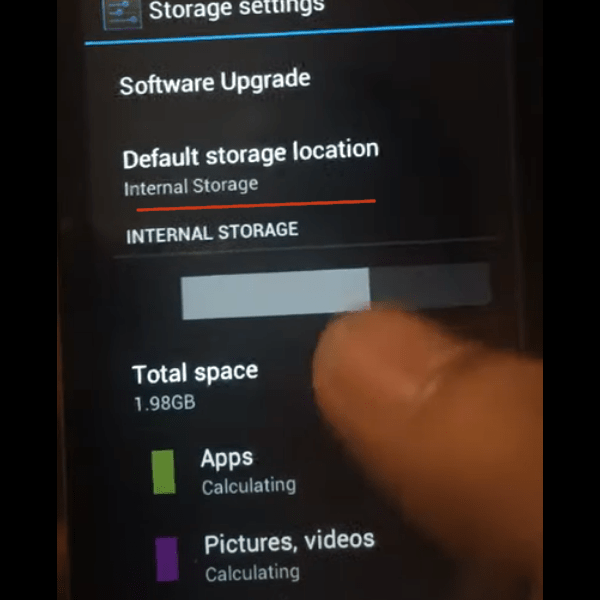
This screen shows total storage usage by applications, pictures, videos etc. It also shows user their default storage location whether it’s Internal storage or SD cards.
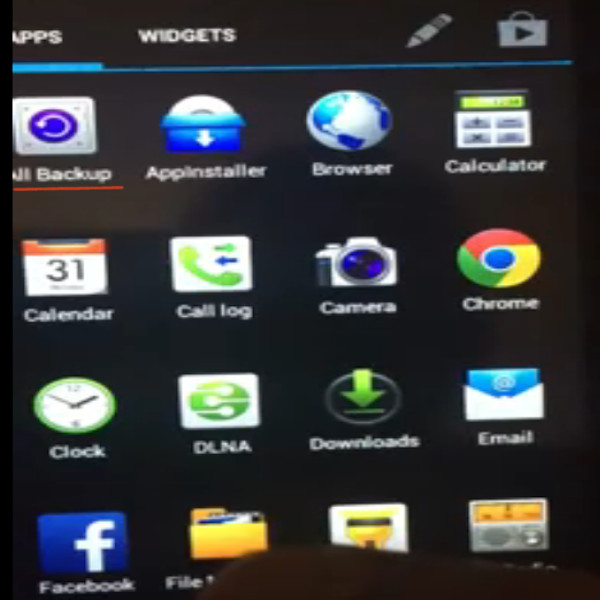
2. Access Back up Option on this screen.

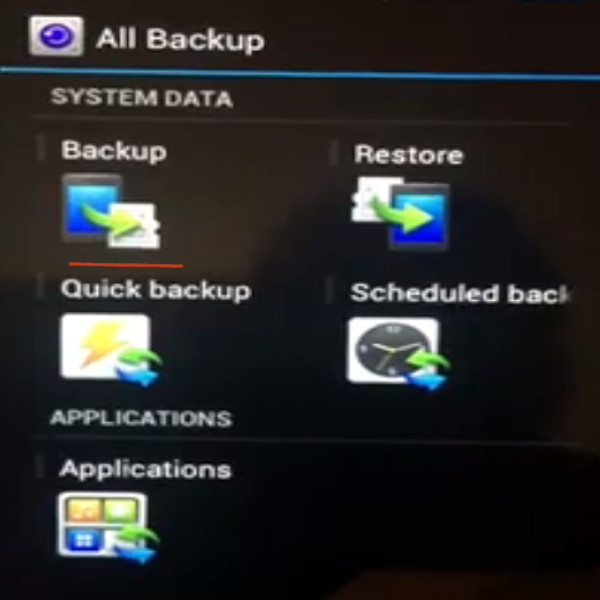
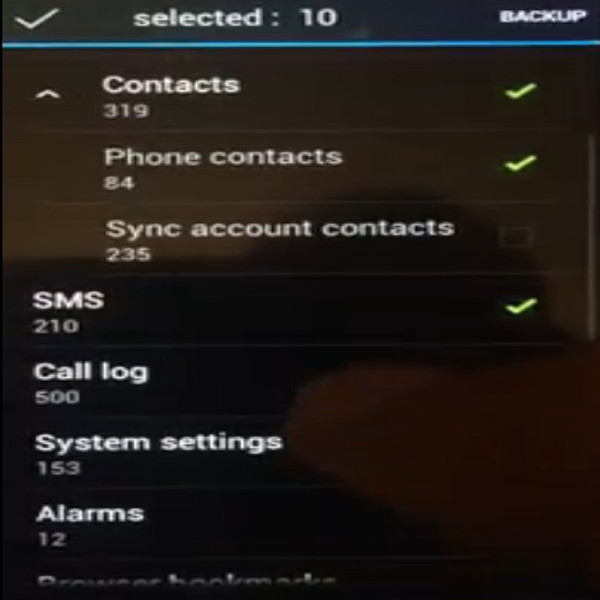
3. Choose an option to back up on this screen.

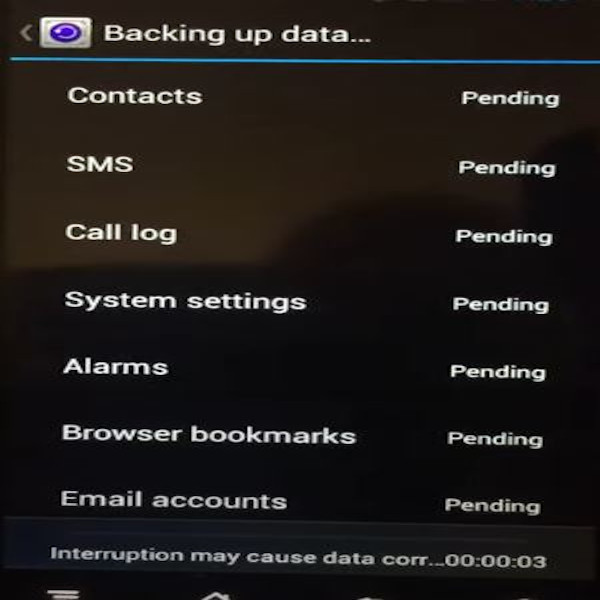
4. Check and verify that data has been successfully backed up via the confirmation message.

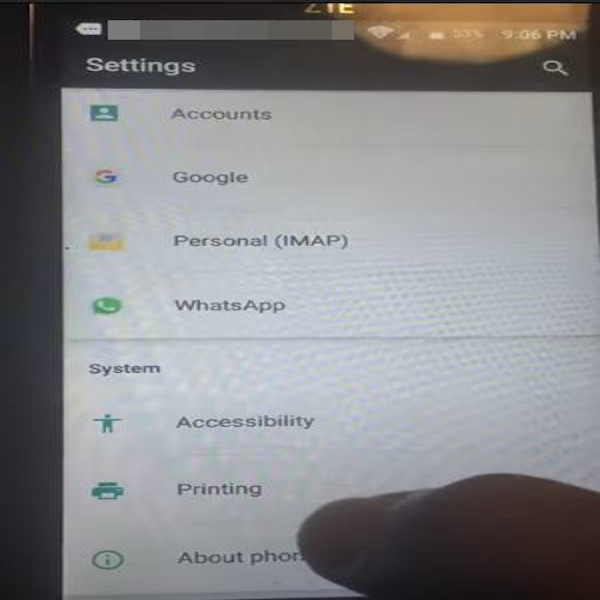
2. Access Accessibility setting on this screen.

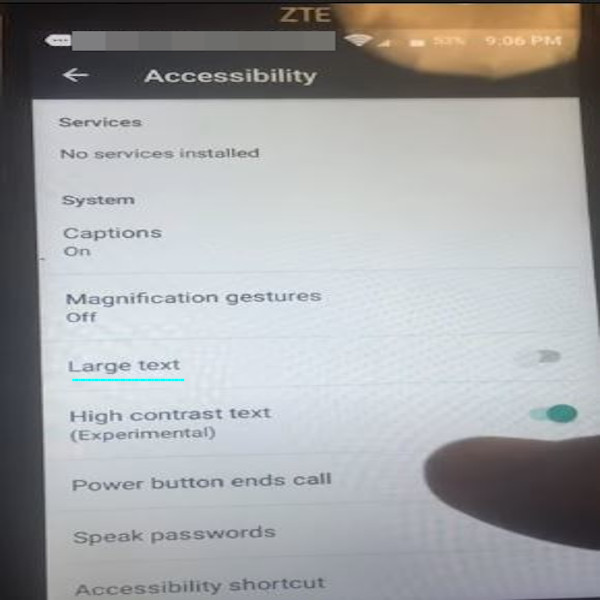
3. Move the slider left and right for Large Text Setting on this screen.

2. Access Status on this screen.
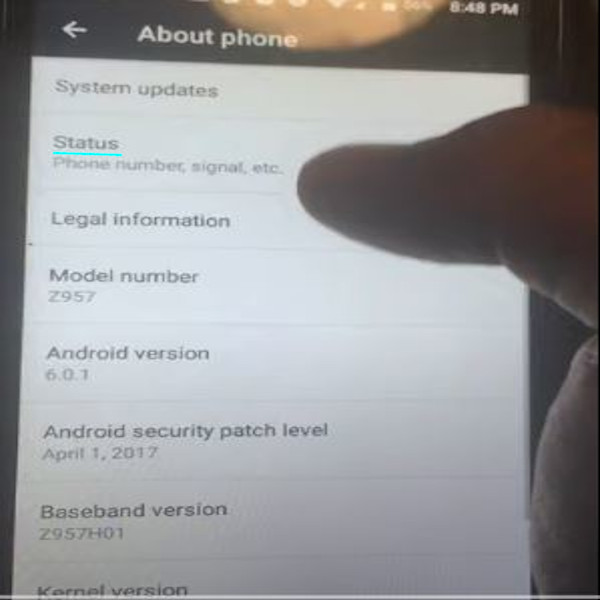
3. Status screen shows the following.
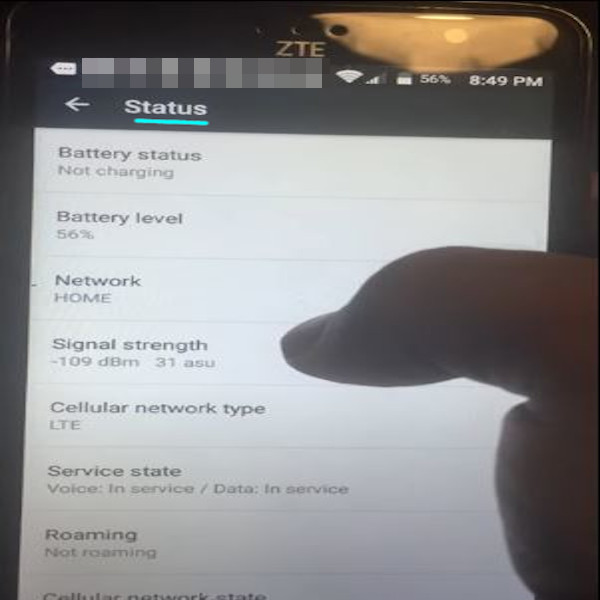
a. Battery Status: Shows whether your cell phone battery is charging or unplugged.
b. Battery Level: Shows the amount of battery life left.
c. Network: Shows either WI-FI or cellular Network. For example, if connected to a Wi-FI Network, Network may show as HOME. If connected to a cellular network, it will show the name of the network such as Chatr or Rogers.
d. Signal Strength: Shows either a strong or weak signal in dBm/asu.
e. Cellular Network Type: Shows either 3G, 4G or LTE network based on frequencies and speed of the network.
f. Service State: Shows what is accessible – whether voice or data.
g. Roaming: Shows whether one is inside or outside the coverage zone provided by their cellular plan and provider.
h. Cellular Network State: Shows whether network is connected or disconnected.
i. Phone Number: Shows phone number for the service provider linked with the SIM inside the Android.
j. IMEI: Shows IMEI number. This information may be used to unlock or blacklist cellphones.
k. IP Address
l. Serial Number
m. Uptime

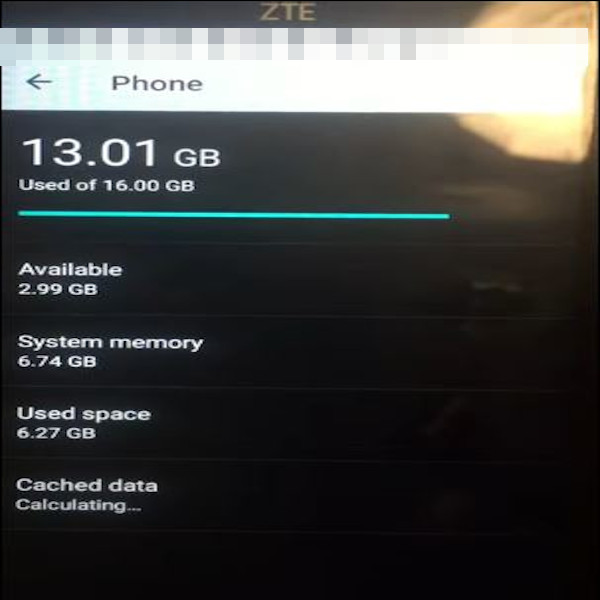
2. Access Storage settings on this screen.
3. Tap on Phone option at the bottom of the screen.
4. Check and Verify Internal storage memory both used and available on this screen.
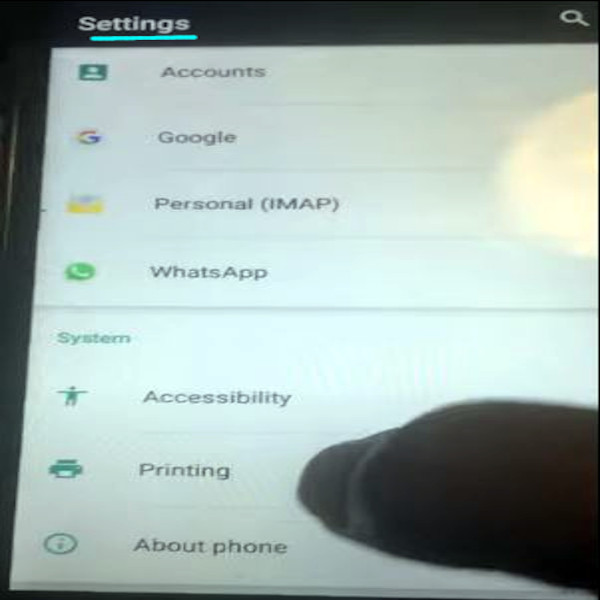
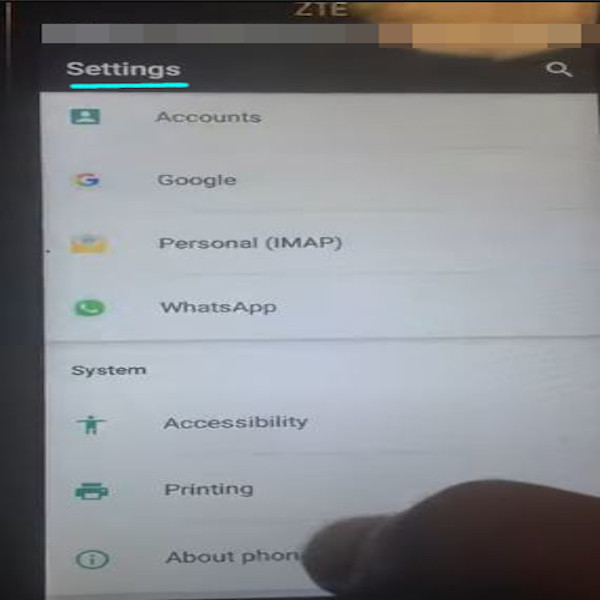
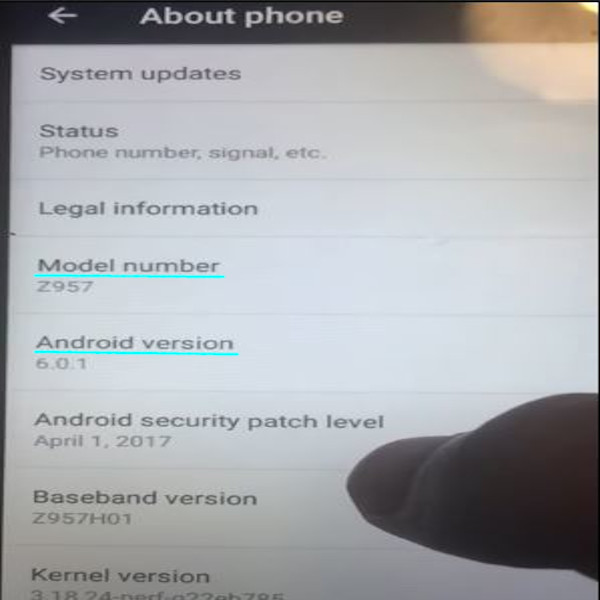
2. Access About Phone under settings.

3. Check and Verify Model No. and Android Version for ZTE.

2. Access About Phone on this screen.
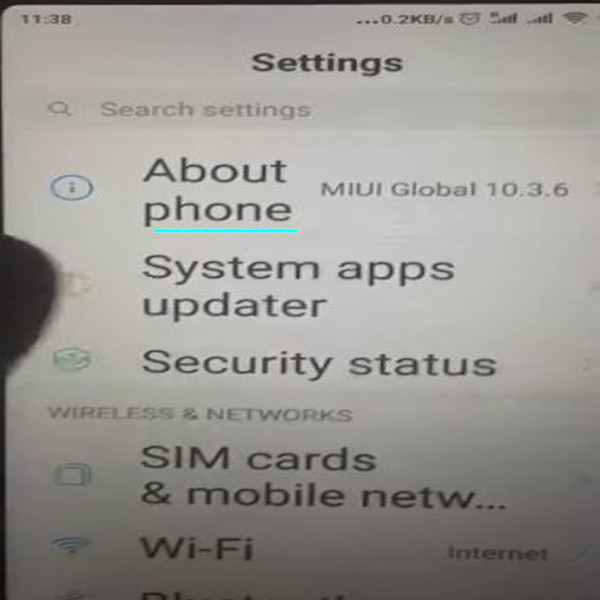
3. Check and Verify Model No. for Redmi as well as Android Version.

2. Access Systems App updater option on this screen.
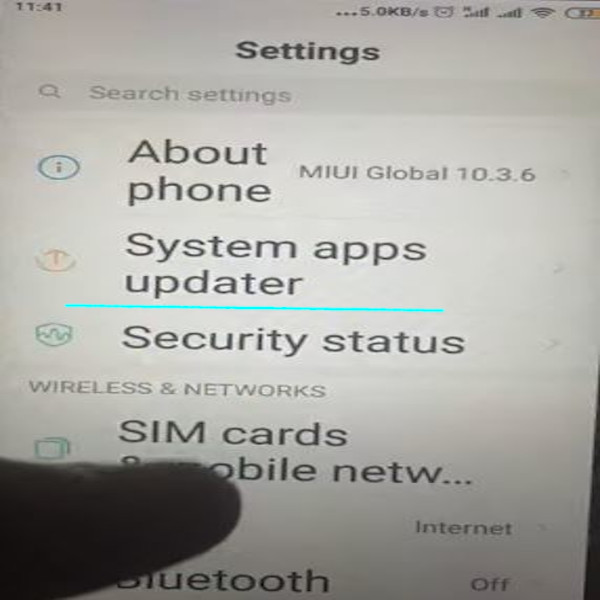
3. Check App update status on this screen.
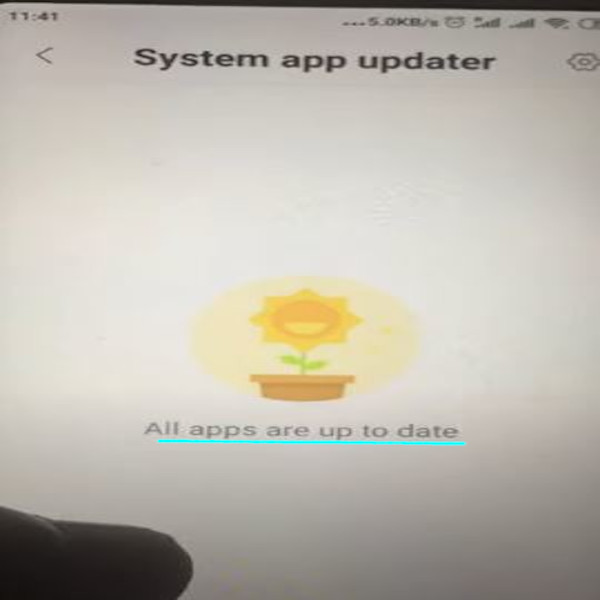
4. Tap to view/check app update history on this screen.
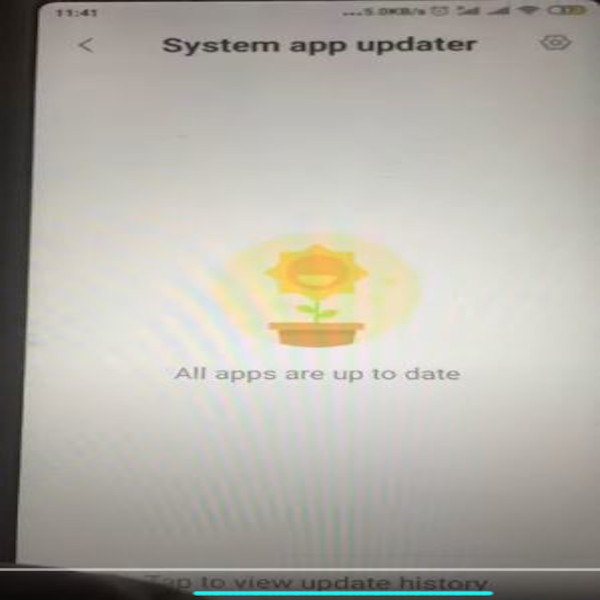
5. Verify app update history on this screen.

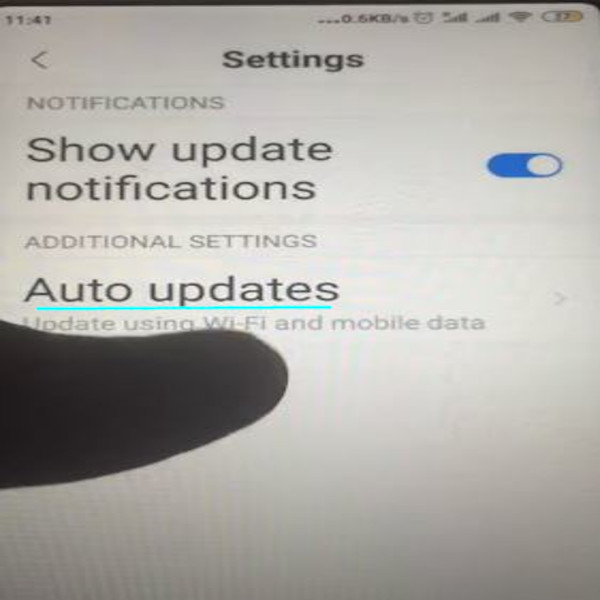
6. Navigate to System app updater settings on this screen.
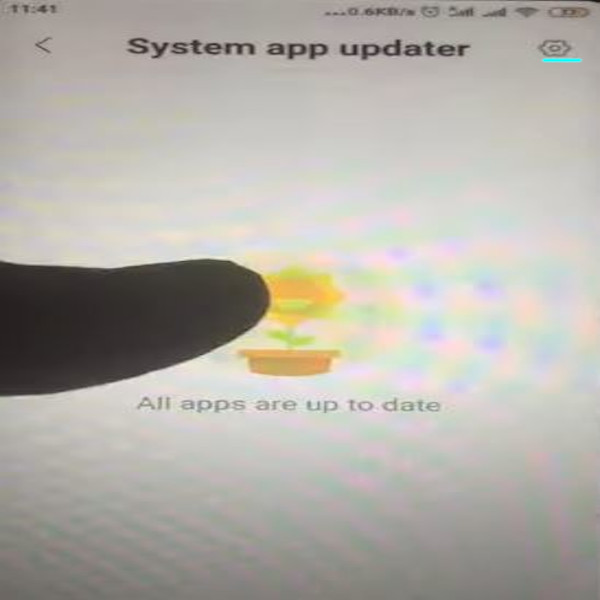
7. Turn update notifications ON/OFF.

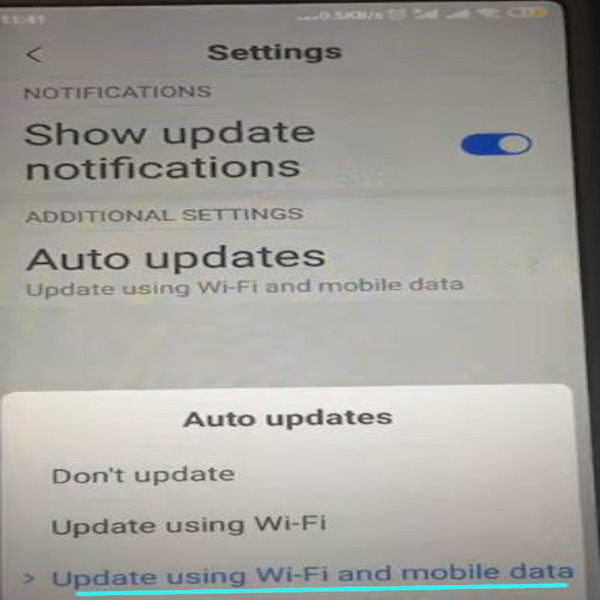
8. Access auto updates under additional settings on this screen.
9. One may choose between “Don’t Update“, “Update using Wi-Fi” and “Update using Wi-Fi and Mobile Data” on this screen.
10. Check app data usage to verify updates.
