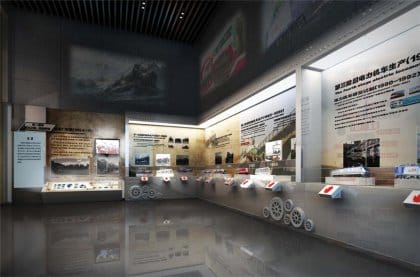
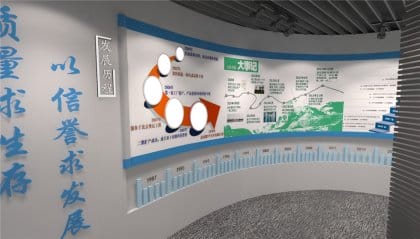
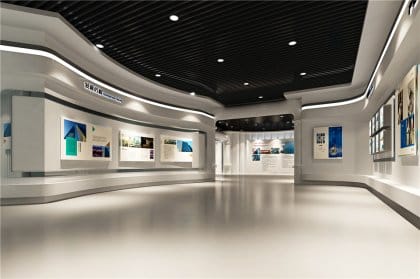
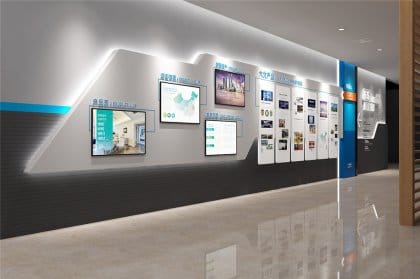
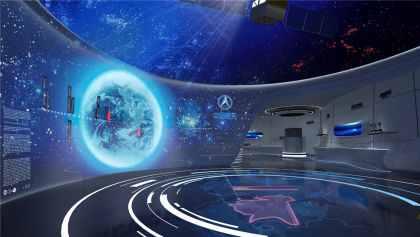
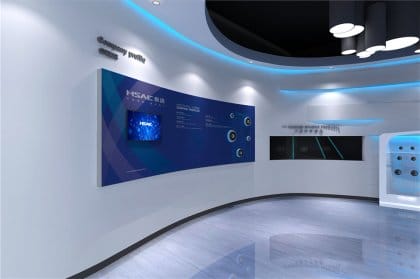
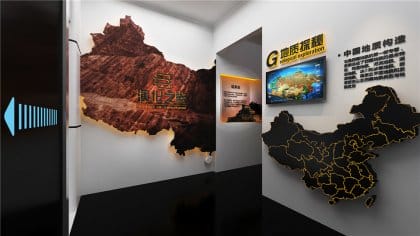
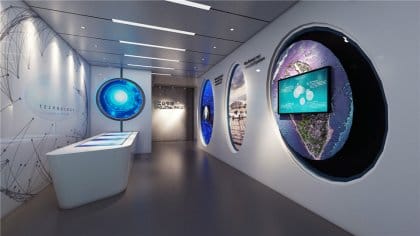
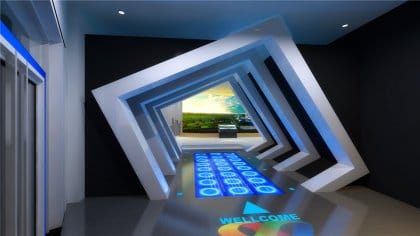
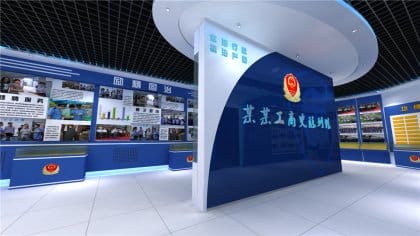
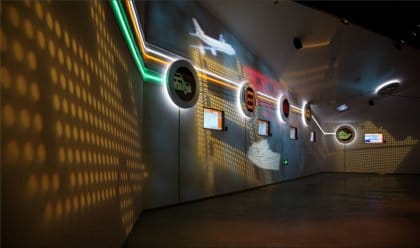
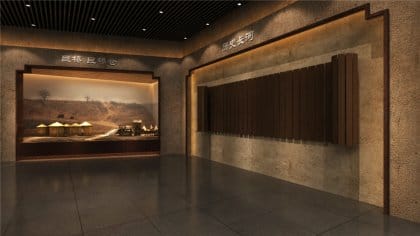
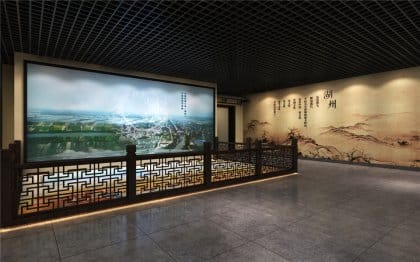
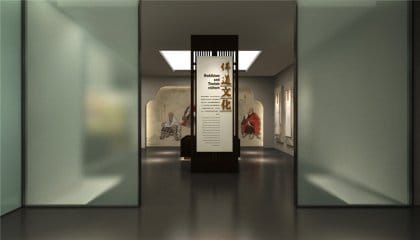
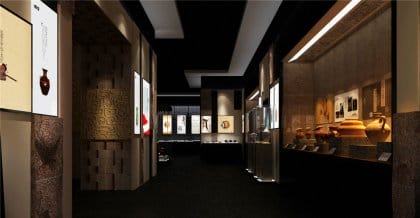
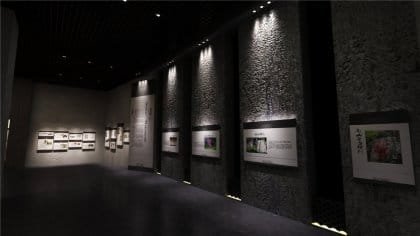
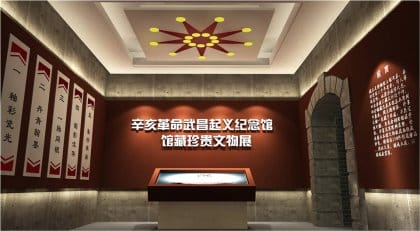
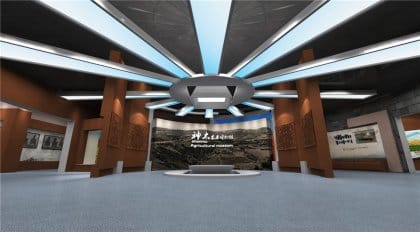
我们的专业领域是数字beat365唯一官方网站设计和互动多媒体展览;我们以现代科技涵盖的内容展示和多媒体展览体验为核心,为客户提供从beat365唯一官网设计、beat365唯一官网装修、多媒体设备选择和安装的一站式解决方案。
我们立志于为客户提供个性化、治学性强的数字展示产品,帮助客户始终处于市场竞争的前列。


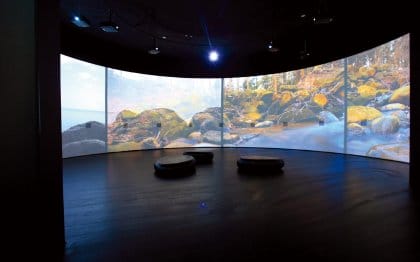
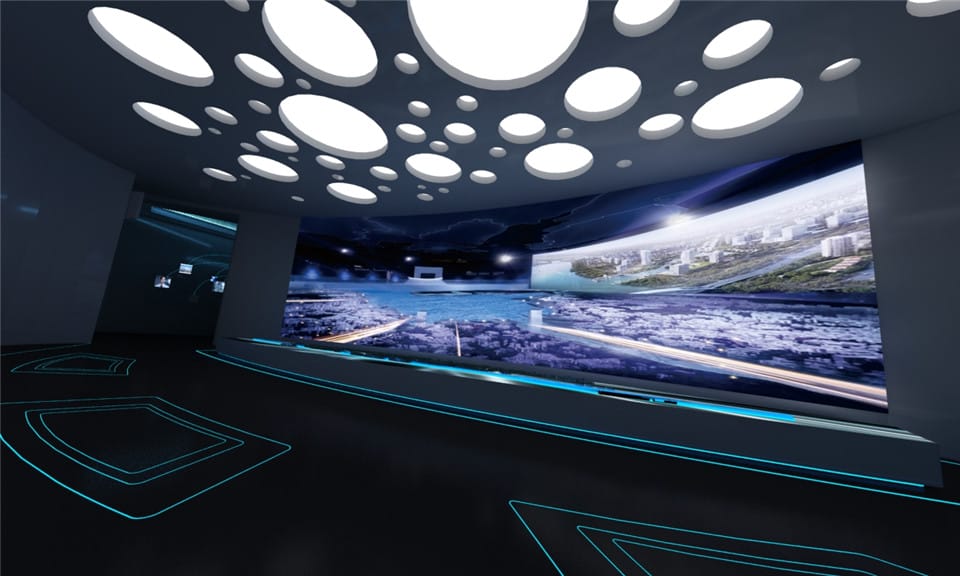
数字影院
互动滑轨屏
透明展示屏
液晶拼接屏


虚拟驾驶
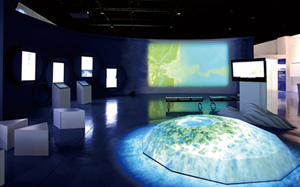
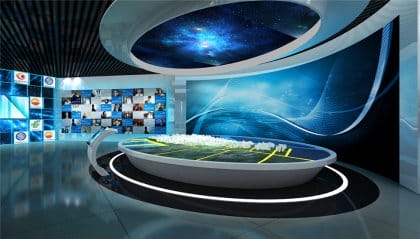
数字沙盘
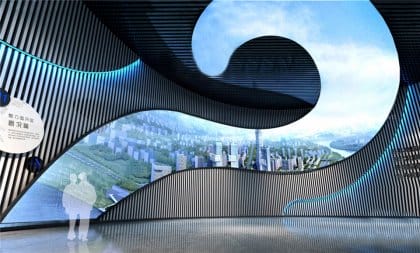
墙面互动
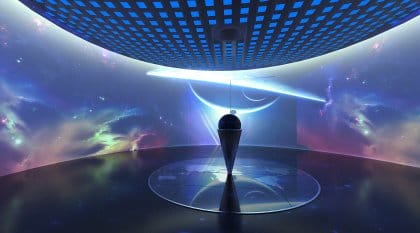
全息投影


互动触摸屏
电子留言
电子翻书
虚拟主持人


服务客户

遍布城市

专业团队