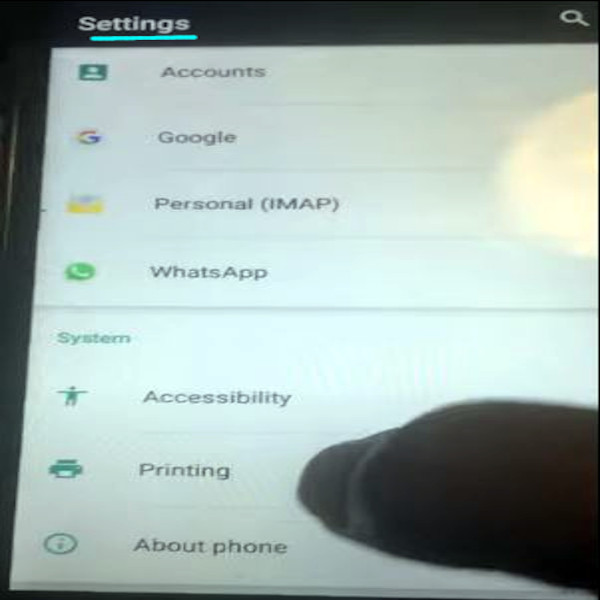
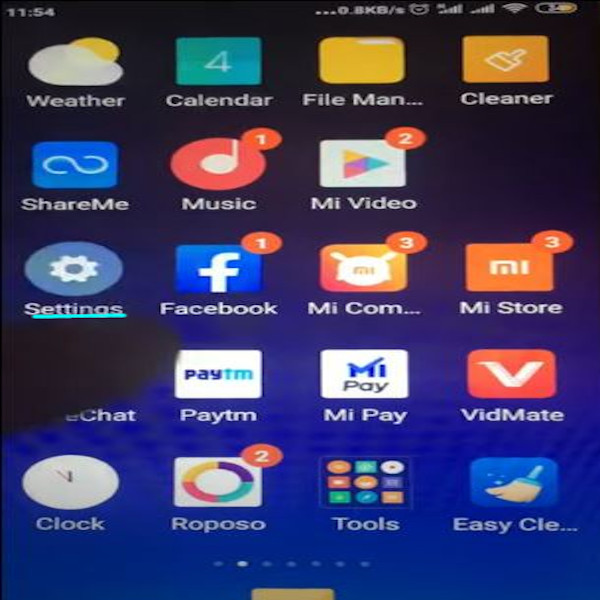
- Navigate to Home Screen on ZTE Z957. Then, access settings on this screen.
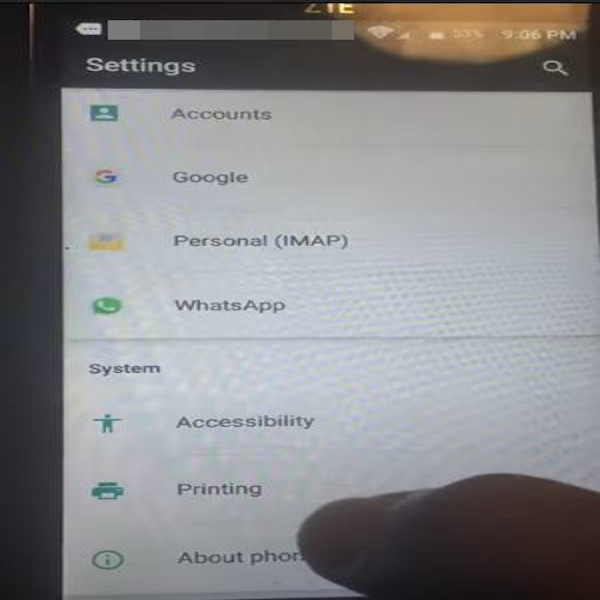
2. Access Accessibility setting on this screen.

3. Move the slider left and right for Large Text Setting on this screen.
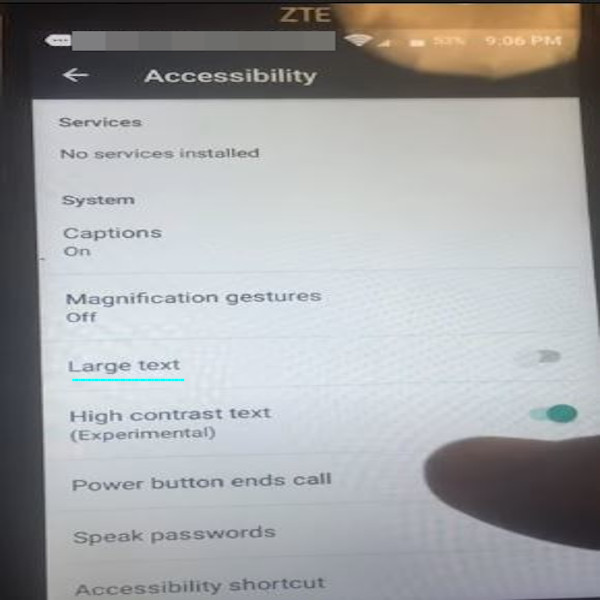

2. Access Accessibility setting on this screen.
3. Move the slider left and right for Large Text Setting on this screen.
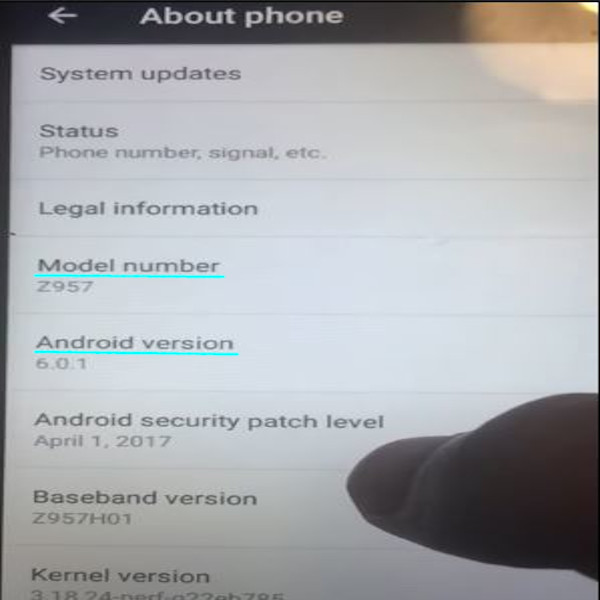
2. Access About Phone under settings.

3. Check and Verify Model No. and Android Version for ZTE.

2. Access About Phone on this screen.
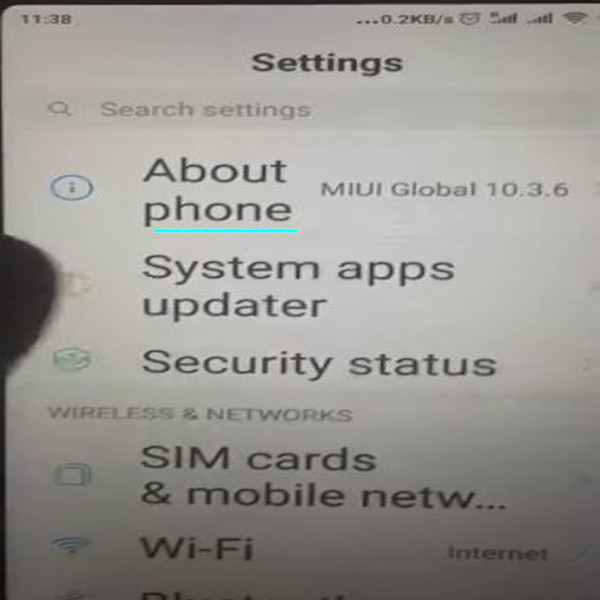
3. Check and Verify Model No. for Redmi as well as Android Version.

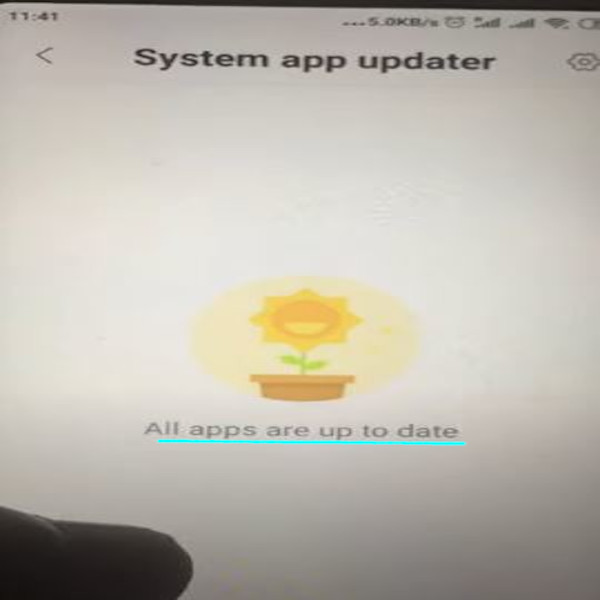
2. Access Systems App updater option on this screen.
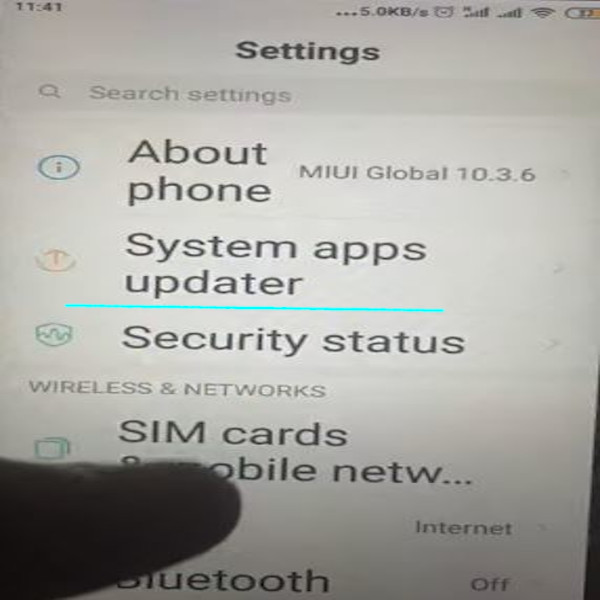
3. Check App update status on this screen.
4. Tap to view/check app update history on this screen.
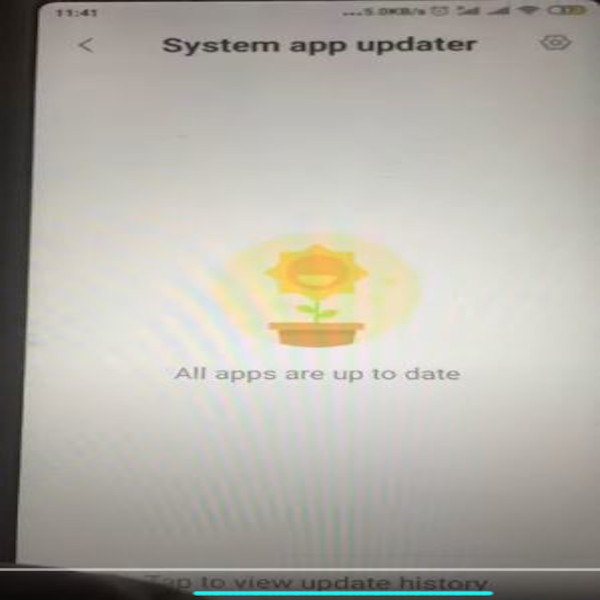
5. Verify app update history on this screen.

6. Navigate to System app updater settings on this screen.
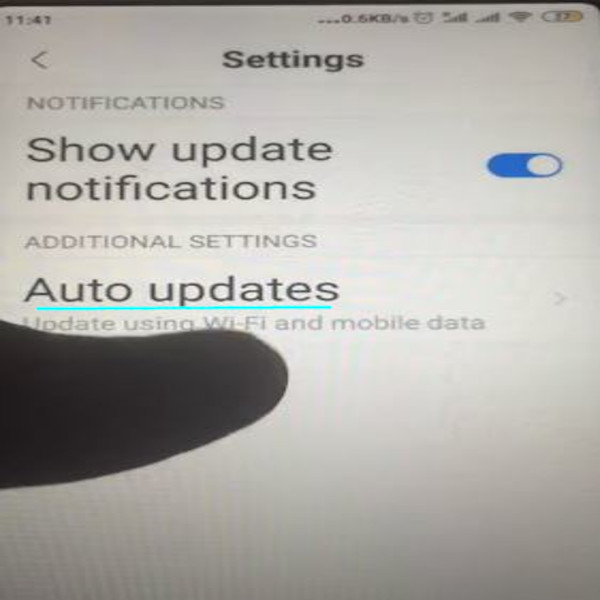
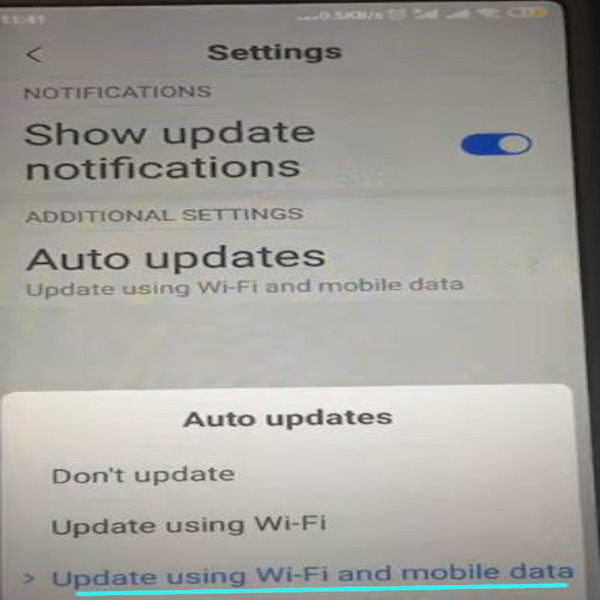
7. Turn update notifications ON/OFF.

8. Access auto updates under additional settings on this screen.
9. One may choose between “Don’t Update“, “Update using Wi-Fi” and “Update using Wi-Fi and Mobile Data” on this screen.
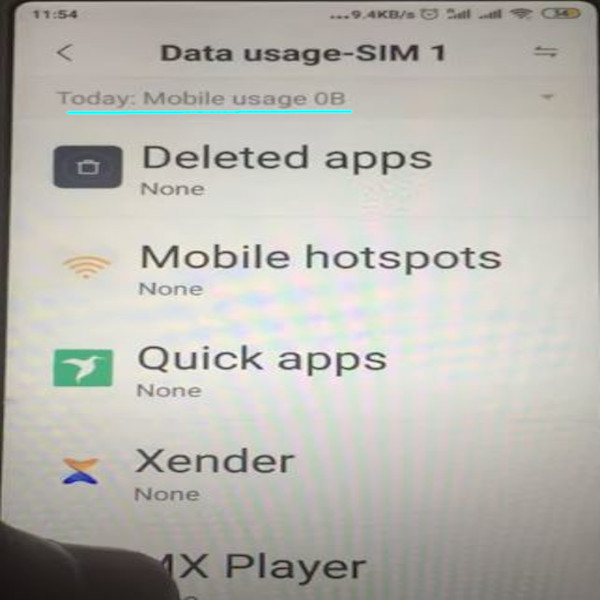
10. Check app data usage to verify updates.

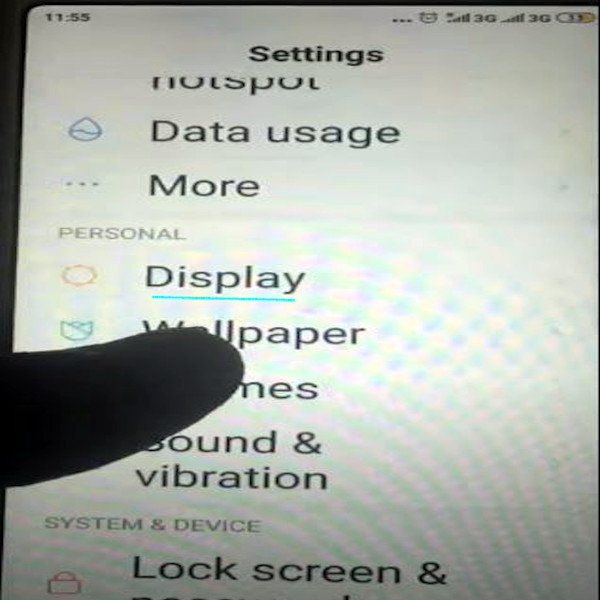
2. Access Display Settings on this screen.
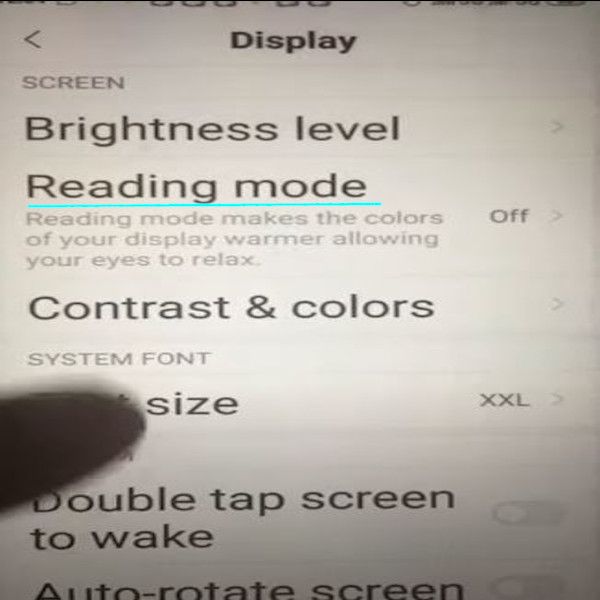
3. Access Reading Mode Settings on this screen.
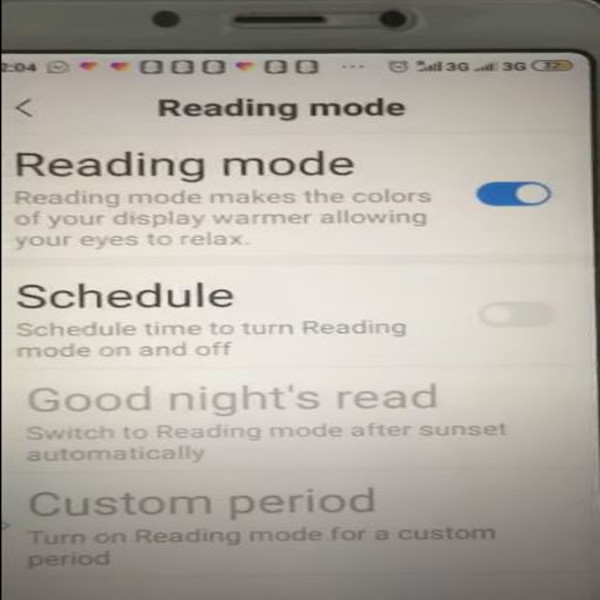
4. Turn Reading mode on/off on this screen.
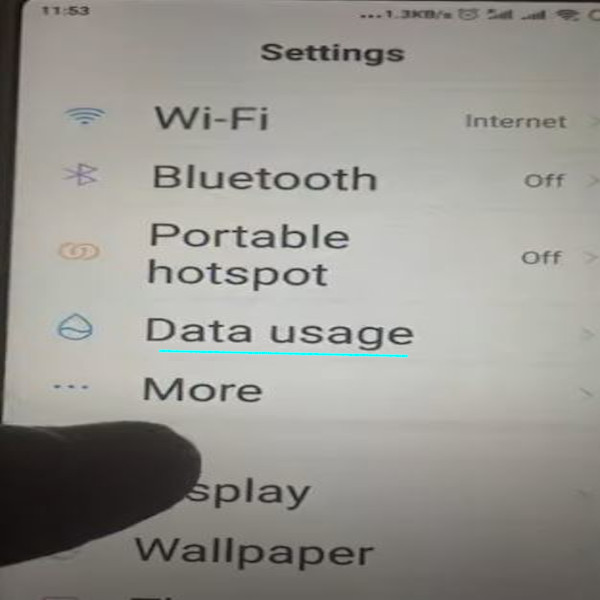
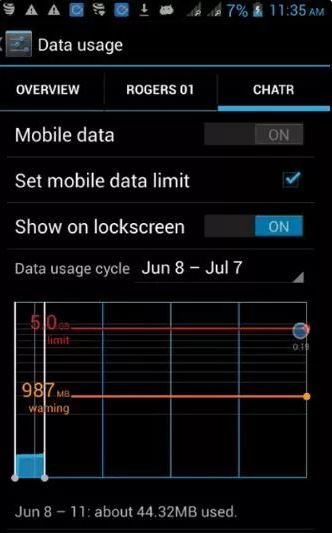
2. Access Data Usage on this screen.
3. Check Mobile App Data Usage on this screen.
In order to send pictures and videos from a smartphone, one needs to have MMS as part of their cell phone plan. Also, one needs to have their MMS settings set up correctly on their phone! Following are the steps to set them up on an Android.
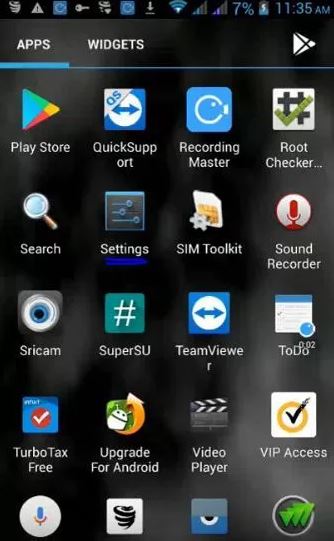
Step 1: Navigate to your smartphone’s home screen

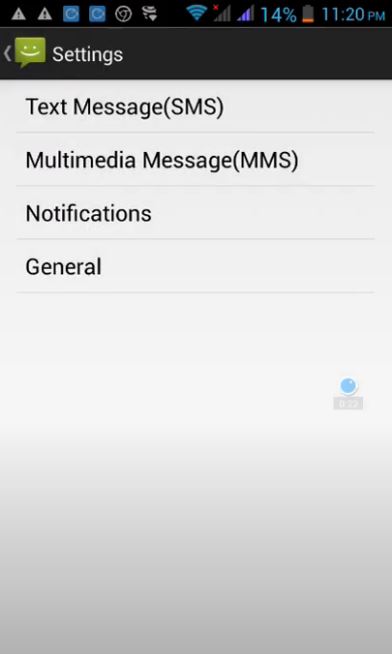
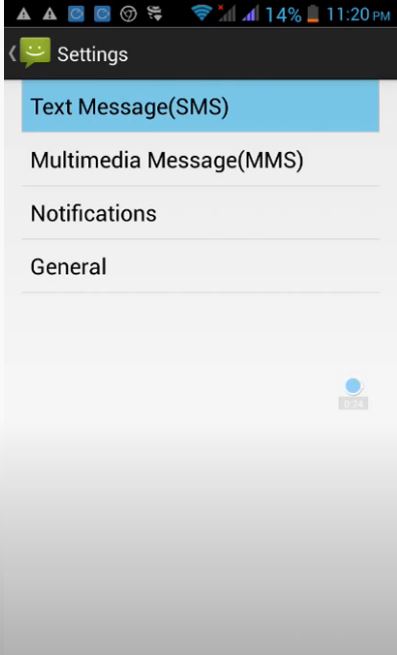
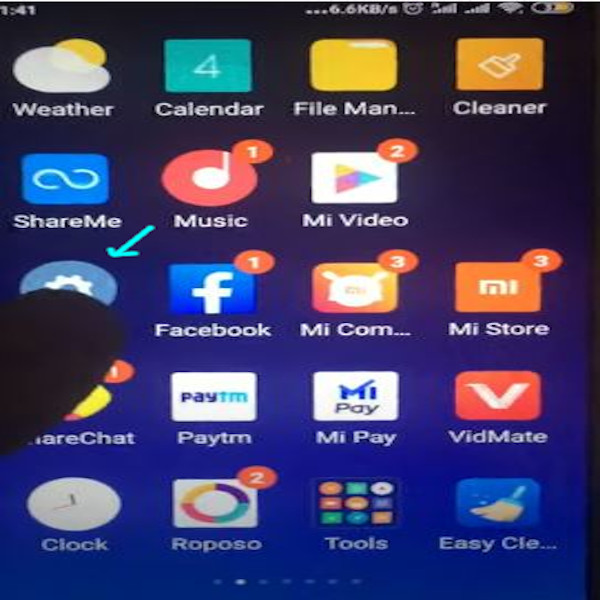
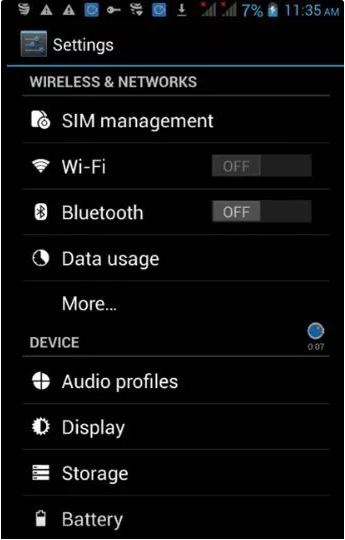
Step 2: Access Your smartphone’s settings

Step 3: Access Your WiFi settings and make sure it’s turned Off.

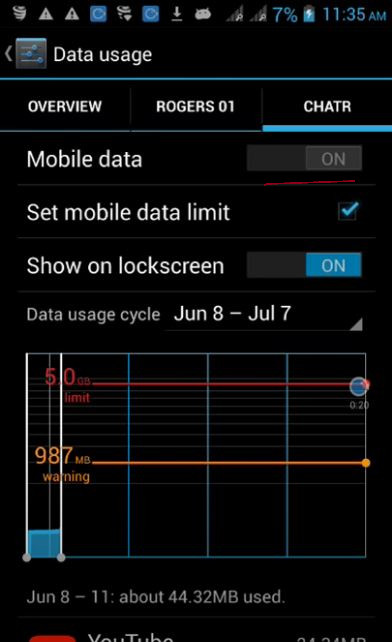
Step 4: Make Sure Your Cellular Data is turned on.

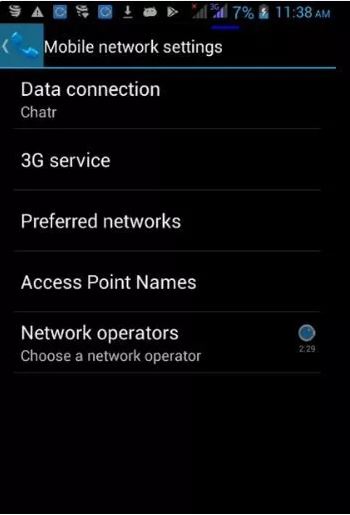
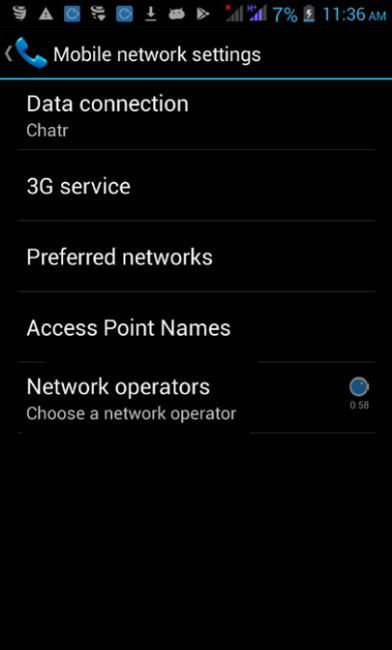
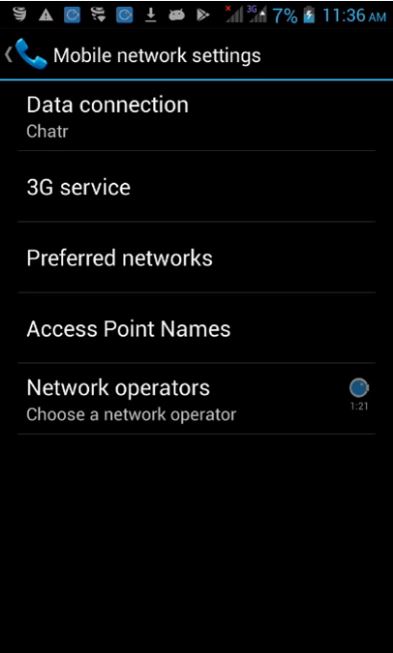
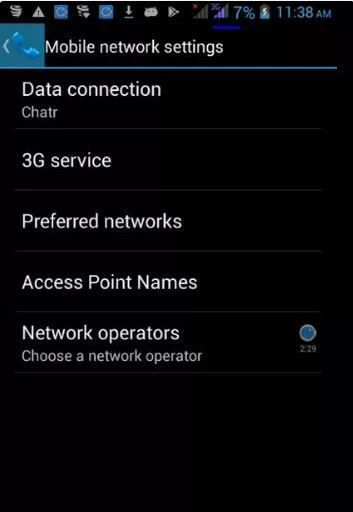
Step 5: Navigate back to your smartphone’s Wireless & Network Settings. Access Your Mobile Networks settings on this screen.
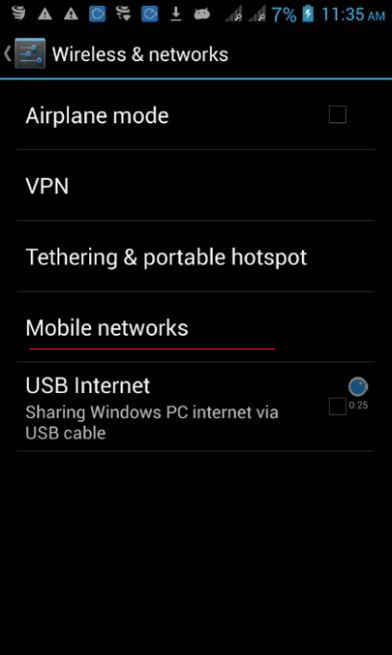
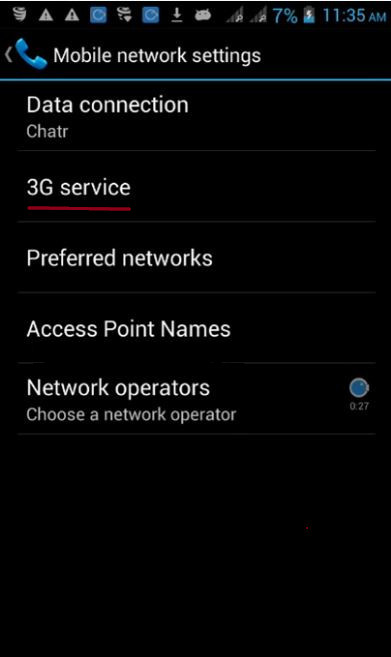
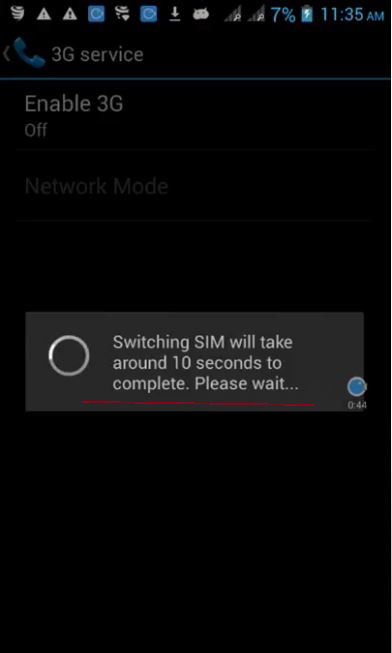
Step 6: If your Network service provider is a 3G Network, access 3G service option under your smartphone’s Mobile Network settings.
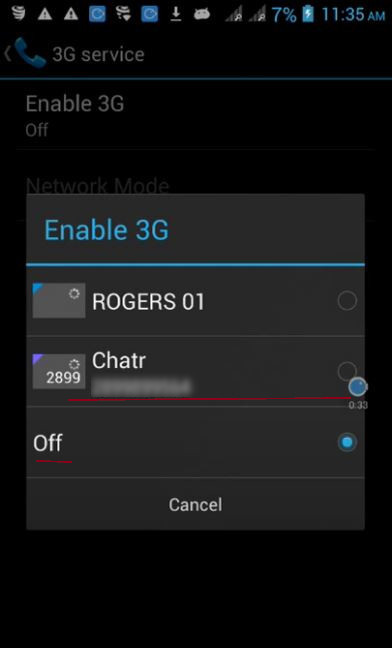
Step 7: Enable 3G service for the SIM card you would like to use to access data and send MMS.

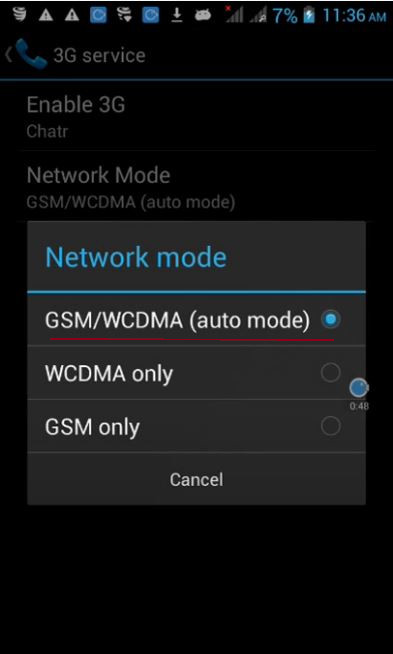
Step 8: Change your Network mode as prescribed by your Network Service Provider.
Step 9: Access Your Preferred Network Settings.
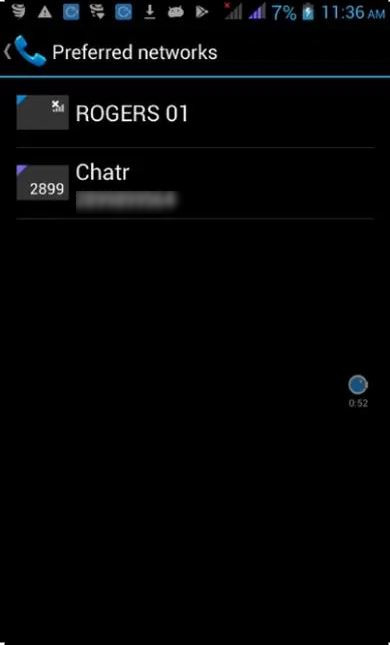
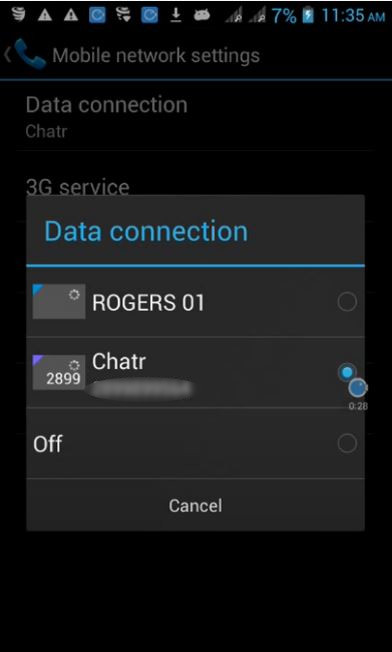
Step 10: Select your Preferred network. This setting is useful especially if one has a phone with dual SIM cards.
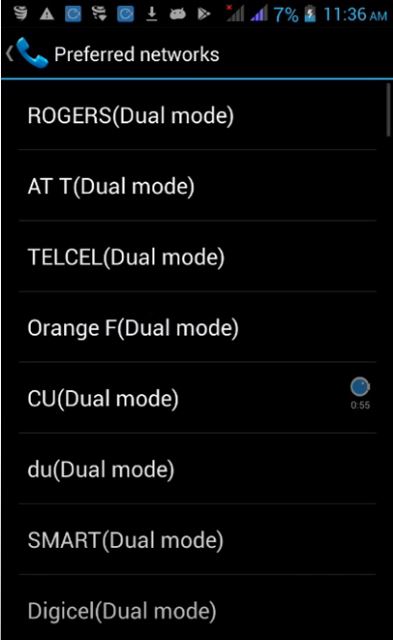
Step 10: Access your smartphone’s Mobile Network Settings and select Network Operators.
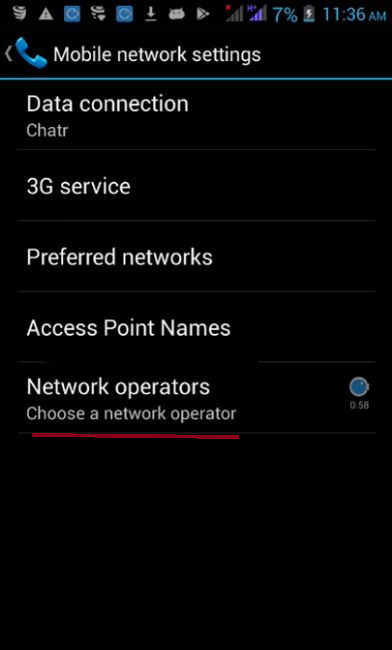
Step 11: Select your smartphone’s Network Operator.

Step 12: Navigate back to your Mobile Network Settings.
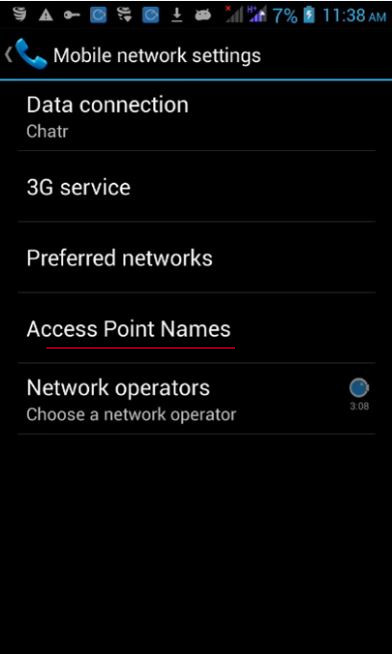
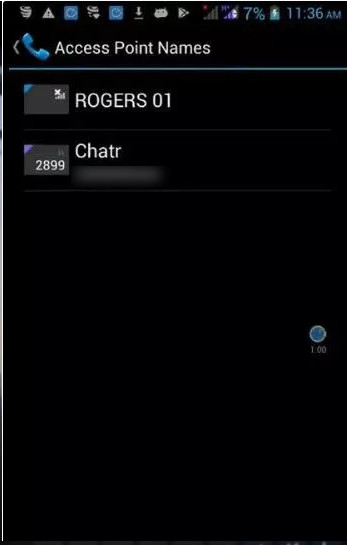
Step 12 : Access Your Access Point Names Settings under Mobile Network Settings.

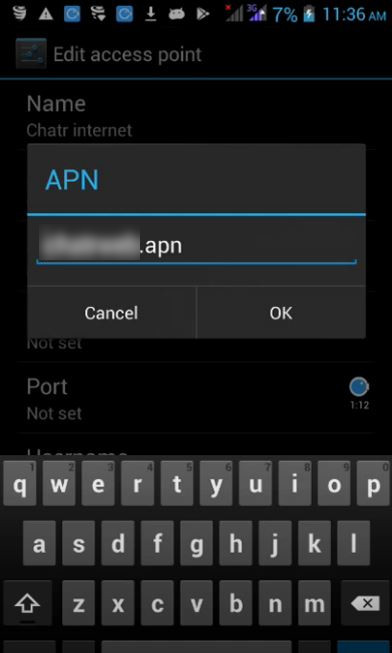
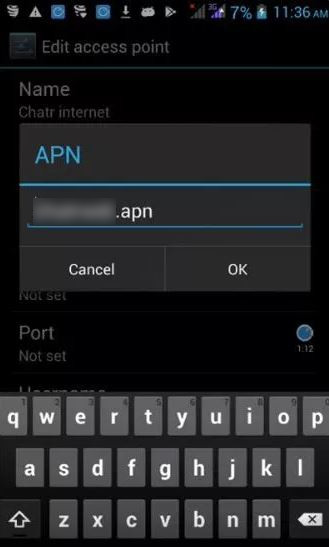
Step 13: Add or Change your Name for Your APN. This name may be anything you may remember in the future.
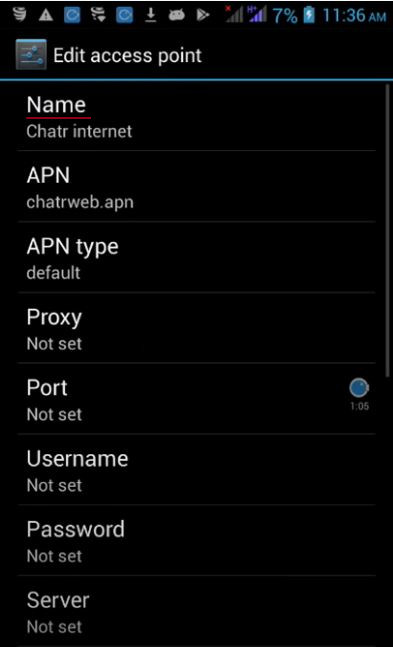
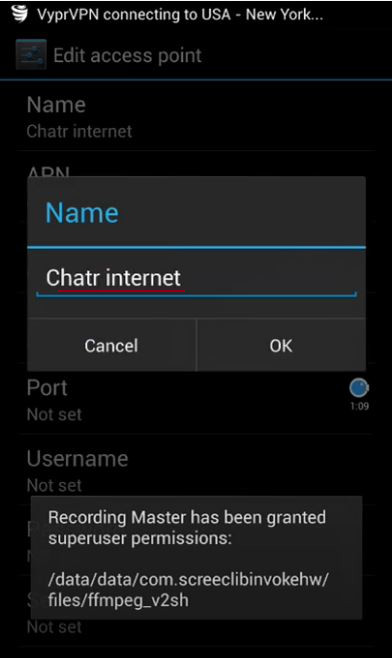
Step 14: Set up an APN for your Access Point Name. You may contact your service provider and request your network’s APN. Make sure you save your APN.
Step 15: Navigate back to your Mobile Network Settings.
Step 16: Access your Access point Names settings once more and add a new APN for your MMS settings.

Step 17: Set up an APN for your Access Point Name. You may contact your service provider and request your network’s APN. Make sure you save your APN.
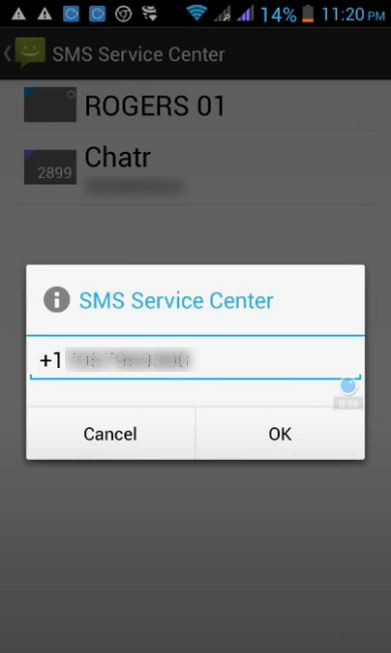
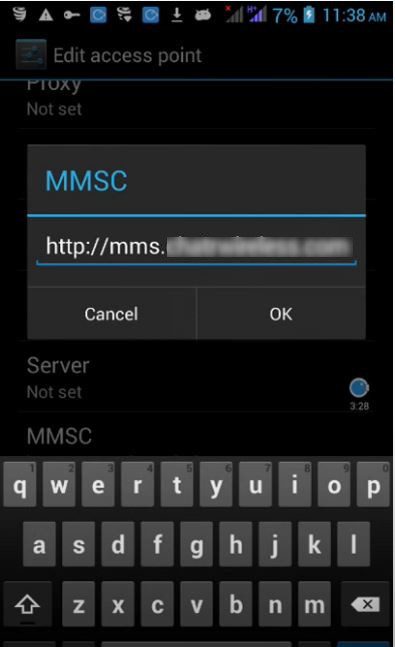
Step 18: Enter your MMSC address provided by your Network service provider.
Step 19: Enter Your MMS Proxy as provided by your network service provider.

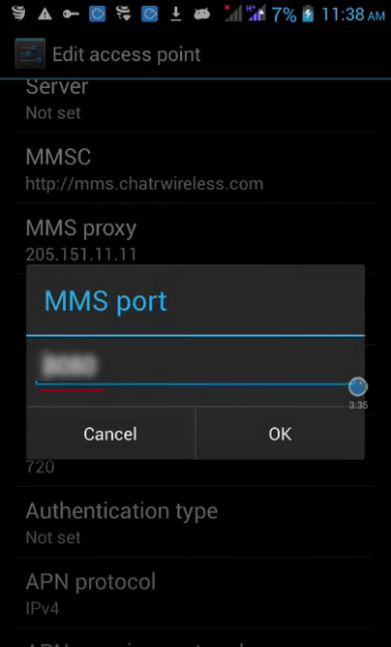
Step 20: Set up a MMS Port as provided by your Network service provider. At this point, you may set up your apn type as MMS. Save Your MMS settings.
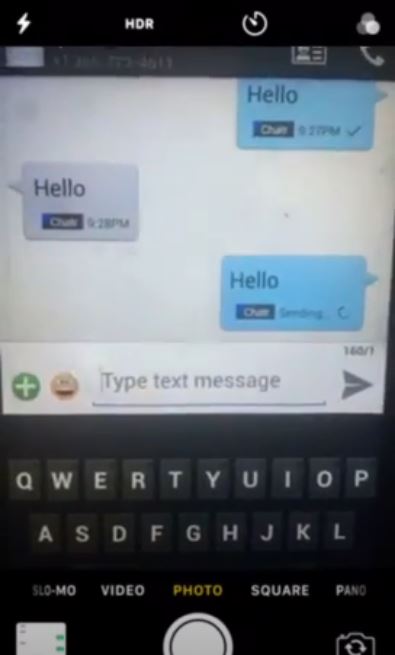
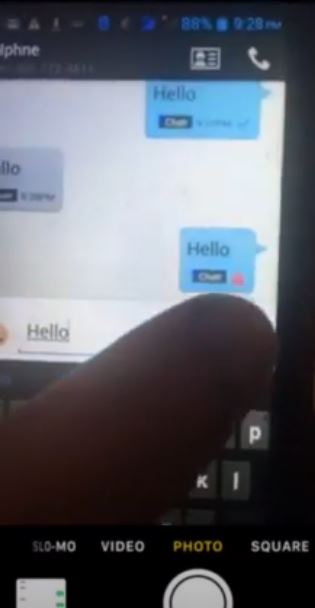
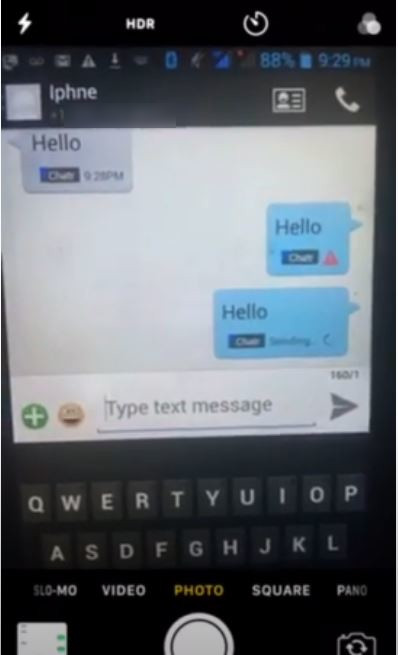
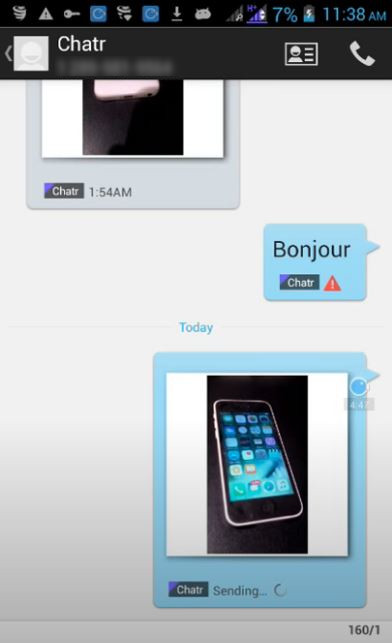
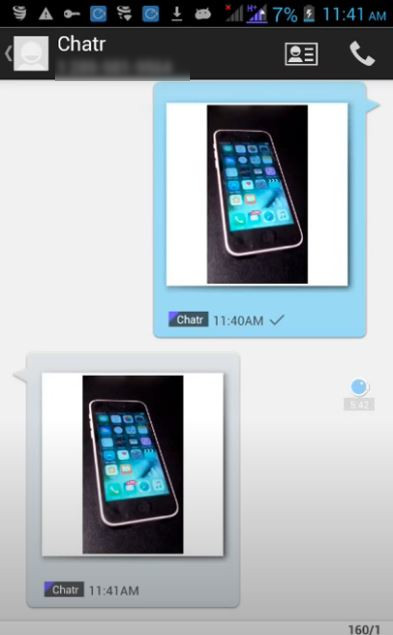
Step 21: Test Your MMS settings by sending a Picture/Photo message via SMS app. You may try sending this MMS to your own phone number.
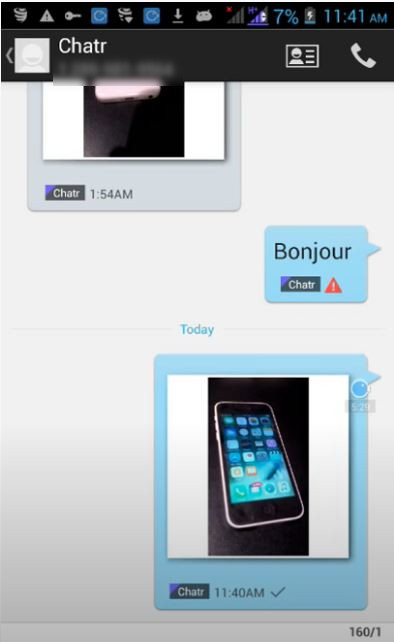
Step 22: Verify that the message has been sent.
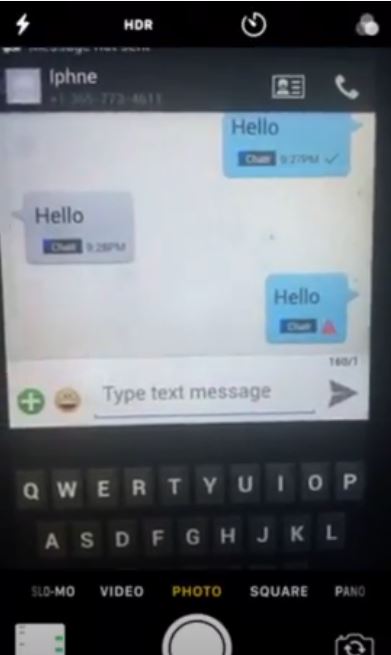
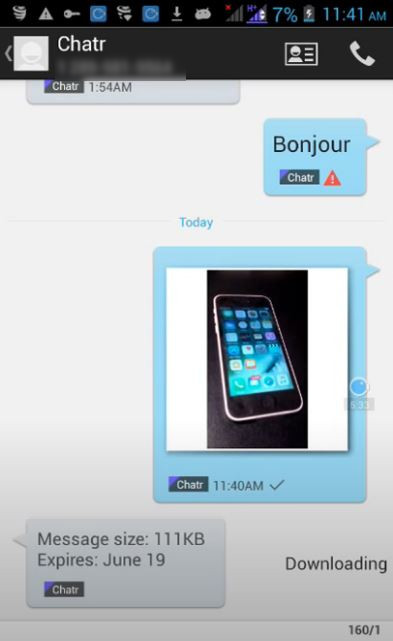
Step 23: If you sent this message to your own phone number, you’ll see an option to download this message. Click on the download option.

Step 24: Verify that message has been downloaded. And make sure, you are able to see this MMS.
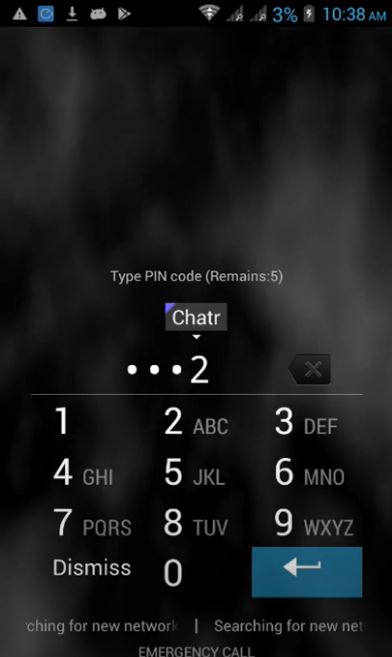
When your device is locked to a certain carrier, you will need a phone unlock code or a network unlock code. This unlock code is for you to unlock your smart phone to all carriers. Once you unlock your phone to all carriers, you will then be able to use a SIM card from any carrier! However, should your SIM be locked, you will need a PUK code. This code is for you to unlock your SIM card! SIM card does not get locked by itself but rather gets locked when one sets up a SIM Pin for their SIM card under their phone settings and enters that PIN incorrectly too many times! Usually, one gets prompted to enter their SIM PIN only after their phone had been inactive for quite some time or if they rebooted their device. Following are the steps to set up a SIM PIN and unlock your SIM using your PUK Code….
Step 1: Should you be prompted to enter your SIM PIN for security, enter your four digit SIM PIN.

Step 2: Keep trying until you unlock the SIM with a correct PIN.
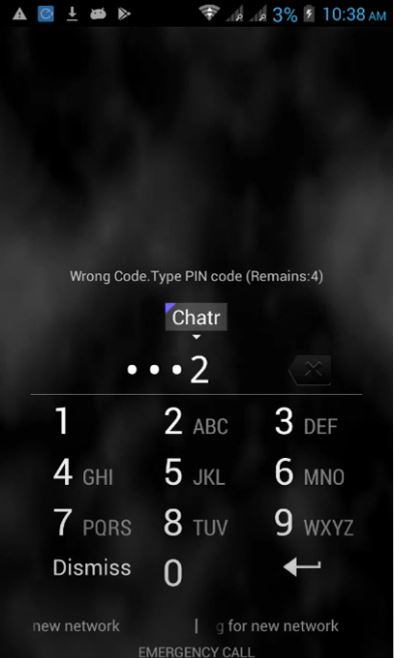

Step 3: Once you’ve made five attempts or so, you’ll be requested to enter a PUK code. Call your network service provider to get this code!
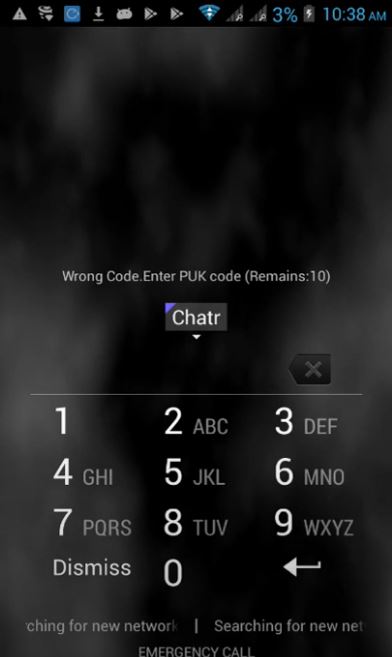
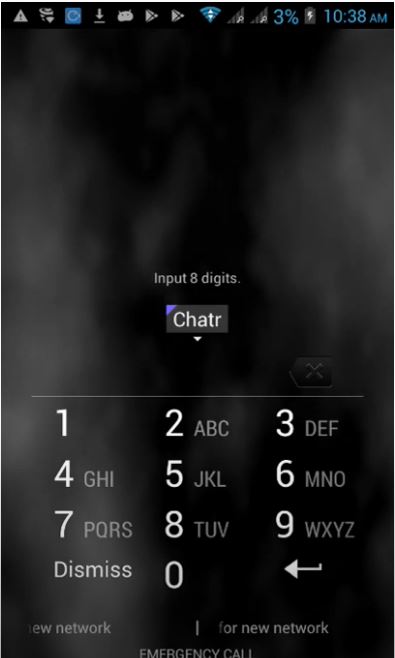
Step 4: Type in an eight digit PUK Code.
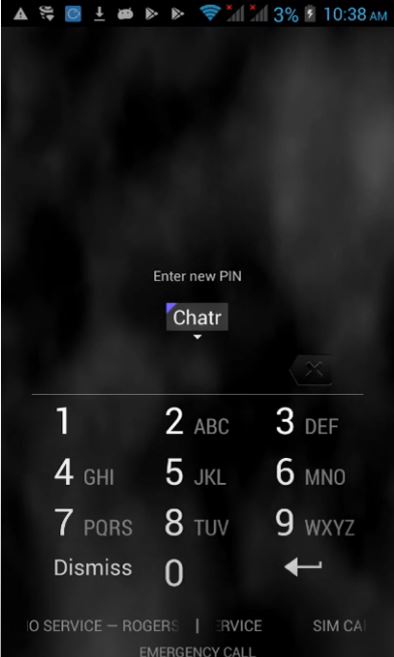
Step 5: Set up a new SIM PIN.

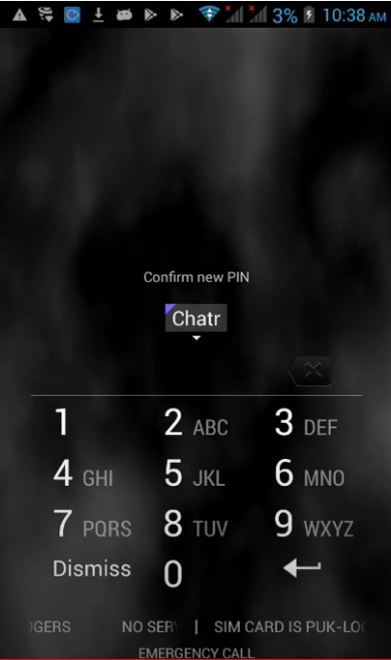
Step 6: Confirm the new SIM PIN.
Step 7: Test your new SIM PIN by typing it once more.
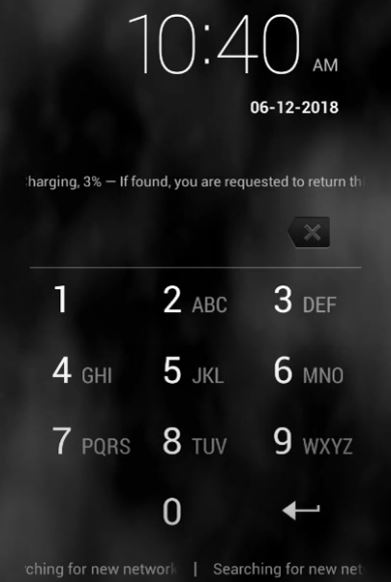
Step 8: At this point, you’ve successfully unlocked your SIM PIN. You may start using your device as usual.
2. Make sure WIFI setting is turned off.
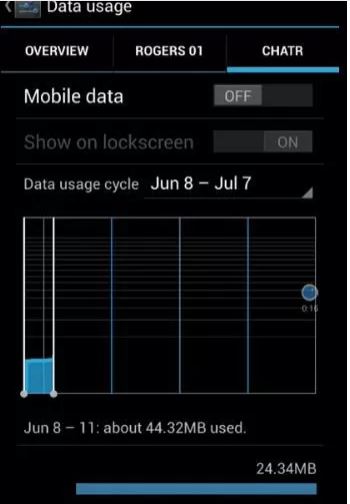
3. Make sure your mobile data is turned on under data usage.
4. Access Mobile Network settings on the same screen. On some Androids, you might see an option for cellular networks.
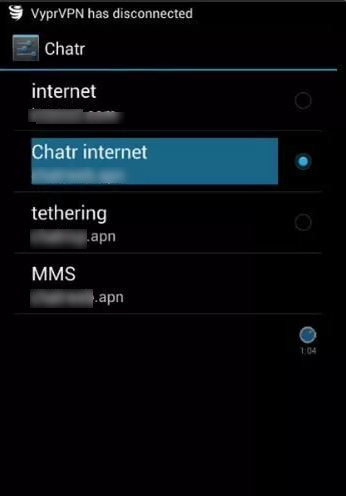
5. Under Mobile Network Settings, click on Access point Names.
6. Create a new Access Point Name under mobile networks. Type in a name for your access point name. Your name may be “something you may remember in the future”.

7. Type in your APN for your new Access Point Name. Contact your service provider if you don’t know your APN.
8. Set up an APN type. For data, you may select your apn type as default.

9. Save your new APN.
10. Check for data symbol beside your signal bar. If you see a 3G, H+ or 4G symbol, you should be able to access your data. You may proceed to test your data speed at this point.