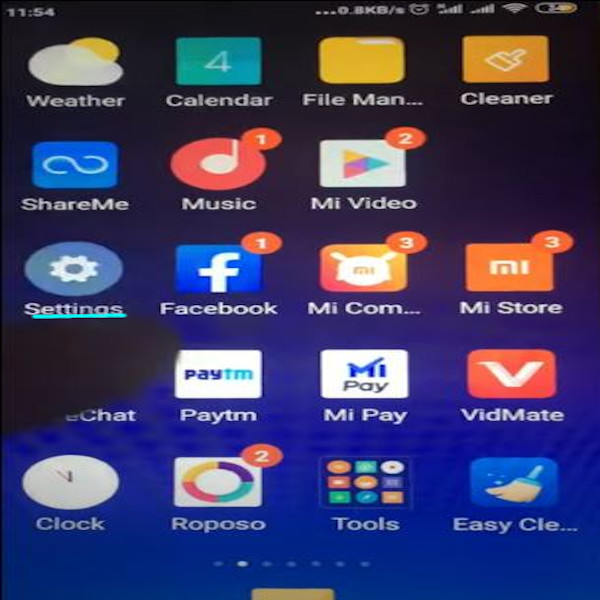
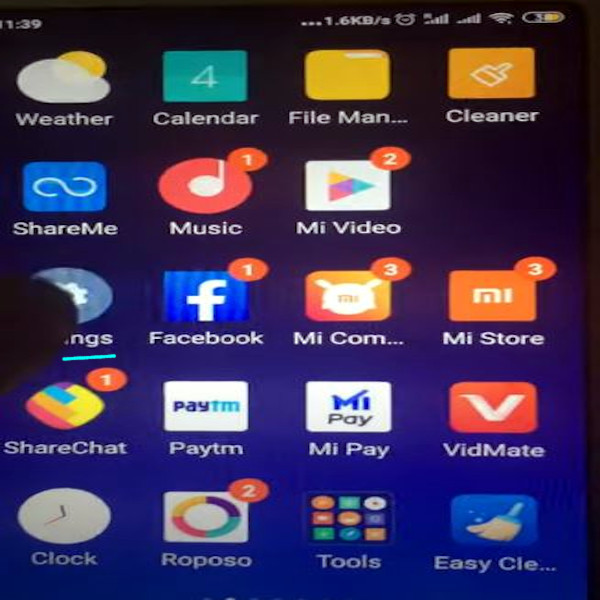
- Access home screen on the Android. Access Settings on this screen.

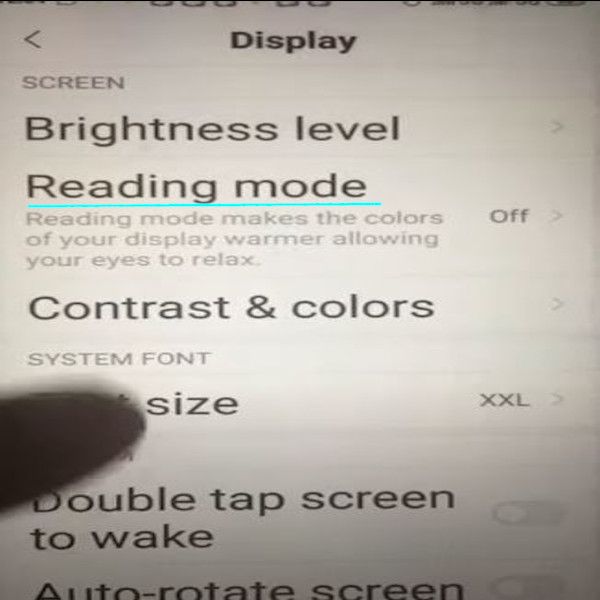
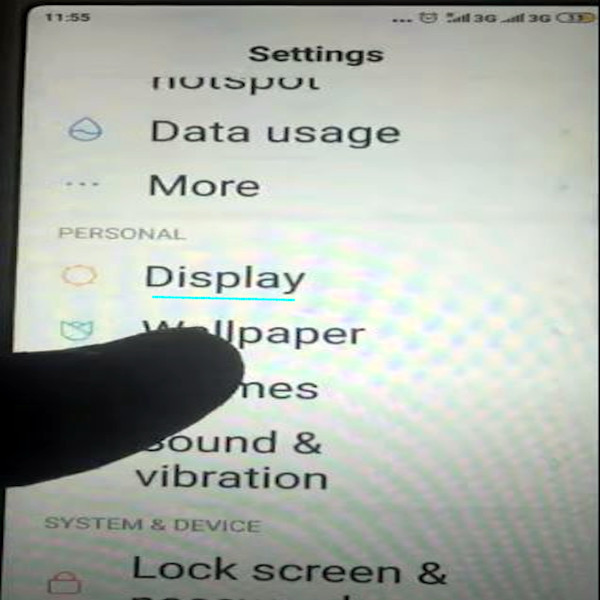
2. Access Display Settings on this screen.

3. Access Reading Mode Settings on this screen.
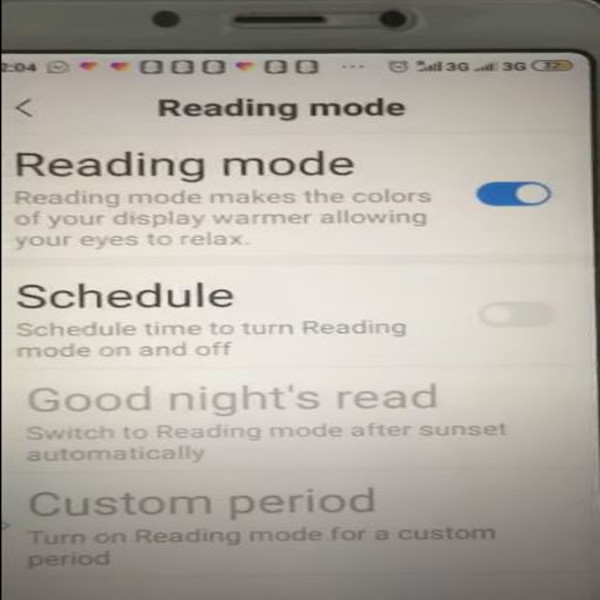
4. Turn Reading mode on/off on this screen.
2. Access Display Settings on this screen.
3. Access Reading Mode Settings on this screen.
4. Turn Reading mode on/off on this screen.

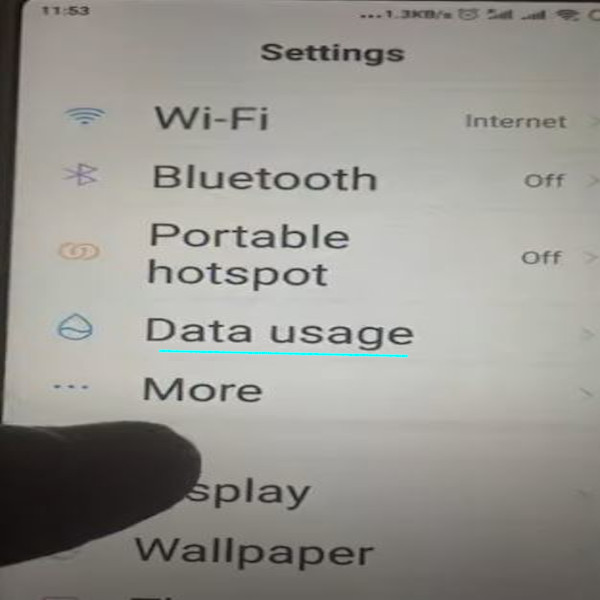
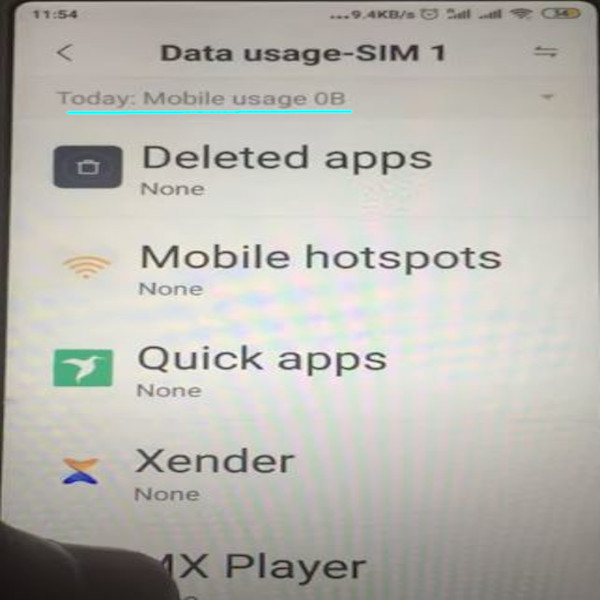
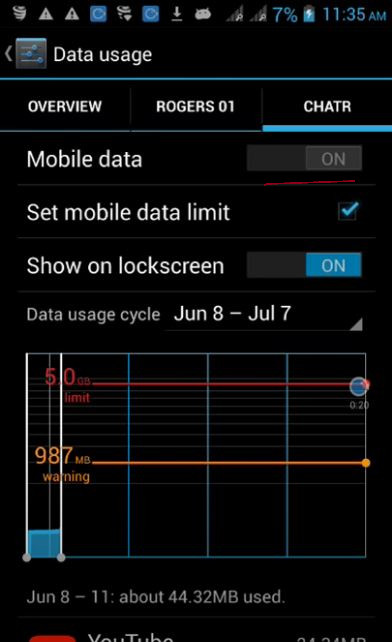
2. Access Data Usage on this screen.
3. Check Mobile App Data Usage on this screen.
2. Access Display Settings on this screen.
3. Access Brightness Level Under Display settings.

4. Change Brightness by moving the slider to the left and then right on this screen…
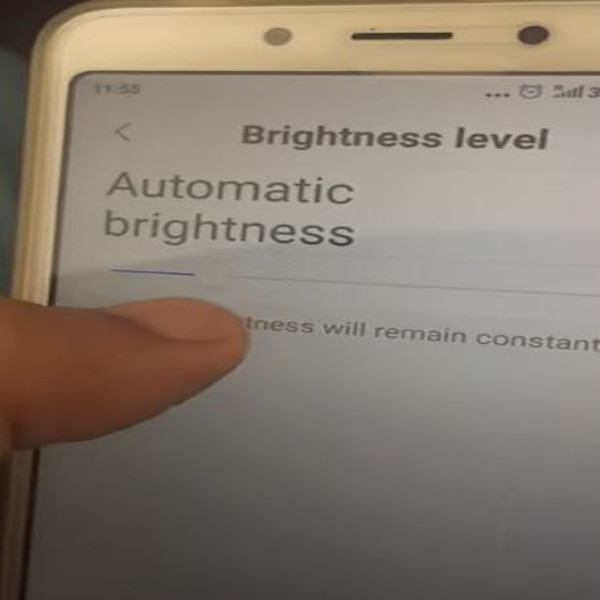
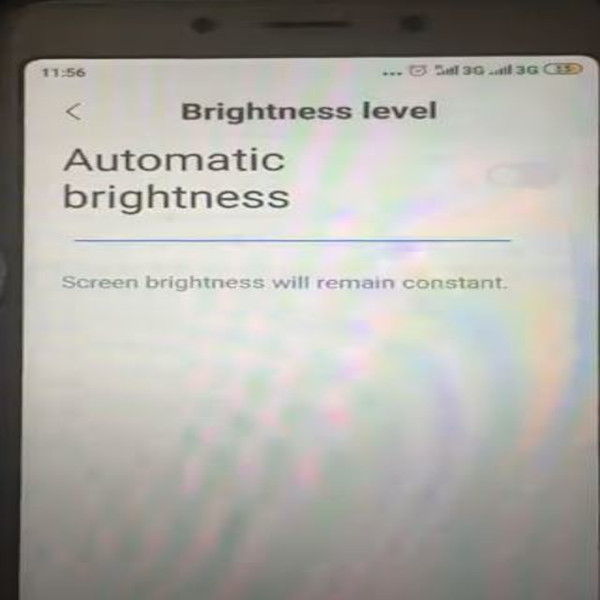
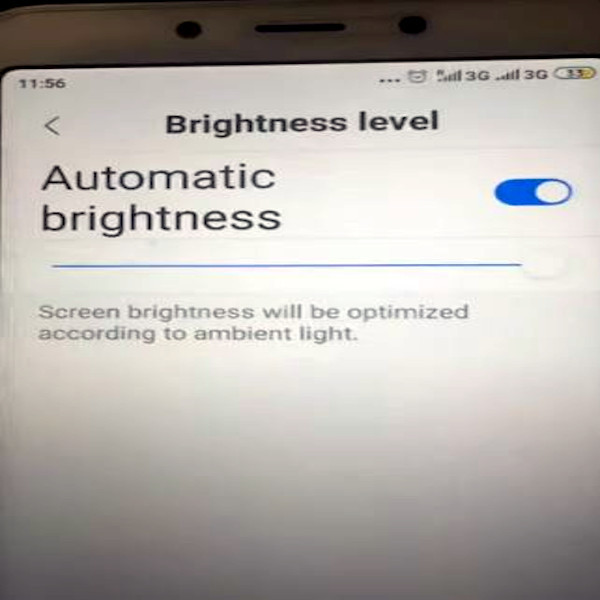
5. One may also choose automatic brightness option on this screen.

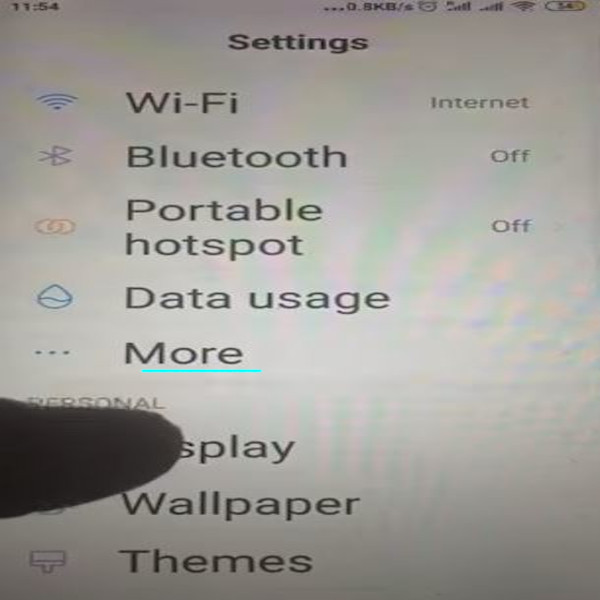
2. Access More under settings.
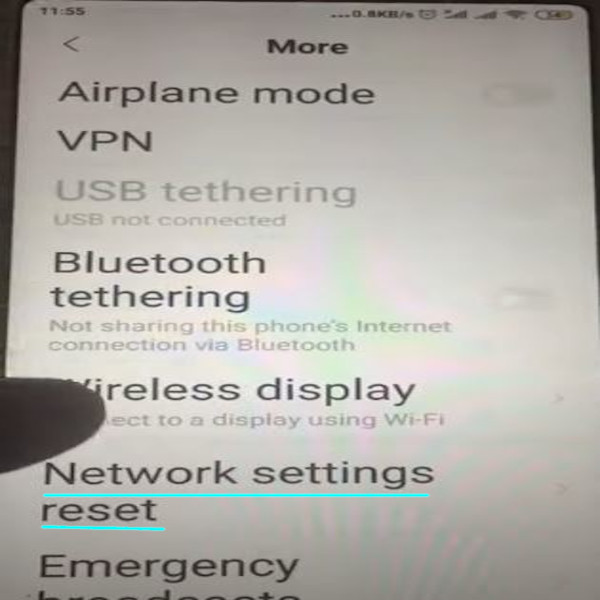
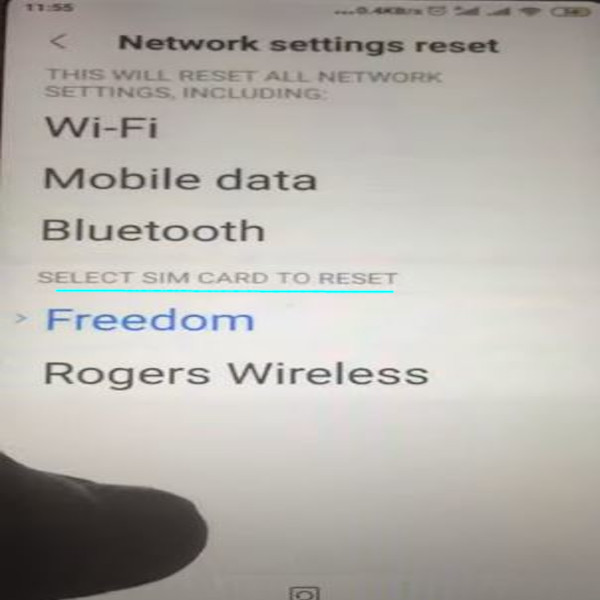
3. Access Network Settings Reset option on this screen.
4. Select a SIM on this screen.
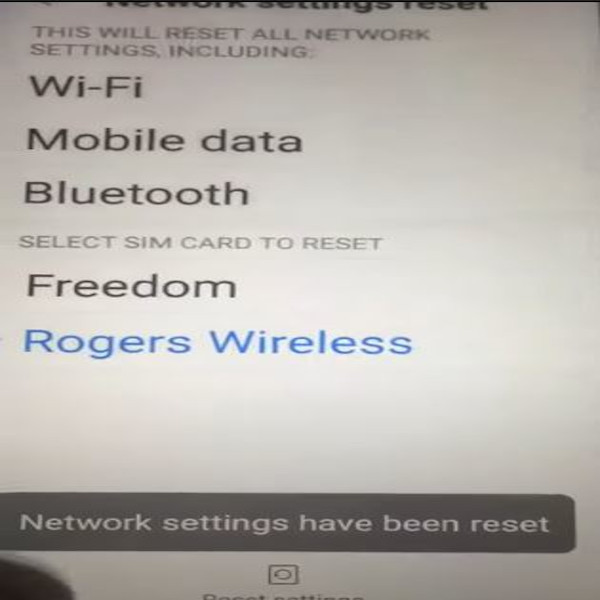
5. Confirm Network settings reset.

6. Verify that your network settings have been reset.
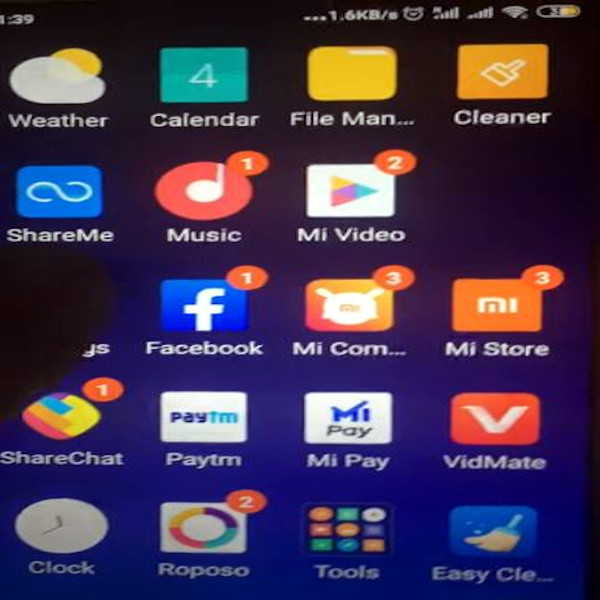
2. Access Settings on this screen.
3. Access About Phone option on this screen.
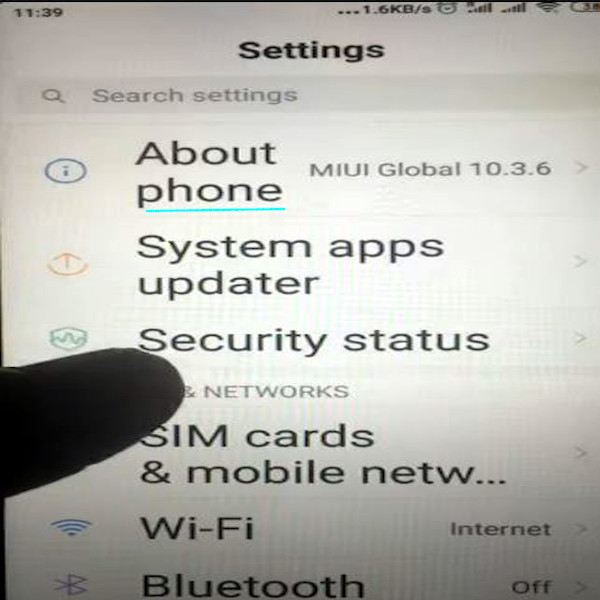
4. Access Status on this screen.

5. Access Imei Information on this screen
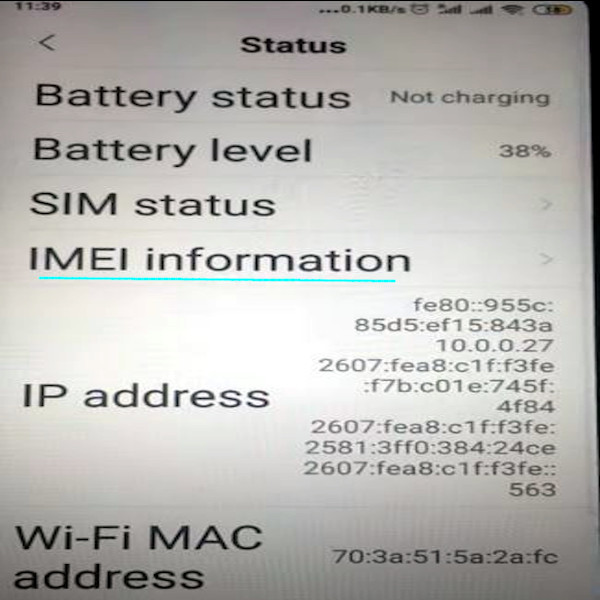
6. Verify your IMEI Number.

To change font size on your IOS, follow the steps below..
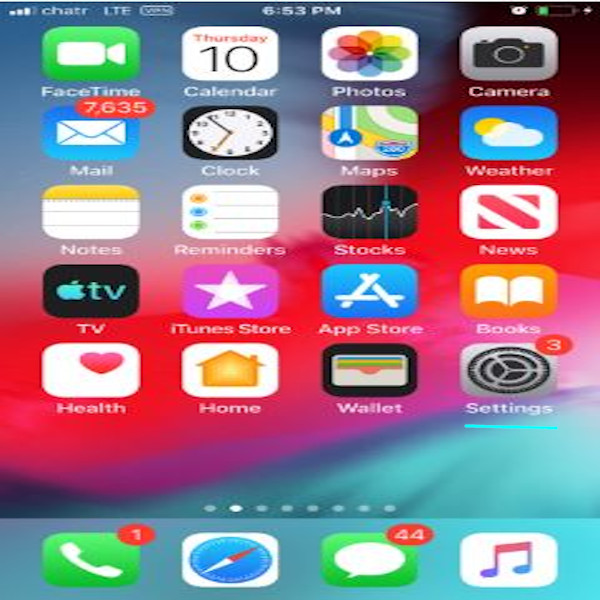
2. Access Iphone Settings.
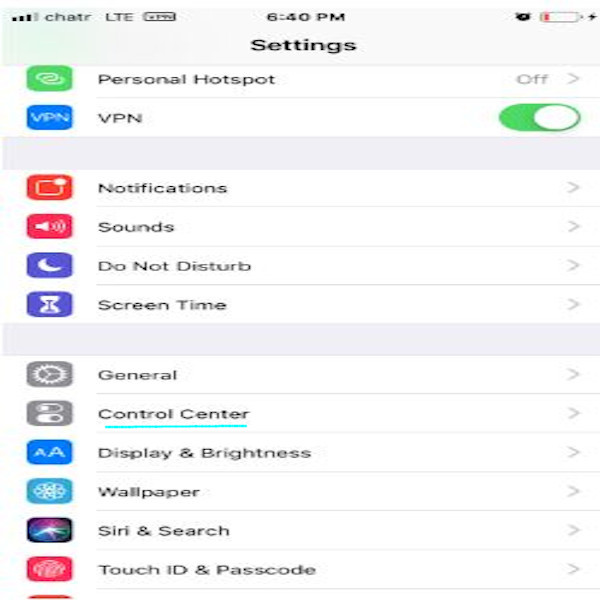
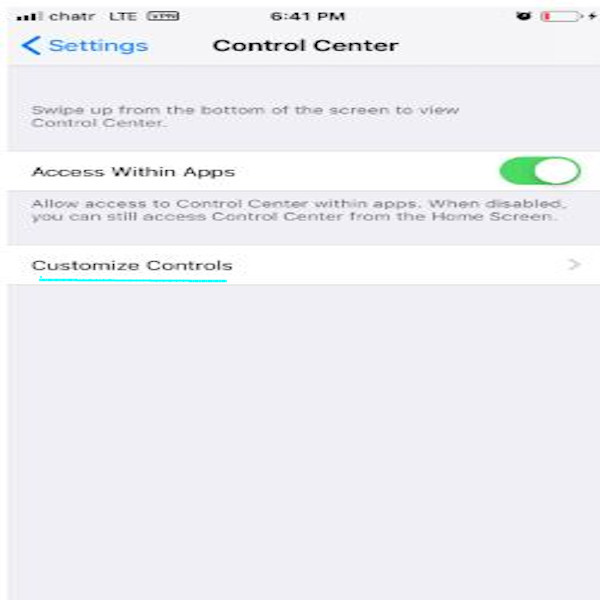
3. Access Control Center under Iphone Settings.
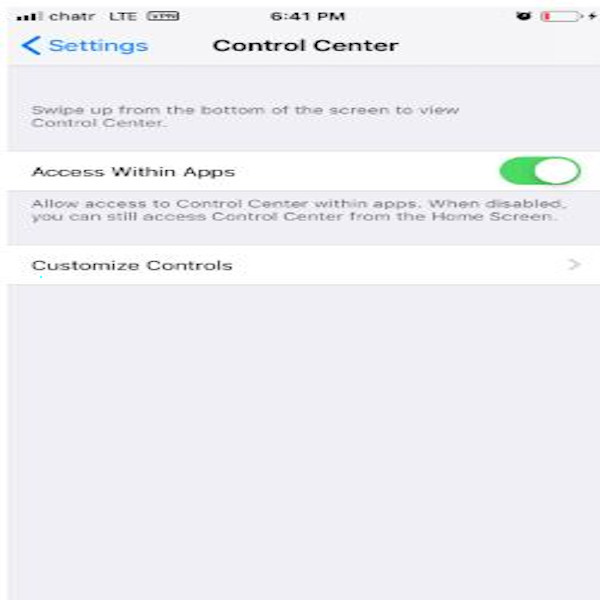
4. Access Customize Control under Control Center Settings.
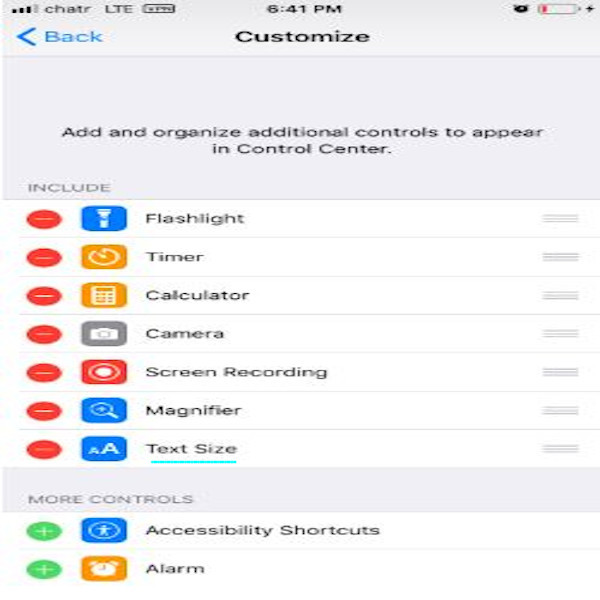
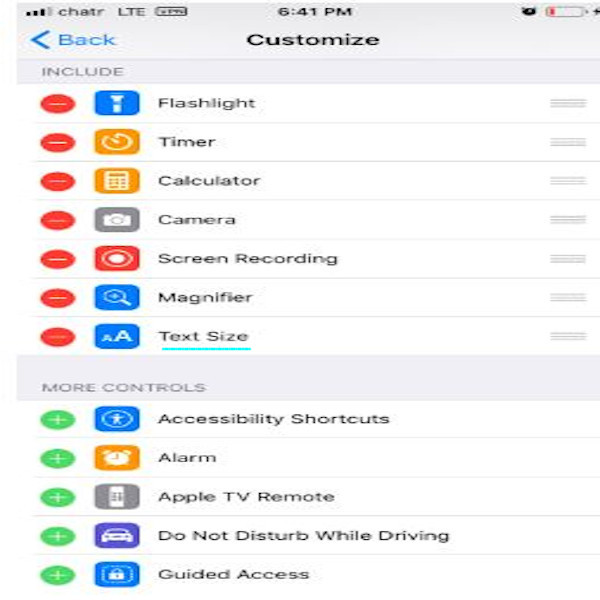
5. Add Text Size Control Option on this screen.
6. Slide from bottom of the screen to the top to access control center options.
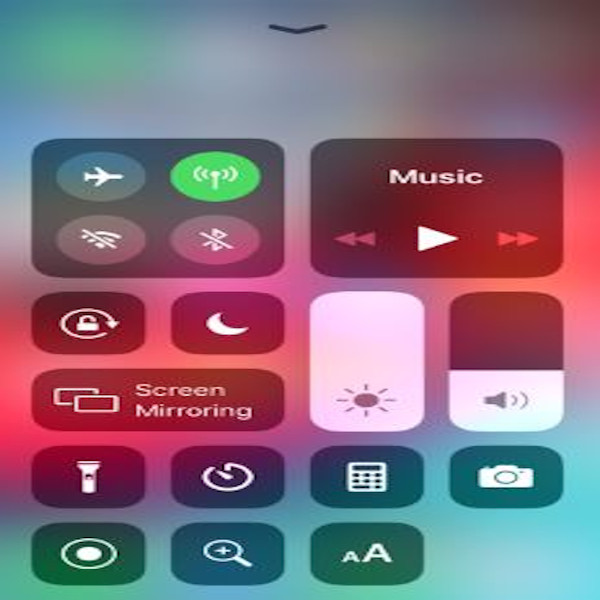
7. Use the Text Size Control option to adjust font size.


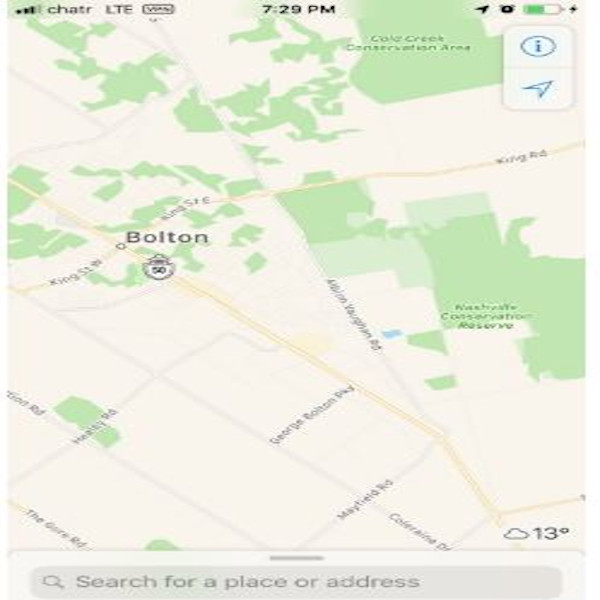
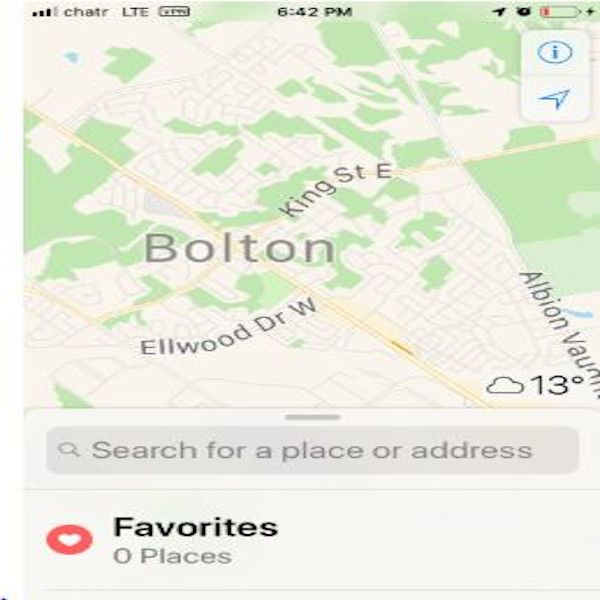
8. Check and verify font size adjustment on google Maps.
There is a neat setting on most I phones if not all that allows users to manage and block incoming calls while busy with work or business. The Do Not Disturb Mode setting on I phones lets users manage and block calls. The following steps will show you how to access and use this setting effectively.
Step 1: Access your home screen on your I Phone.


Step 2: Access settings on your I phone’s Home screen.
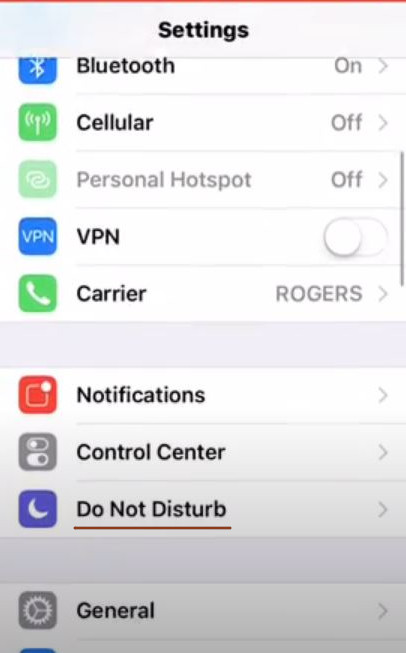
Step 3: Navigate to your Do Not Disturb Mode setting on this screen.
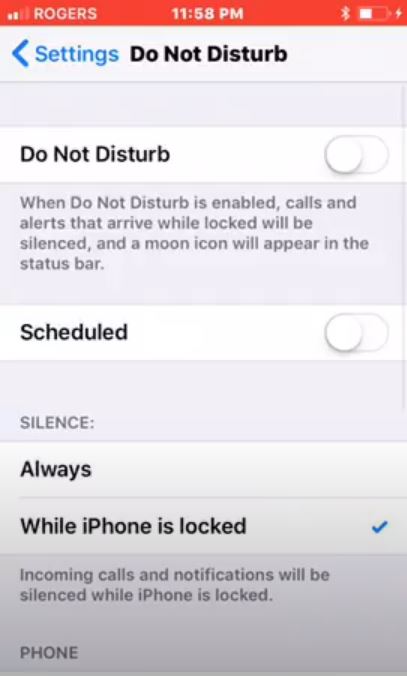
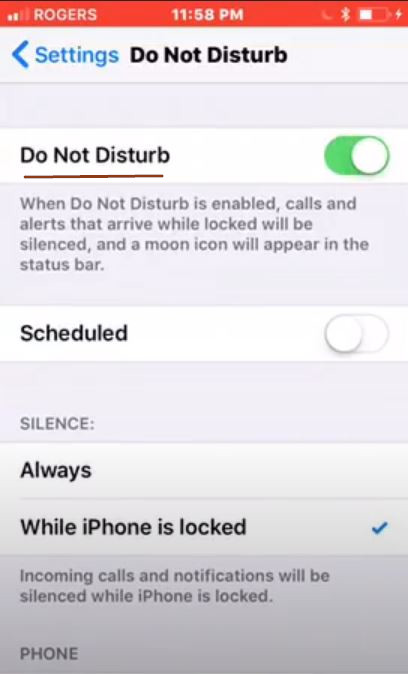
Step 4: Turn ON your Do not Disturb Mode by moving the slider to the right. At this point, all calls and notifications that arrive while the phone is locked will be silenced.
As you may have noticed, there is an option to schedule your Do Not Disturb Mode setting. This option has many applications like Work time, Bed time, Driving etc.
Step 5: Turn the Scheduling option ON by moving the slider to the right.
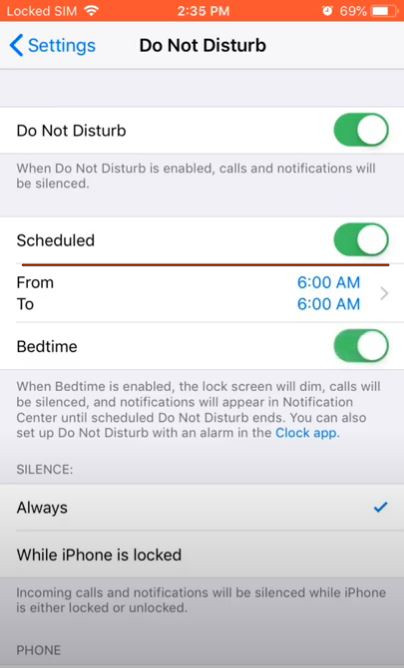
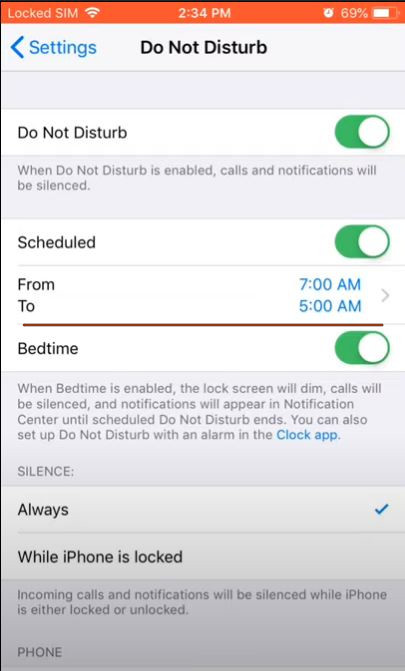
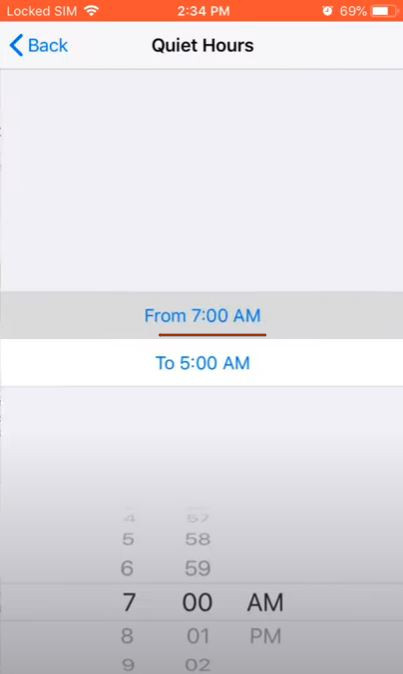
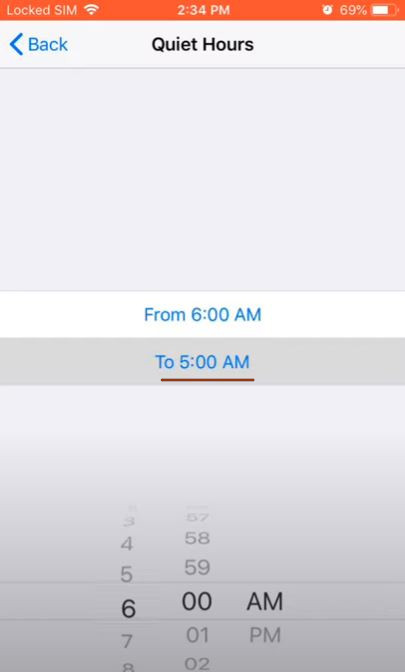
Step 6: Set the hours for Scheduled Do Not Disturb Mode.
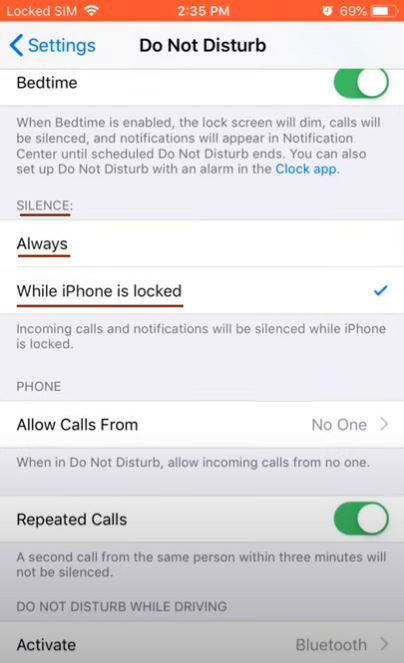
Step 7: Turn ON Bed time if you need to silence your calls.


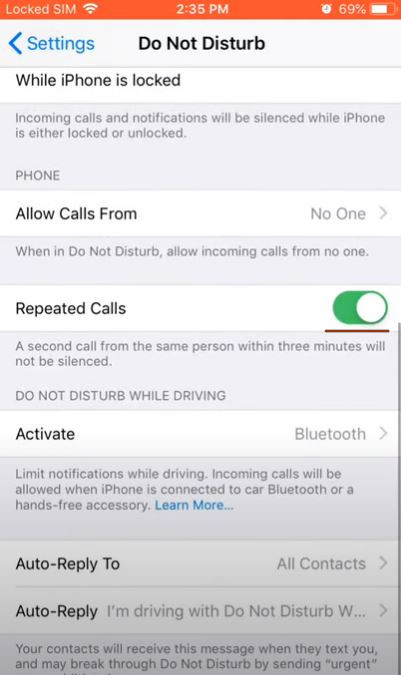
Step 8: Change the Silence settings to either Always silenced or silenced only while the I phone is locked. Should you need to silence your phone even while your I Phone is not on lock screen, you may use the Always Silenced option. If not, you may use the “While I phone is locked” option to silence your calls and notifications while your phone is on the lock screen.
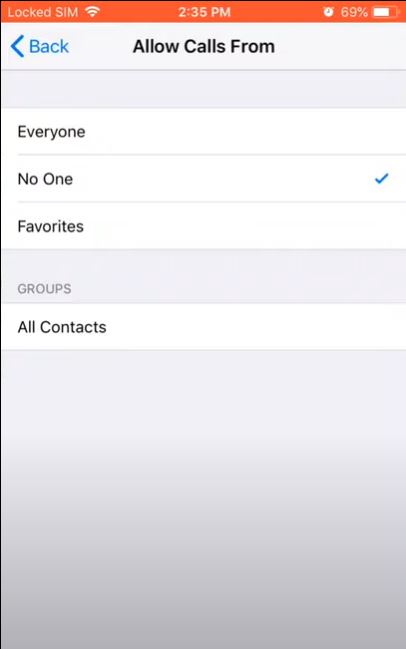
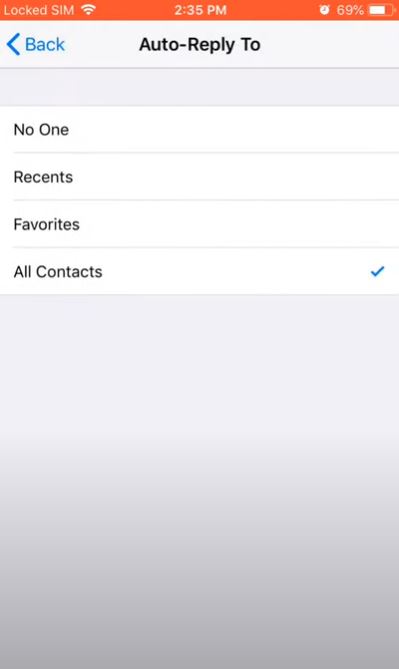
Step 9: Navigate to Allow Calls From and change this option to either “Everyone“, “No One“, “Favourites“, “All Contacts“.

Step 10: Should you have an Employer or Business Contact on the list, you may turn ON the Repeated Calls option. This option lets a second call from the same person go through. This option is great for emergencies.
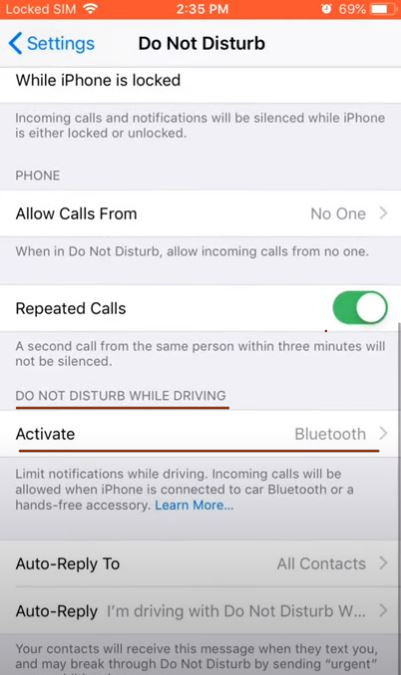
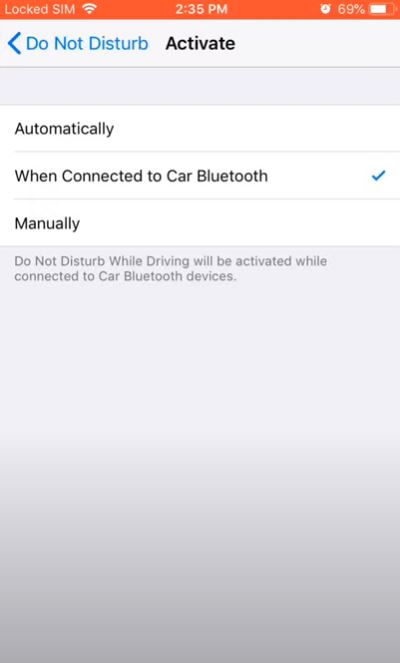
Step 11: You may now access the Do Not Disturb While Driving option on this screen. This option is perhaps one of the most useful setting on this screen. Should you have a GPS or blue tooth enabled device connected to your phone, this option will silence your calls and notifications as soon as you turn your GPS ON and activate your Bluetooth device.
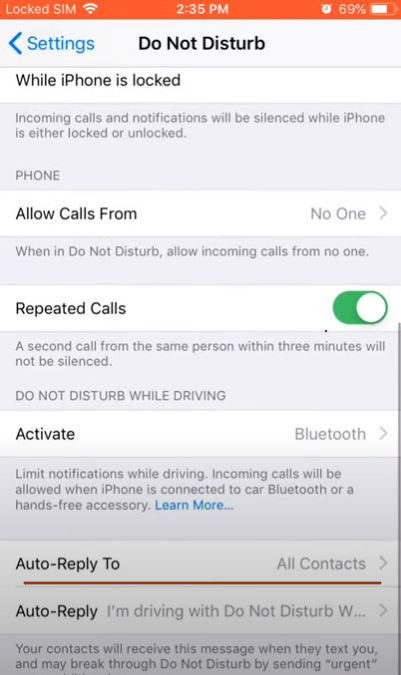
Step 12: Should you need to let your callers or contacts know about your status, whereabouts or the reason why you are not able to attend their calls, you may use the Auto-Reply setting on this screen. You may also choose your own message for this reply!

In order to send pictures and videos from a smartphone, one needs to have MMS as part of their cell phone plan. Also, one needs to have their MMS settings set up correctly on their phone! Following are the steps to set them up on an Android.
Step 1: Navigate to your smartphone’s home screen
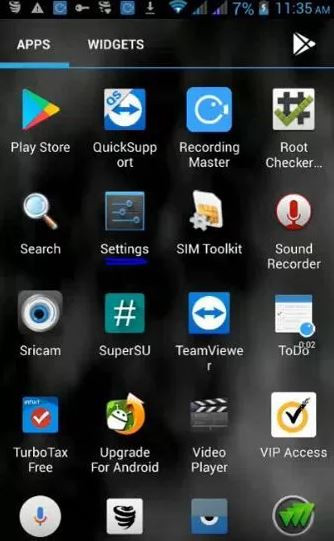
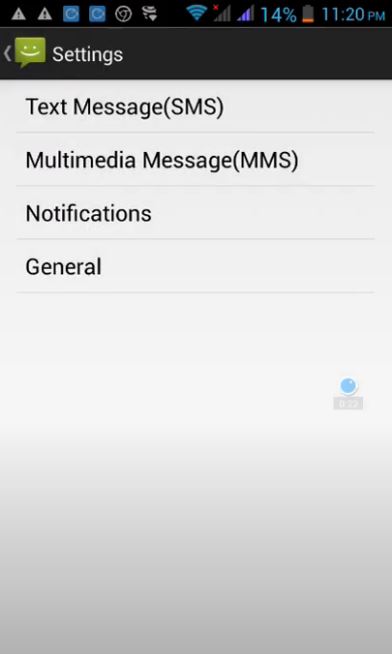
Step 2: Access Your smartphone’s settings

Step 3: Access Your WiFi settings and make sure it’s turned Off.

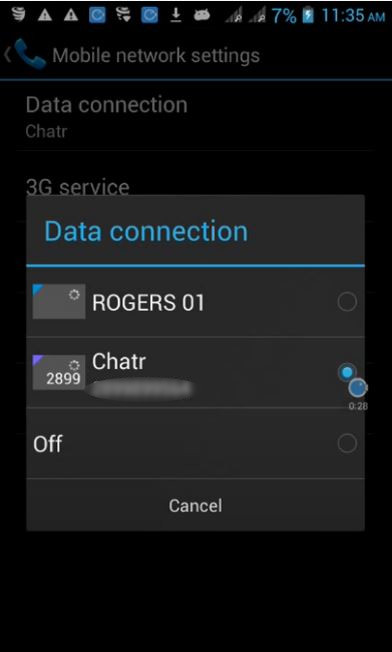
Step 4: Make Sure Your Cellular Data is turned on.

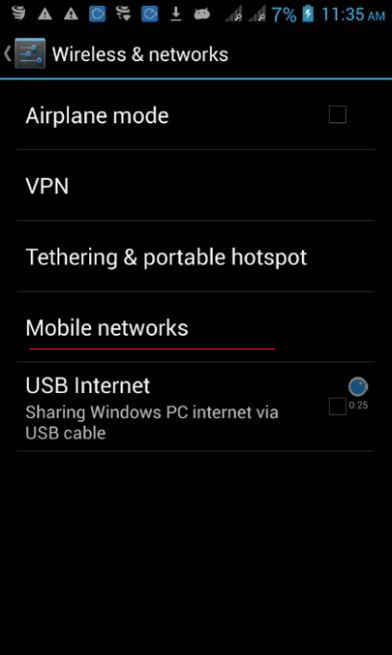
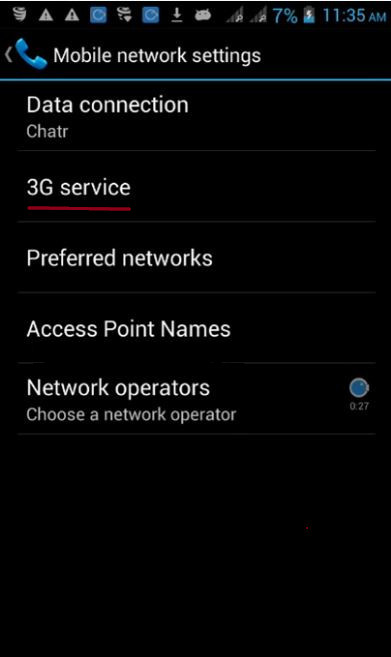
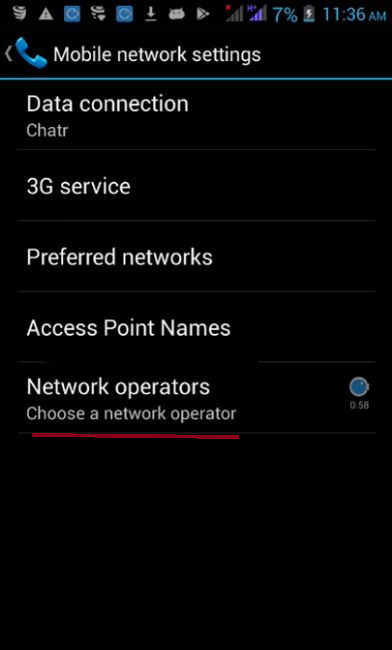
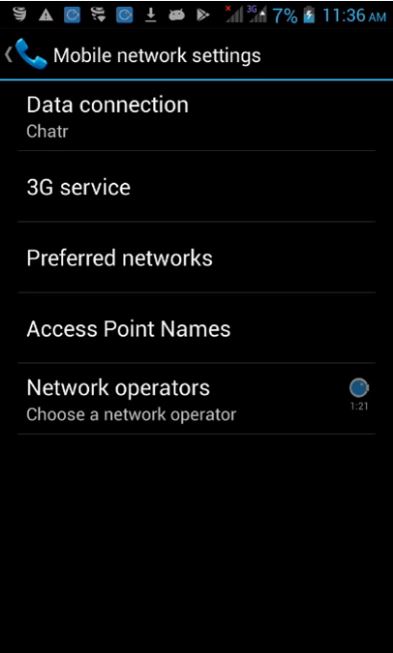
Step 5: Navigate back to your smartphone’s Wireless & Network Settings. Access Your Mobile Networks settings on this screen.
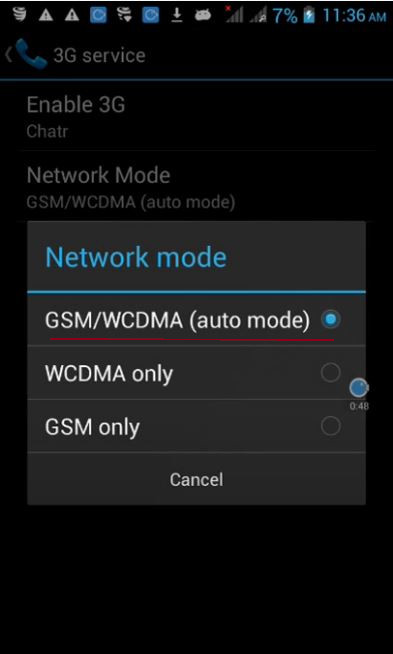
Step 6: If your Network service provider is a 3G Network, access 3G service option under your smartphone’s Mobile Network settings.
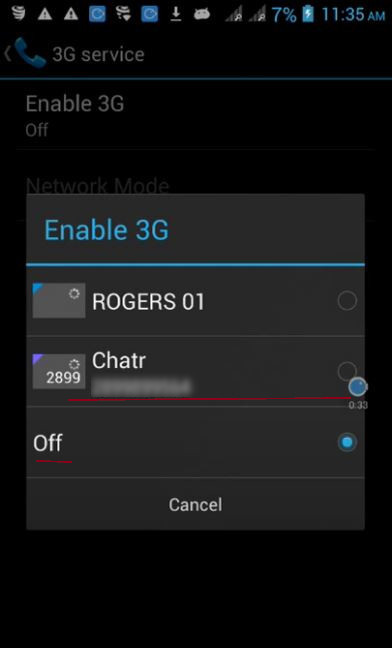
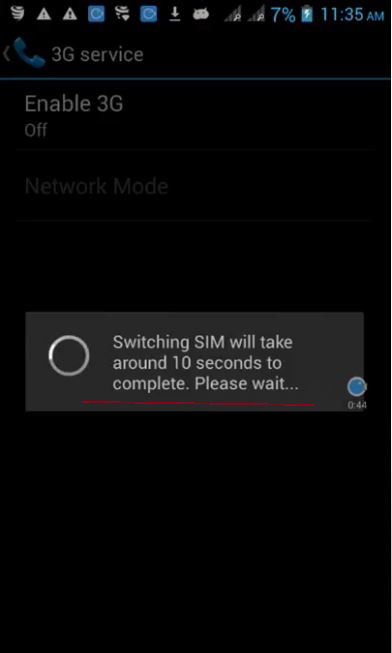
Step 7: Enable 3G service for the SIM card you would like to use to access data and send MMS.

Step 8: Change your Network mode as prescribed by your Network Service Provider.
Step 9: Access Your Preferred Network Settings.
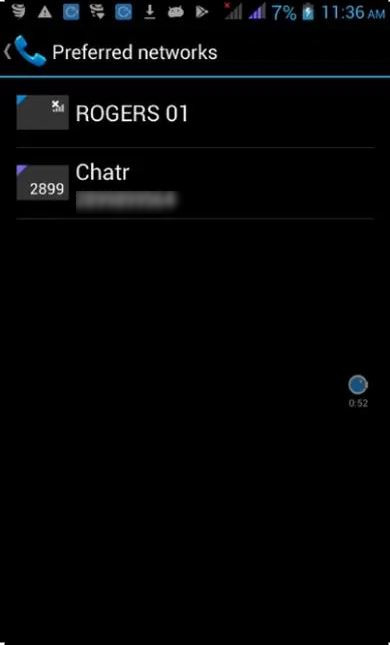
Step 10: Select your Preferred network. This setting is useful especially if one has a phone with dual SIM cards.
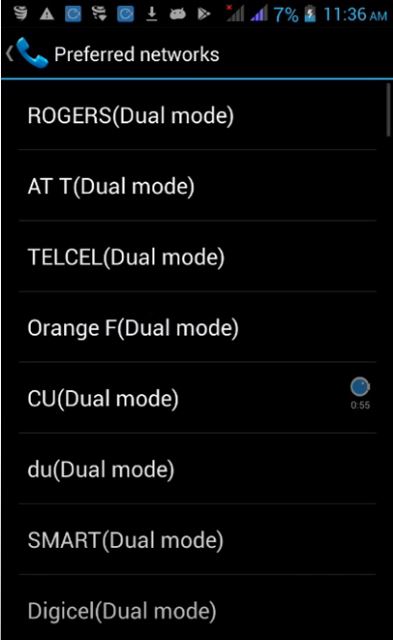
Step 10: Access your smartphone’s Mobile Network Settings and select Network Operators.
Step 11: Select your smartphone’s Network Operator.

Step 12: Navigate back to your Mobile Network Settings.
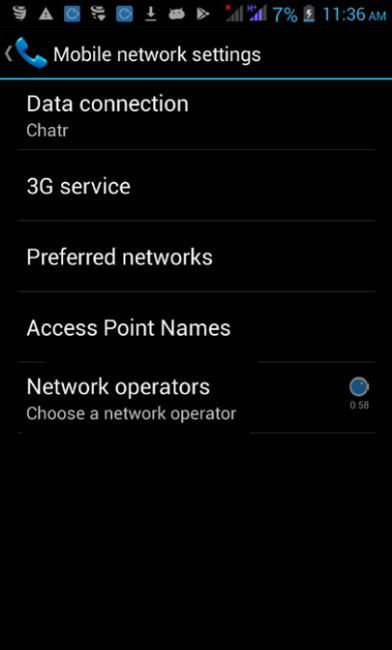
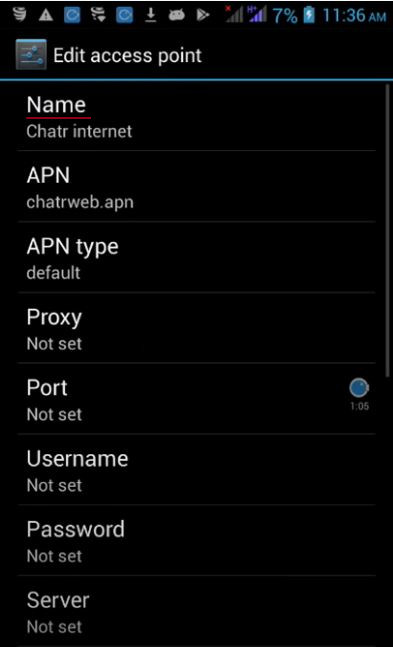
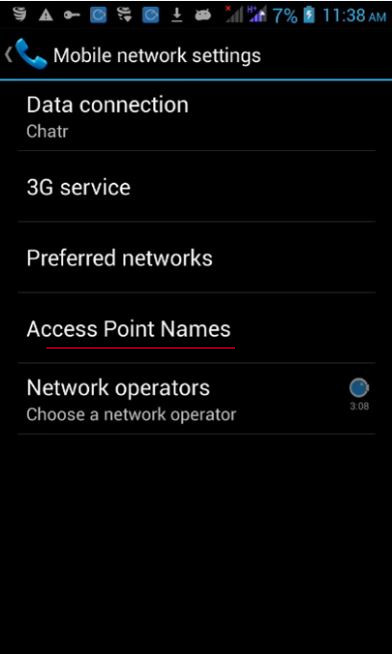
Step 12 : Access Your Access Point Names Settings under Mobile Network Settings.

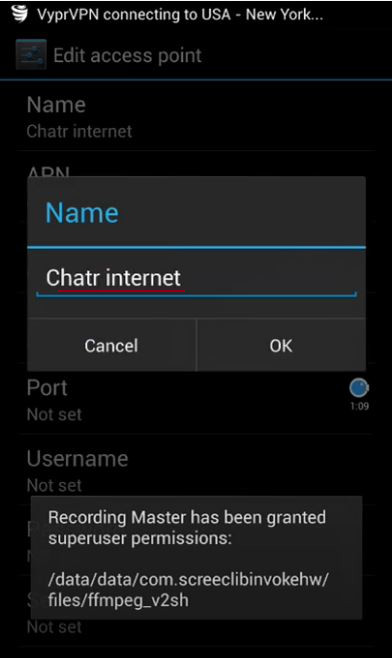
Step 13: Add or Change your Name for Your APN. This name may be anything you may remember in the future.
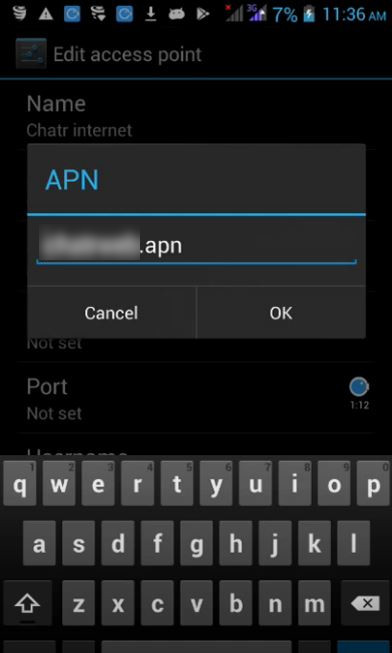
Step 14: Set up an APN for your Access Point Name. You may contact your service provider and request your network’s APN. Make sure you save your APN.
Step 15: Navigate back to your Mobile Network Settings.
Step 16: Access your Access point Names settings once more and add a new APN for your MMS settings.

Step 17: Set up an APN for your Access Point Name. You may contact your service provider and request your network’s APN. Make sure you save your APN.
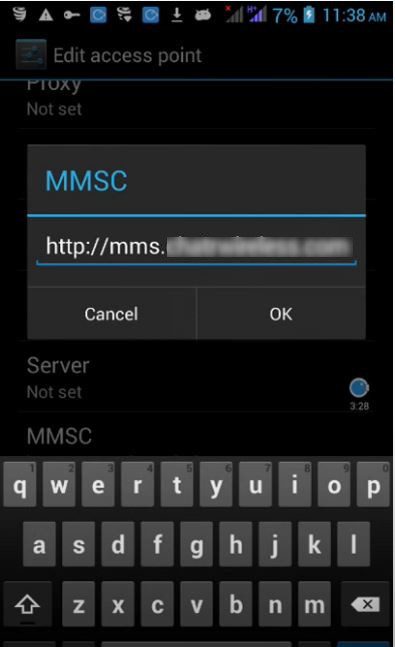
Step 18: Enter your MMSC address provided by your Network service provider.
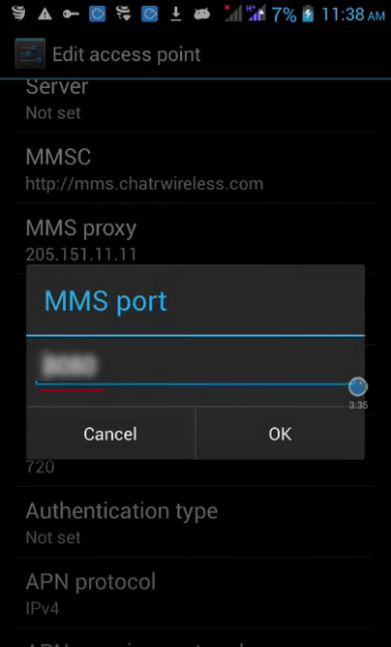
Step 19: Enter Your MMS Proxy as provided by your network service provider.

Step 20: Set up a MMS Port as provided by your Network service provider. At this point, you may set up your apn type as MMS. Save Your MMS settings.
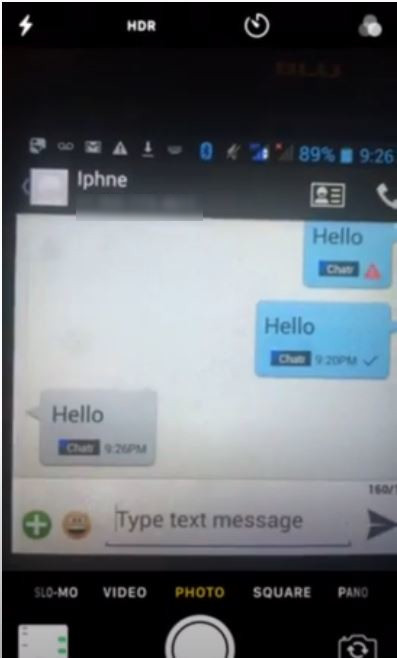
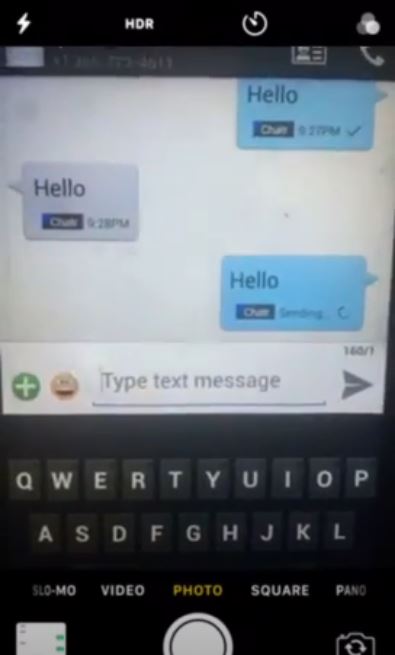
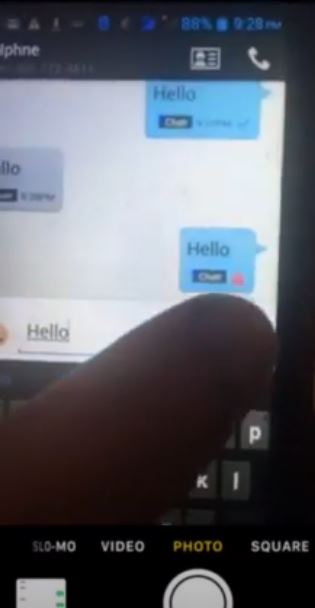
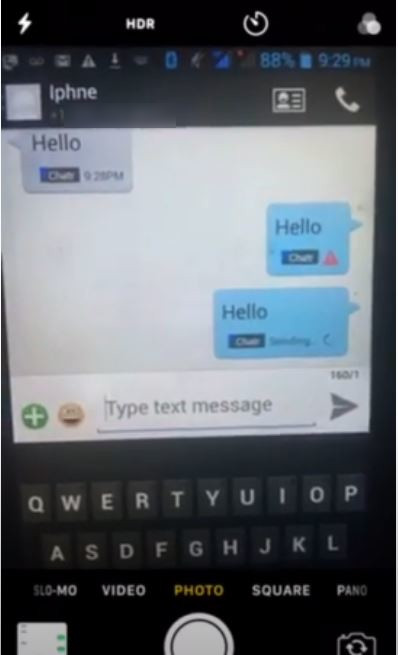
Step 21: Test Your MMS settings by sending a Picture/Photo message via SMS app. You may try sending this MMS to your own phone number.
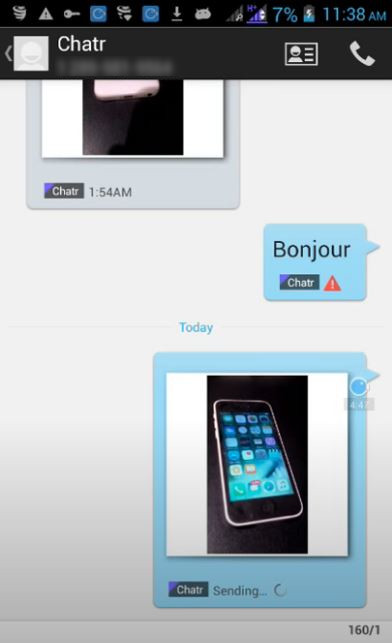
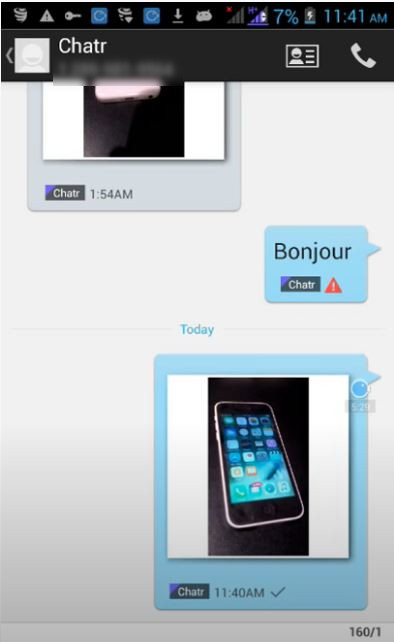
Step 22: Verify that the message has been sent.
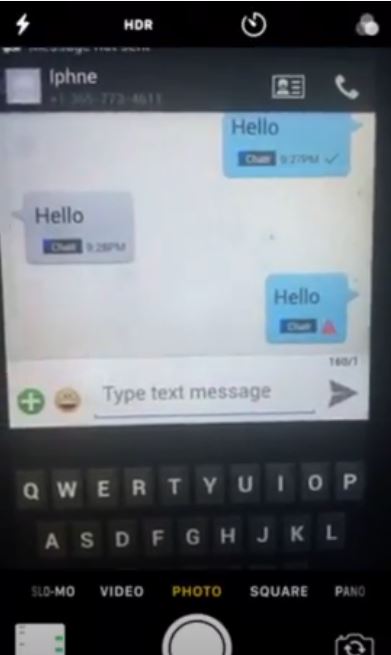
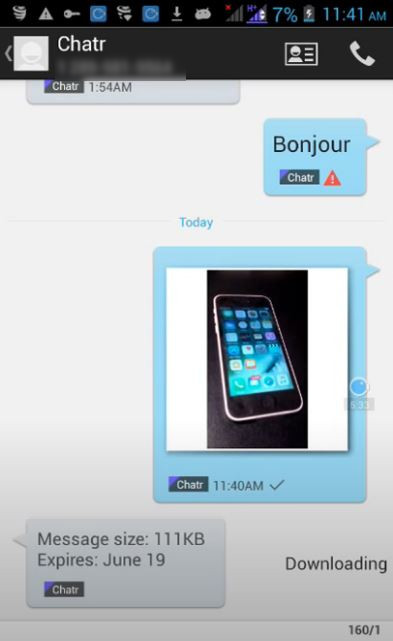
Step 23: If you sent this message to your own phone number, you’ll see an option to download this message. Click on the download option.

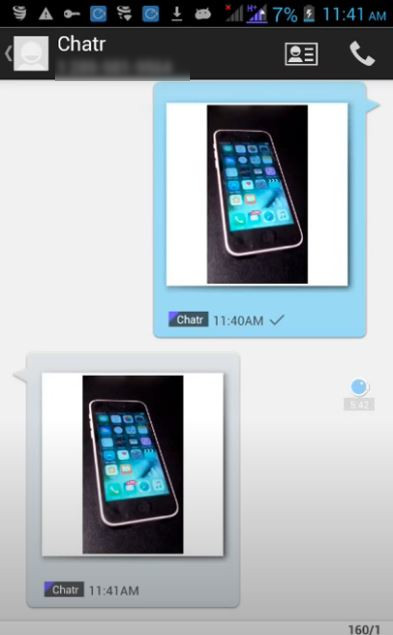
Step 24: Verify that message has been downloaded. And make sure, you are able to see this MMS.
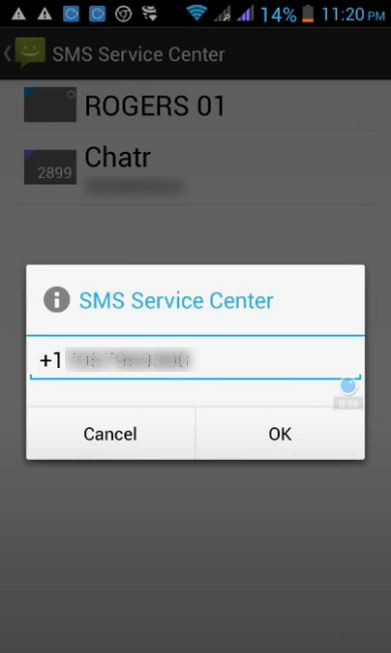
SMSC number stands for Short Messaging Service Center Number. When a user sends any SMS, this SMS goes through a SMS service center before it is finally diverted to its destination. Think of SMS service centre as a gas station service stop on your way to your final destination. Since, SMS service centres are different for each service provider, service center number for each service provider will be different. If this number does not match with what you may see on the screen, one will have to contact customer/tech support to get the dialing sequence to set their SMSC number. One does not need the SMSC number set up to receive SMS. Without this SMSC number, one will not be able to send a single SMS! You may refer to the following steps to set up your SMSC number for Chatr.
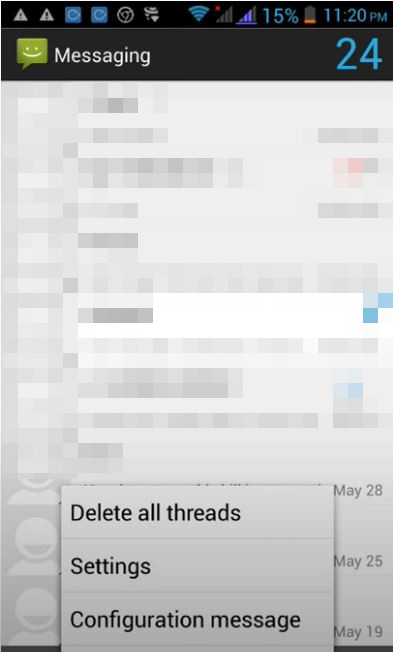
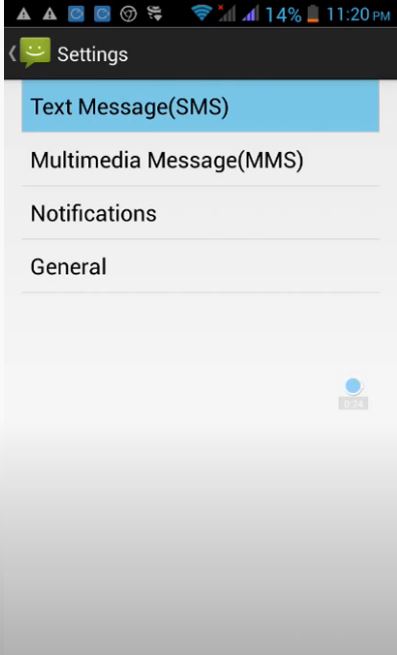
Step 1: Check your SMSC Number. Check to see if your SMSC number is set up correctly on your phone by dialing a sequence of digits provided by your network service provider.
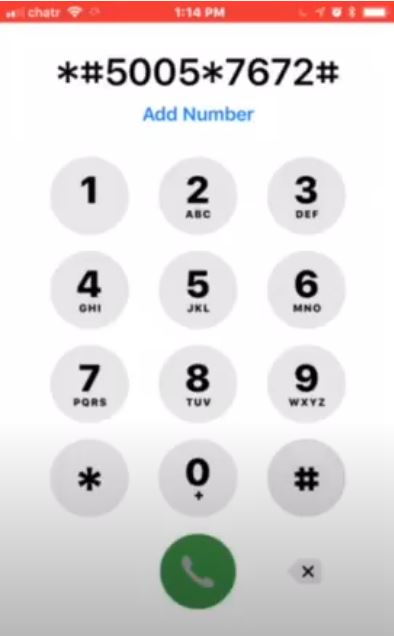

Step 2: If your SMSC number is not set up correctly, type in a sequence to set up your SMSC number. You may request this sequence from your network service provider.

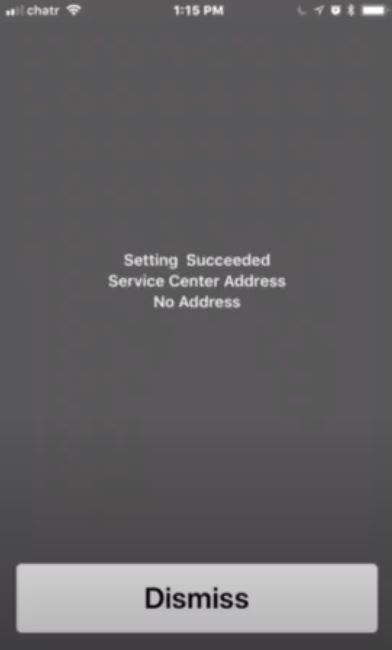
Step 3: Make sure you see the following screen. If not, try again with the correct sequence.
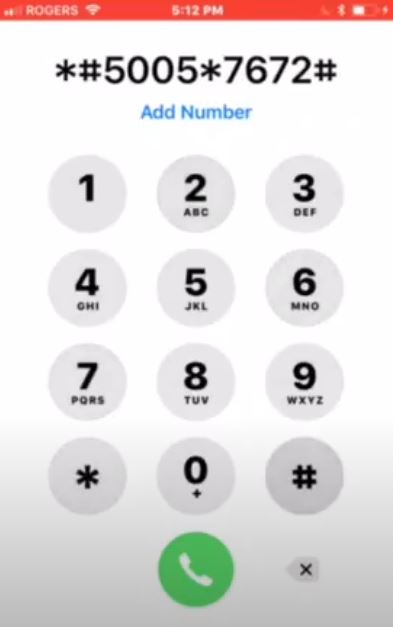
Step 4: Check your SMSC number again.

Step 5: Go ahead and send a text message/SMS.