Android: Unlock SIM using PUK code

When your device is locked to a certain carrier, you will need a phone unlock code or a network unlock code. This unlock code is for you to unlock your smart phone to all carriers. Once you unlock your phone to all carriers, you will then be able to use a SIM card from any carrier! However, should your SIM be locked, you will need a PUK code. This code is for you to unlock your SIM card! SIM card does not get locked by itself but rather gets locked when one sets up a SIM Pin for their SIM card under their phone settings and enters that PIN incorrectly too many times! Usually, one gets prompted to enter their SIM PIN only after their phone had been inactive for quite some time or if they rebooted their device. Following are the steps to set up a SIM PIN and unlock your SIM using your PUK Code….

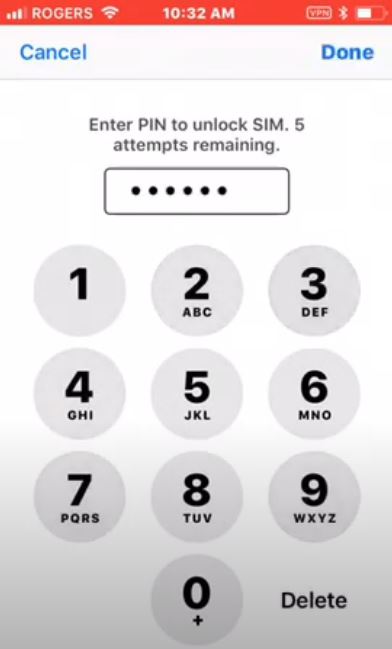
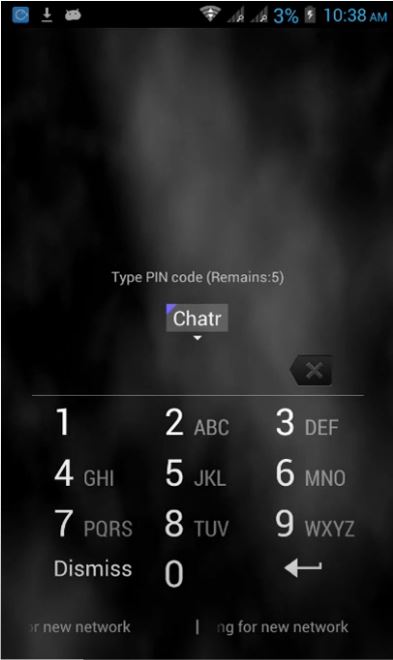
Step 1: Should you be prompted to enter your SIM PIN for security, enter your four digit SIM PIN.

Step 1

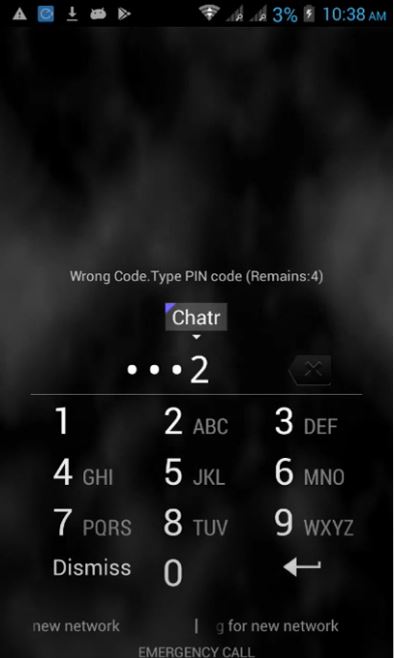
Step 2: Keep trying until you unlock the SIM with a correct PIN.

Step 2

Step 3

Step 4

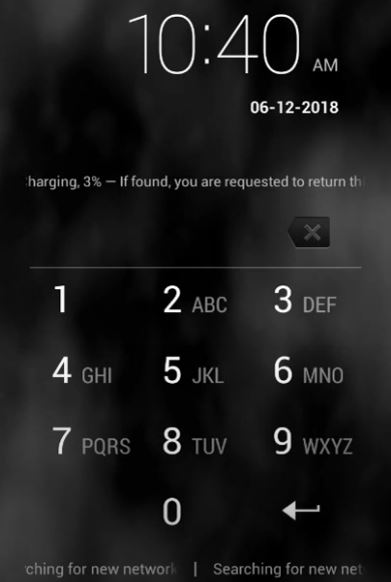
Step 3: Once you’ve made five attempts or so, you’ll be requested to enter a PUK code. Call your network service provider to get this code!

Step 5

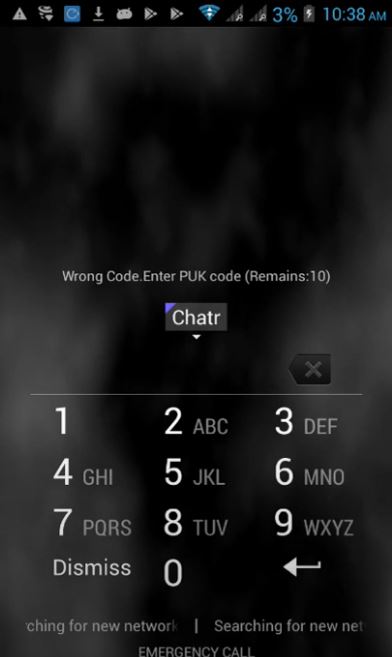
Step 4: Type in an eight digit PUK Code.

Step 6

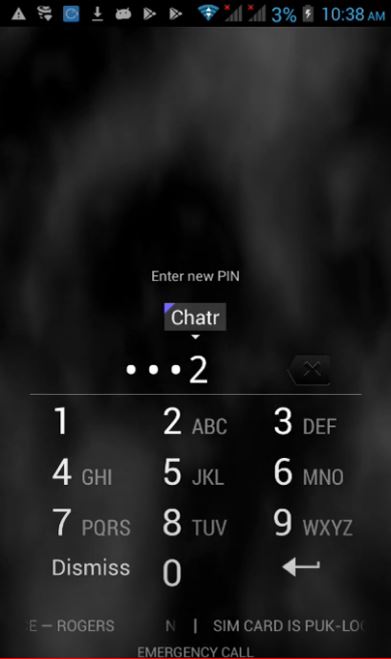
Step 5: Set up a new SIM PIN.

Step 8

Step 9

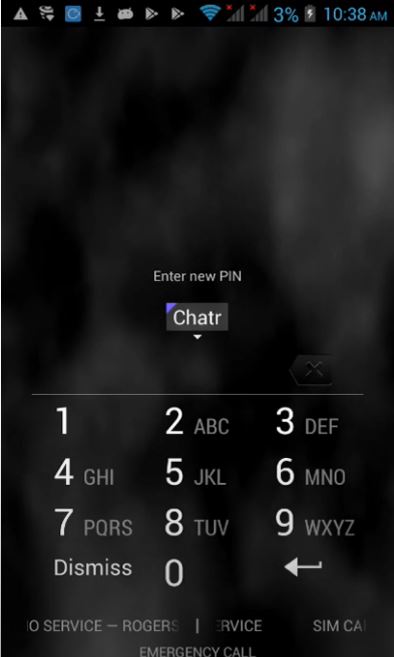
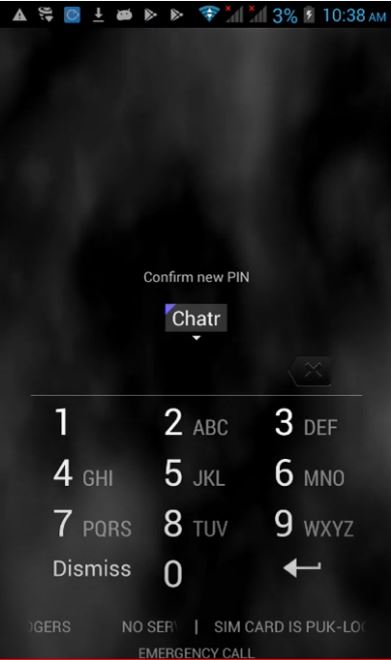
Step 6: Confirm the new SIM PIN.

Step 10

Step 7: Test your new SIM PIN by typing it once more.

Step 11

Step 8: At this point, you’ve successfully unlocked your SIM PIN. You may start using your device as usual.

Step 13

Advertisement

IOS: Unlock SIM using PUK code

When your device is locked to a certain carrier, you will need a phone unlock code or a network unlock code. This unlock code is for you to unlock your smart phone to all carriers. Once you unlock your phone to all carriers, you will then be able to use a SIM card from any carrier! However, should your SIM be locked, you will need a PUK code. This code is for you to unlock your SIM card! SIM card does not get locked by itself but rather gets locked when one sets up a SIM Pin for their SIM card under their phone settings and enters that PIN incorrectly too many times! Usually, one gets prompted to enter their SIM PIN only after their phone had been inactive for quite some time or if they rebooted their device. Following are the steps to set up a SIM PIN and unlock your SIM using your PUK Code….

Step 1: Set up a SIM PIN under your phone settings

PUK Code 17

Step 2: Should you be prompted to enter your SIM PIN for security, enter your four digit SIM PIN.

PUK Code 1

PUK code 2

Step 3: Keep trying until you unlock the SIM with a correct PIN.

PUK Code 3

PUK Code 4

Step 4: Once you’ve made five attempts or so, you’ll be requested to get a PUK code from your carrier.

PUK Code 5

PUK Code 6

PUK Code 7

Step 5: Call your network service provider to get your PUK code. Your PUK code will be eight digits or so.

Step 6: Enter your PUK Code.

PUK Code 9

Step 7: Choose and Enter a new SIM PIN. Your SIM PIN for your IPhone will be four digits or so.

PUK Code 11


PUK Code 15

Step 8: Make sure you see the following screen on your device. At this point, you’ve successfully unlocked your SIM and set up a new SIM PIN.

PUK Code 16

PUK Code 17

How to Set Up MMS Settings on iPhone

In order to send pictures and videos from a smartphone, one needs to have MMS as part of their cell phone plan. Also, one needs to have their MMS settings set up correctly on their phone! Following are the steps to set them up on an Iphone.

Step 1: Navigate to your phone settings. Make sure your WIFI setting is turned off.

STEP 1

Step 2: Make sure cellular data is turned on. Check if you are able to access your data.

STEP 2

Step 3: Navigate to your messages settings.

Step MMS 1

Step 4: Make sure MMS messaging is enabled.

MMS 3


Step 5: Send a picture/photo from your phone to test your MMS settings. You may send this picture/photo to your own phone number as a test.

MMS 5

Step 6: Check if this MMS message has been delivered.

MMS 4

Step 7: Check if this message has been read.

Step 2


How to Set Up Data Settings on Android

  1. Access your phone settings for Android.

Step 1

2. Make sure WIFI setting is turned off.

Step 2

Step 3

3. Make sure your mobile data is turned on under data usage.

Step 4

4. Access Mobile Network settings on the same screen. On some Androids, you might see an option for cellular networks.

Mobile Network Settings

5. Under Mobile Network Settings, click on Access point Names.

Data 2

6. Create a new Access Point Name under mobile networks. Type in a name for your access point name. Your name may be “something you may remember in the future”.

Step 7

7. Type in your APN for your new Access Point Name. Contact your service provider if you don’t know your APN.

Step 8

8. Set up an APN type. For data, you may select your apn type as default.

Step 9

9. Save your new APN.

Step 10

10. Check for data symbol beside your signal bar. If you see a 3G, H+ or 4G symbol, you should be able to access your data. You may proceed to test your data speed at this point.

Step 14